Create Free Ubuntu Remote Desktop on Oracle Cloud – Part I
In this blog post I will show you , how you can install desktop GUI environment in Ubuntu based server in Oracle Cloud and configure RDP to log into the desktop remotely and use it as remote desktop which you can log into from anywhere.
In my previous blog post, I have shown you, how you can create a free and powerful Ubuntu server with 4 cores Ampere A1 processor and 24 GB RAM
In this blog post, I will show you step by step guide to install desktop GUI environment on the ubuntu server and configure RDP to log into access the remote desktop from local computer . It is the powerful desktop you can create in the cloud for free.
Note
Since Ampere A1 processor is ARM architecture based CPU, you can only install software that is compiled for ARM architecture. You will not be able to install software which is available for X86 based systems. So the software you use does not have ARM version you will not be able take advantage of the system
While there are many desktop environments like Gnome, XFCE, Cinnamon, KDE, LXQT available for Ubuntu, I am going to install LXQT desktop environment in the server. LXQT is very light weight and minimalistic desktop environment.
Note
I have tried with different desktop environments on ubuntu server on Oracle cloud, based on my experience LXQt most light weight and lag free compared to the other environments. The next best option is XFCE.
Prerequisites
- Ubuntu Server based on Ampere A1processor in Oracle Cloud. ( link )
Installing Desktop Environment
Step 1) Open your terminal and log into the server using SSH command.
ssh -i <path-to-private-key> ubuntu@<public-ip-of-server>Code language: Java (java)Step 2) Once logged in, update all packages
sudo apt updateCode language: Java (java)Step 3) Next upgrade system libraries and OS
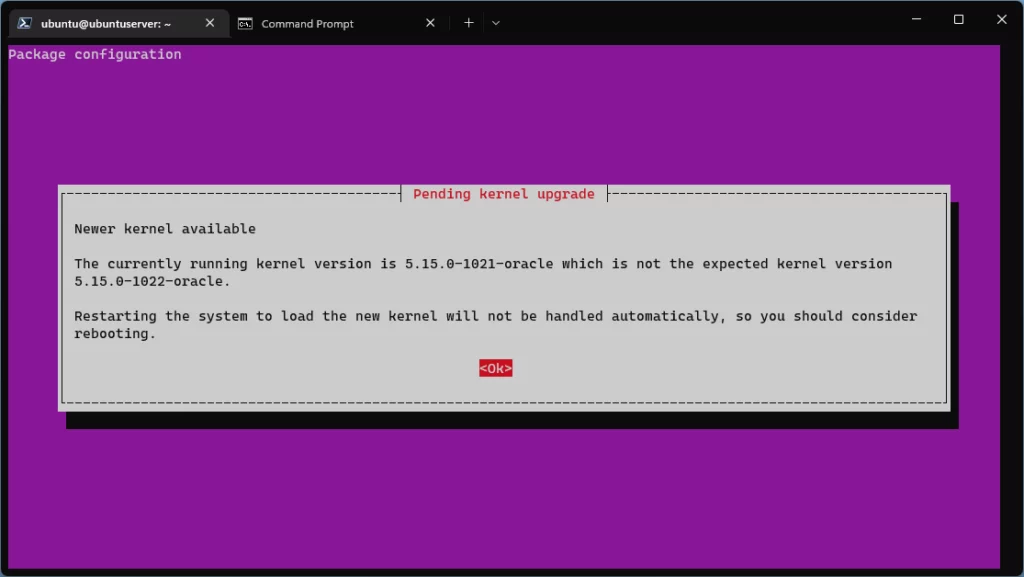
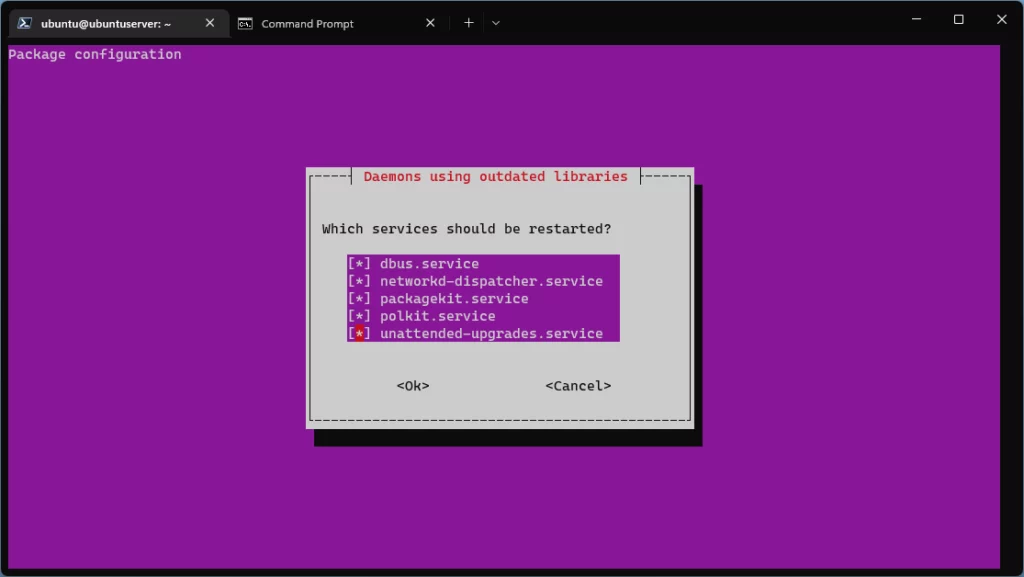
sudo apt upgradeCode language: Java (java)After upgrade is complete you might see following screen messages.
Use the tab to navigate to “OK” lable and press enter key
Step 4) Install following software
- lxqt ( desktop environment)
- sddm ( desktop manager)
- xrdp ( remote desktop server)
sudo apt install lxqt sddm xrdpCode language: Java (java)installation of packages takes some time, wait for it to complete.
Step 5) Check the xrdp status.
systemctl status xrdpCode language: Java (java)It should show the status as active. From below log we can see that xrdp running on port 3389.
● xrdp.service - xrdp daemon
     Loaded: loaded (/lib/systemd/system/xrdp.service; enabled; vendor preset: enabled)
     Active: active (running) since Wed 2022-11-30 11:58:24 UTC; 2min 20s ago
       Docs: man:xrdp(8)
             man:xrdp.ini(5)
   Main PID: 11242 (xrdp)
      Tasks: 1 (limit: 28701)
     Memory: 828.0K
        CPU: 26ms
     CGroup: /system.slice/xrdp.service
             └─11242 /usr/sbin/xrdp

Nov 30 11:58:23 ubuntuserver systemd[1]: Starting xrdp daemon...
Nov 30 11:58:23 ubuntuserver xrdp[11241]: [INFO ] address [0.0.0.0] port [3389] mode 1
Nov 30 11:58:23 ubuntuserver xrdp[11241]: [INFO ] listening to port 3389 on 0.0.0.0
Nov 30 11:58:23 ubuntuserver xrdp[11241]: [INFO ] xrdp_listen_pp done
Nov 30 11:58:23 ubuntuserver systemd[1]: xrdp.service: Can't open PID file /run/xrdp/xrdp.pid (yet?) after start: Opera>
Nov 30 11:58:24 ubuntuserver systemd[1]: Started xrdp daemon.
Nov 30 11:58:25 ubuntuserver xrdp[11242]: [INFO ] starting xrdp with pid 11242
Nov 30 11:58:25 ubuntuserver xrdp[11242]: [INFO ] address [0.0.0.0] port [3389] mode 1
Nov 30 11:58:25 ubuntuserver xrdp[11242]: [INFO ] listening to port 3389 on 0.0.0.0
Nov 30 11:58:25 ubuntuserver xrdp[11242]: [INFO ] xrdp_listen_pp doneCode language: Java (java)
If xrdp is not active , use below command to start it.
sudo systemctl enable --now xrdpCode language: Java (java)We need to allow the traffic for the xrdp port on oracle cloud
Allowing Traffic on XRDP Port
To access the RDP from local system, we need to open the xrdp port 3389 from the both at VNIC( Virtual Network Interface Card ) and server firewall.
Opening port in VNIC
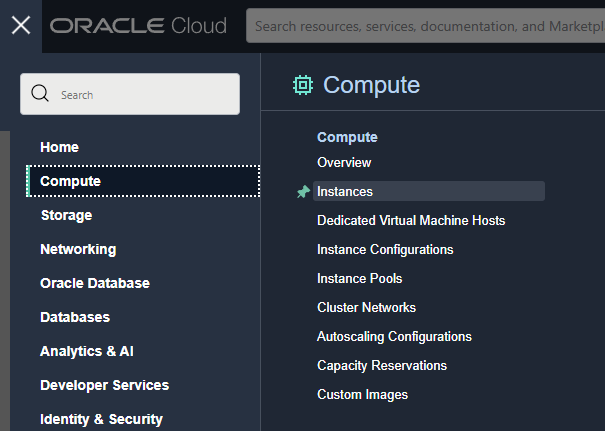
Step 6) Log into your Oracle Cloud account. Click on the “Hamburger” icon on the top right corner.
From the the menu click on “Compute” -> “Instances”
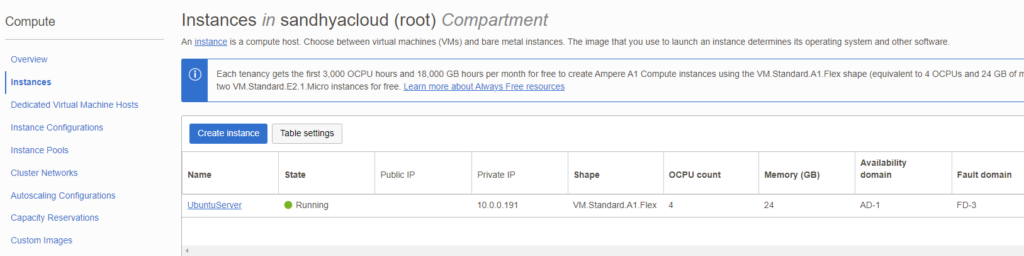
Step 6) Next screen shows all the compute instances running on oracle cloud network. Now click on the compute instance on which you are installing desktop environment
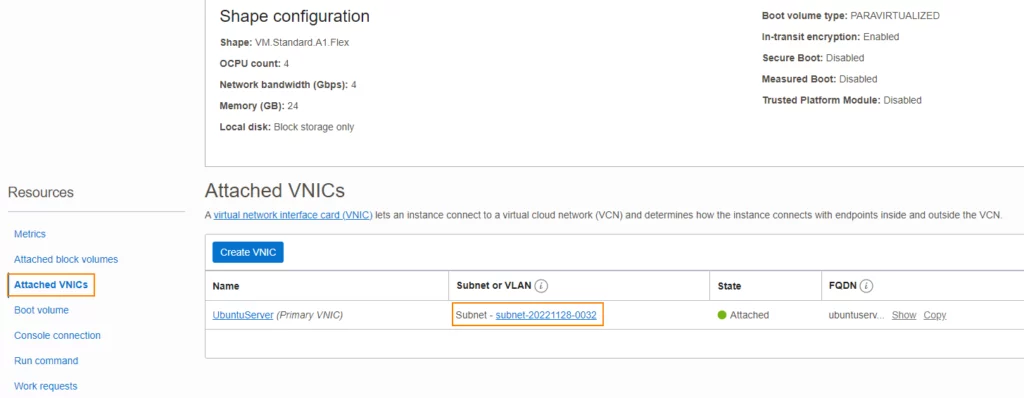
Step 7) On next screen, scroll down and click on “Attached VNICs” link on left side. On the right side screen click on the “Subnet” link.
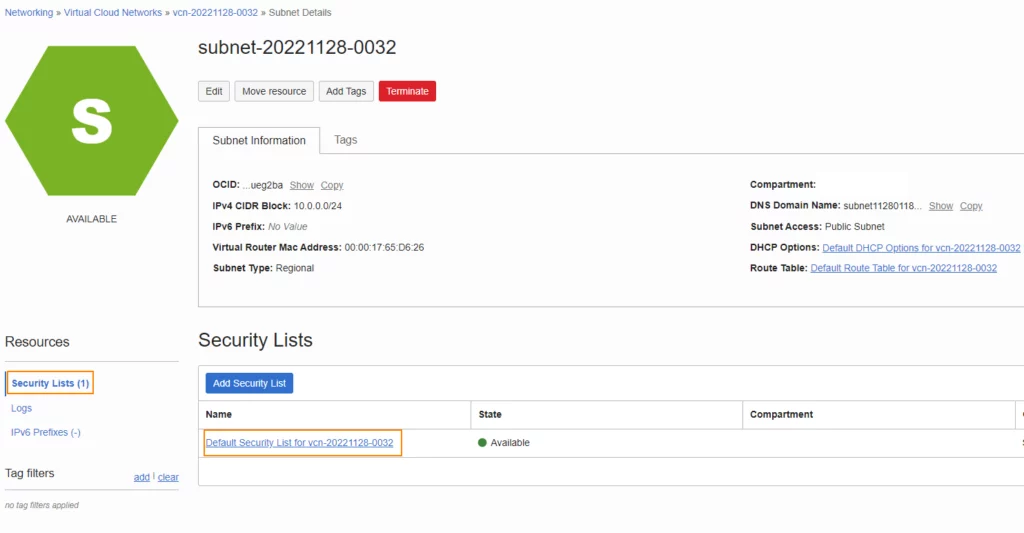
Step 8) On next screen, scroll down and click on “Security Lists” -> “Default Security List”
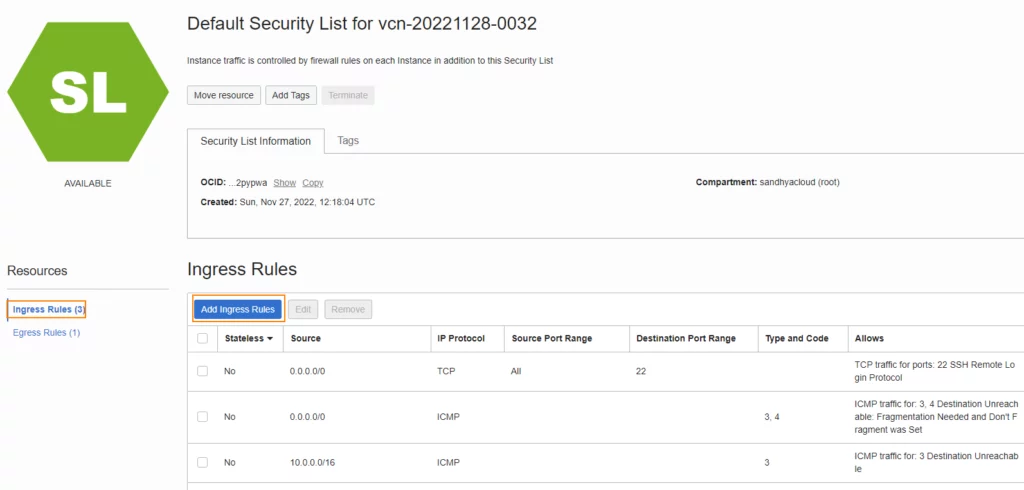
Step 9) Click on the “Add Ingress Rules” button.
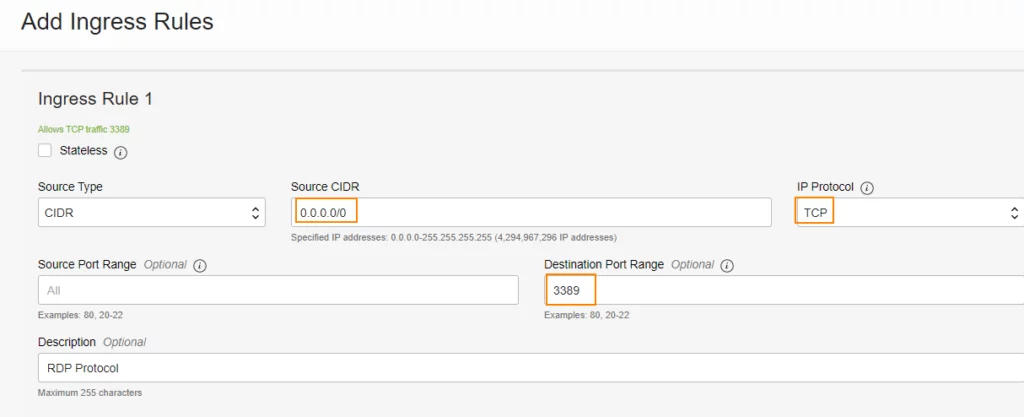
Step 10) Enter Ingress rule for port 3389 by entering following details and Click on “Add Ingress Rules“
- Source CIDR : 0.0.0.0/0
- IP Protocol : TCP
- Destination Port Range : 3389
Step 11) You should see the new “Ingress Rule”

Opening port in firewall
Add XRDP Port to IP Tables of Ubuntu server to open port in firewall.
Step 12) Next we need to add the xrdp port (3389) to iptables of Ubuntu server and save it.
sudo iptables -I INPUT 6 -m state --state NEW -p tcp --dport 3389 -j ACCEPT
sudo netfilter-persistent saveCode language: Java (java)
Step 13) Create .xsession file in the user home directory.
nano .xsessionCode language: Java (java)Enter following text in the file and save it by pressing Ctrl + O and Ctrl +X
start lxqtCode language: Java (java)Create New User
Step 14) Create a new user which will be used for login, with following command and set the password
From your terminal enter
sudo adduser <new-user-name>Code language: Java (java)Adding user `<new-user-name>' ...
Adding new group `<new-user-name>' (1002) ...
Adding new user `<new-user-name>' (1002) with group `suresh' ...
Creating home directory `/home/<new-user-name>' ...
Copying files from `/etc/skel' ...
New password:
Retype new password:Code language: Java (java)add new user to sudo list
sudo usermod -aG sudo <new-user-name>Code language: Java (java)Connecting to the Remote Desktop
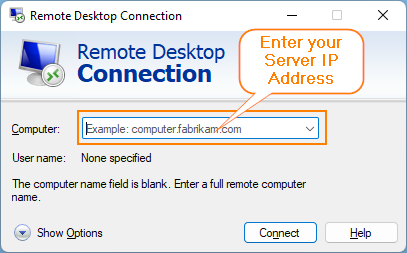
From your system open Remote Desktop Client and enter public IP of the server and click on “Connect”
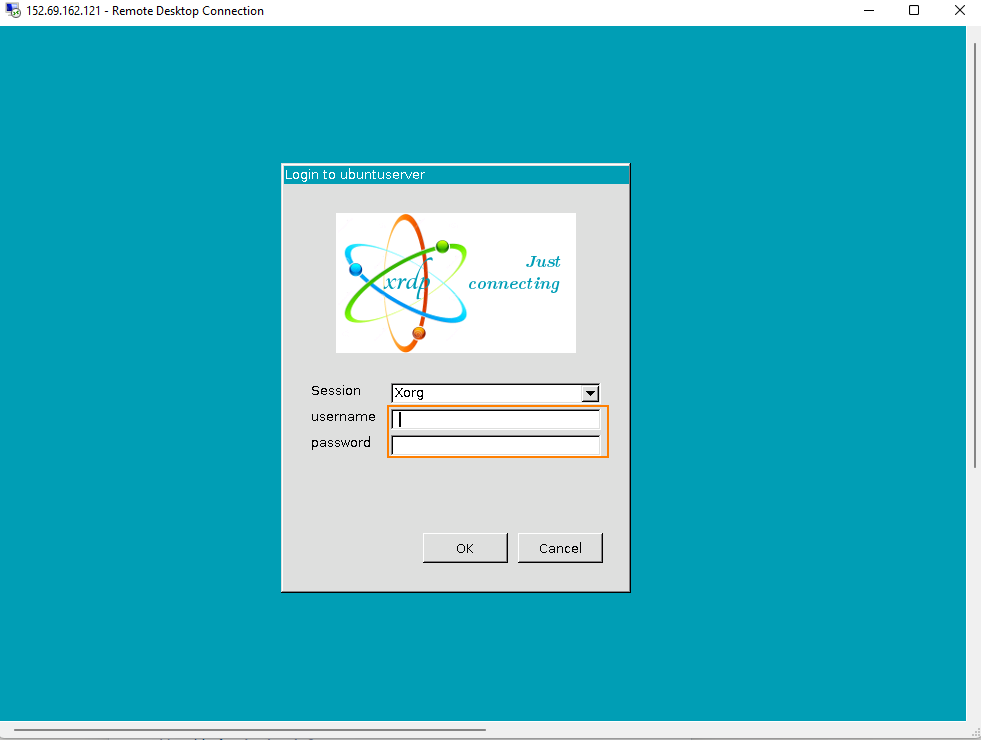
It will connect to remote desktop and shows the login screen. Enter login/password of the newly created user from step 14.
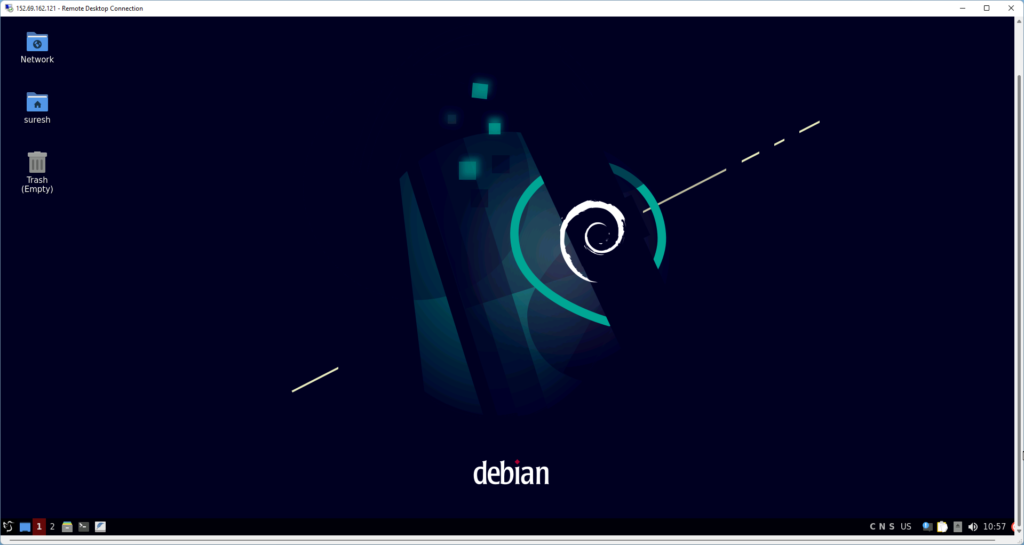
You should see the desktop of remote computer.
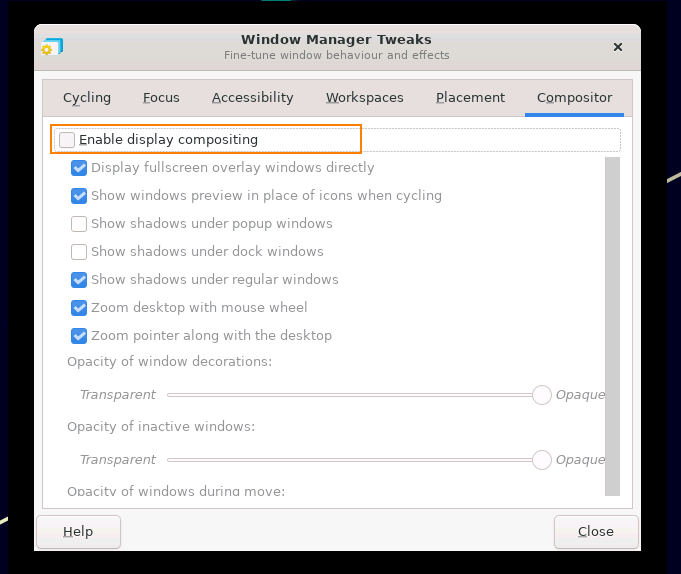
For better remote desktop experience , go to Preferences -> Window Manager Tweaks
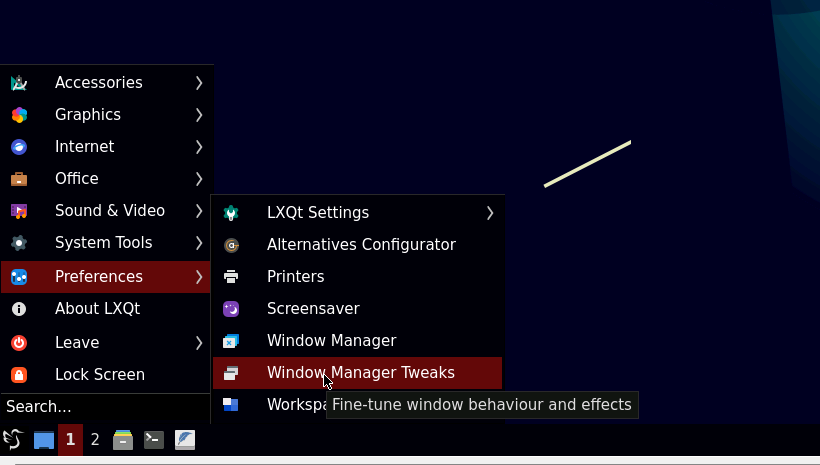
Click on the “Compositor” tab uncheck the “Enable display compositing” option
Create Swap File
Create swap file in ubuntu system by running following commands from terminal.
Below commands create 12GB of swap file.
sudo fallocate -l 12G /swapfile
sudo chmod 600 /swapfile
sudo mkswap /swapfile
sudo swapon /swapfileCode language: Java (java)
To make the changes permanent open the /etc/fstab file
sudo nano /etc/fstabCode language: Java (java)and paste the following lines
/swapfile swap swap defaults 0 0Code language: Java (java)You can verify the active swap by running following command
sudo swapon --showCode language: Java (java)Next week we will try to install software like Libre office and other useful softwares so that remote desktop can be used for general purpose tasks.
You might be also interested in