Getting started with Quarkus
Quarkus is a full-stack, Kubernetes-native Java framework made for Java virtual machines (JVMs) and native compilation, optimizing Java specifically for containers and enabling it to become an effective platform for serverless, cloud, and Kubernetes environments.
In Java world, Spring Boot is still the framework of choice for many developers, but the evolution of cloud-native technologies like Kubernetes and serverless presents a challenge. While Spring Boot simplifies the application development, it was not designed keeping the view of cloud technologies. In Micro Services environment, application size, startup time,RAM usage matters a lot. Increased use of cloud technologies led to development of new Java frameworks like Quarkus.
Quarkus offers following advantages
- Fast startup times.
- Low memory consumption.
- Reduced overall host costs.
- Improved Java app performance.
- Increased developer productivity.
Quarkus is designed to work with popular Java standards, frameworks, and libraries like Eclipse MicroProfile and Spring as well as Apache Kafka, RESTEasy (JAX-RS), Hibernate ORM (JPA), Spring, Infinispan, Camel, and many more
Let’ develop a sample application with Quarkus
Required software
- Java IDE ( Eclipse /IntelliJ Idea/ VS Code)
- JDK 11+
- GraalVM ( Optional)
- Maven 3.8+ / Gradle
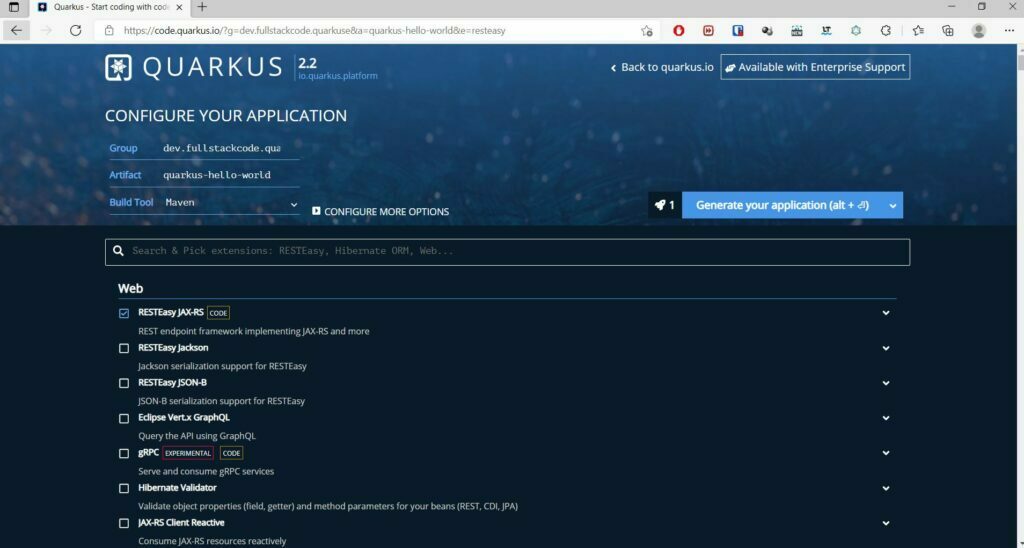
Just like SpringBoot , Quarkus comes with starer project. Open http://code.quarkus.io address in your browser.
Enter Group, Artifact, and select the build tool and required dependency modules for development. For sample application, I am developing a simple REST API, so I have selected RESTEasy JAX-RS module. Click on the Generate your application button to download the project.
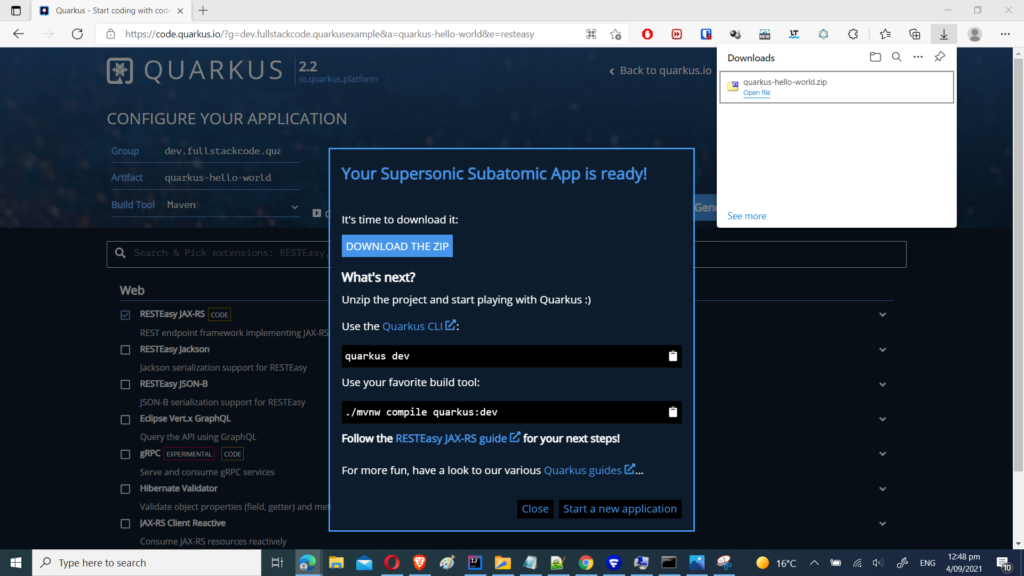
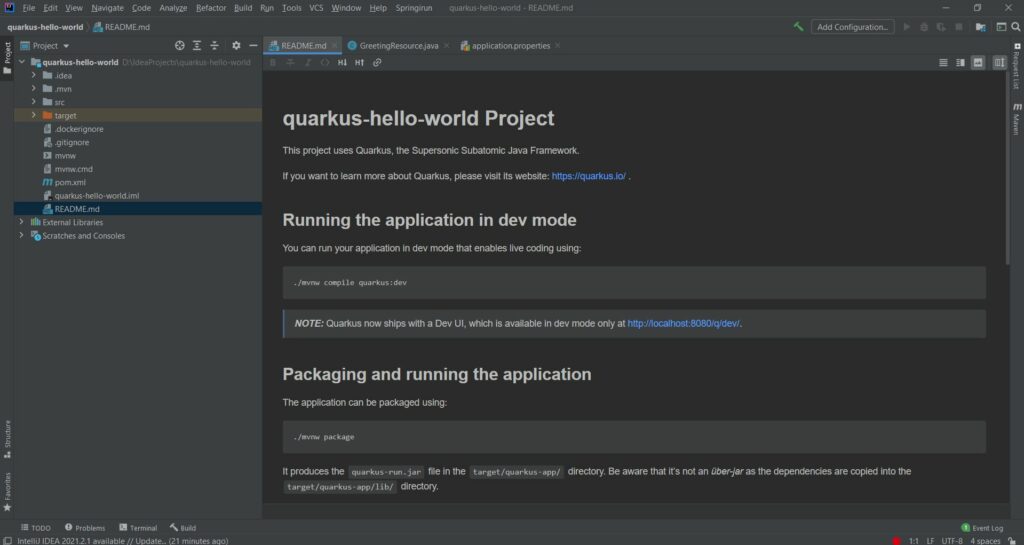
Extract the project from the downloaded zip file and import the project into your favourite IDE.
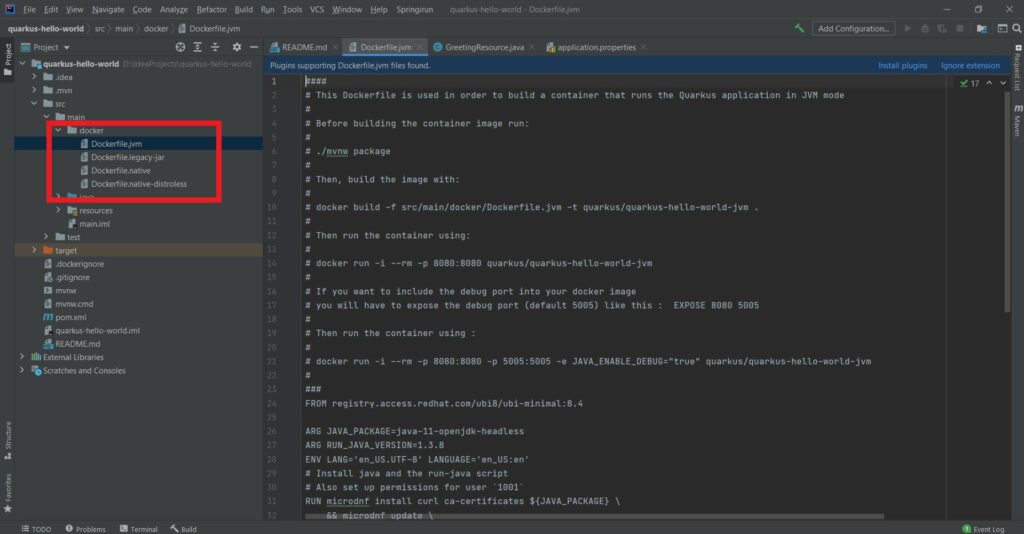
Good thing about Quarkus starter project is, it comes with Readme file with all the instructions on how to start the project and package the applications and Docker files to build the images.
RESTEasy JAX-RS module comes with sample code. Let’s start the application and test REST API.
We can start the application in dev mode with following command.
mvnw compile quarkus:dev
Code language: Java (java)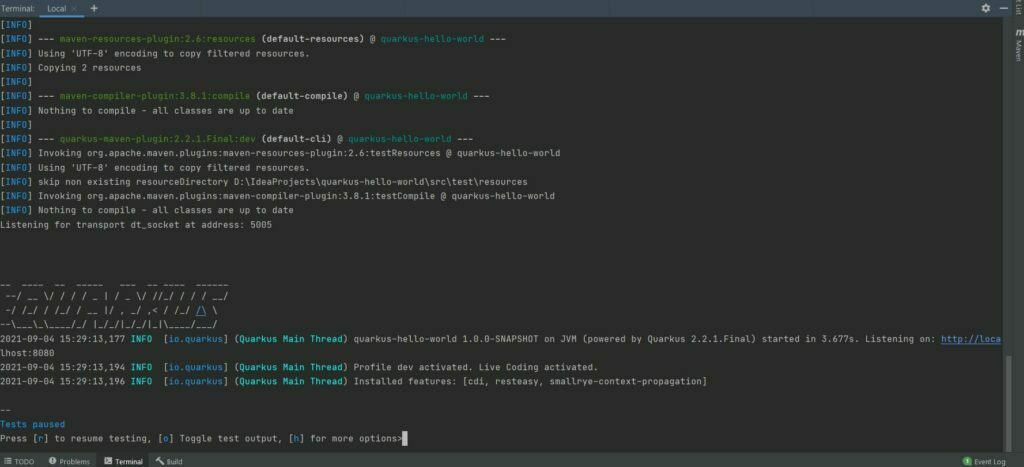
Now open the browser and enter http://localhost:8080/hello address.You should see the following response in the browser

Quarkus dev mode supports hot reloading by default, so any changes we make now will be automatically reloaded.
Lets’s add some code and see the working of hot reloading feature.
@Path("/hello")
public class GreetingResource {
    @Inject
    GreetingService greetingService;

    .....

    @GET
    @Path("/{name}")
    @Produces(MediaType.TEXT_PLAIN)
    public String hello(@PathParam(value = "name") String name) {
        return greetingService.greeting(name);
    }
}Code language: Java (java)
@ApplicationScoped
public class GreetingService {
public String greeting(String name) {
return "hello " + name;
}
}
Code language: Java (java)I have added another method which takes name as input and returns “hello {name}” as the response.I am using the GreetingService class to construct the response, which is injected into GreetingResource class.
@Inject is equivalent of @Autowired of Spring framework. @ApplicationScoped sets the scope of bean in the application
Quarkus Dependency Injection is based on the CDI i.e Contexts and Dependency Injection for Java 2.0 specification. If you’re new to CDI then go through the Introduction to CDI first.
Now let’s open the browser and enter “http://localhost:8080/hello/John” address without restarting the application.
You should see the following response in the browser.

In the coming weeks, I will cover more articles on Quarkus integration with other frameworks.
References