Build web presentations with PRESENTA Lib JS library
Today I am going to show how to build presentations that can be displayed in browser with HTML, JavaScript and Markup files using PRESENTA Lib JavaScript library instead of Microsoft PowerPoint.
PRESENTA Lib is a javascript library that generates web presentations from config objects.
I am going to use only html , markup file and vanilla JS to build the web presentation example in this blog post.
Installation
i) Using Unpkg
<script src="https://unpkg.com/@presenta/lib"></script>Code language: Java (java)ii) Using npm
Install the package
npm install @presenta/libCode language: JavaScript (javascript)then include in the browser with:
<script src="/node_modules/@presenta/lib/dist/presenta.min.js"></script>Code language: JavaScript (javascript)or using with a ES6 bundler:
import * as Presenta from '@presenta/lib'Code language: JavaScript (javascript)iii) Use JS files
You can download the presenta related js files from the starter project and include in html file
<script src="presenta.min.js"></script>Code language: JavaScript (javascript)In PRESENTA Lib presentation, each slide is represented by a scene. Each scene contains one or more block of content .
A block is responsible to render a specific content or media, such as text, image or video.
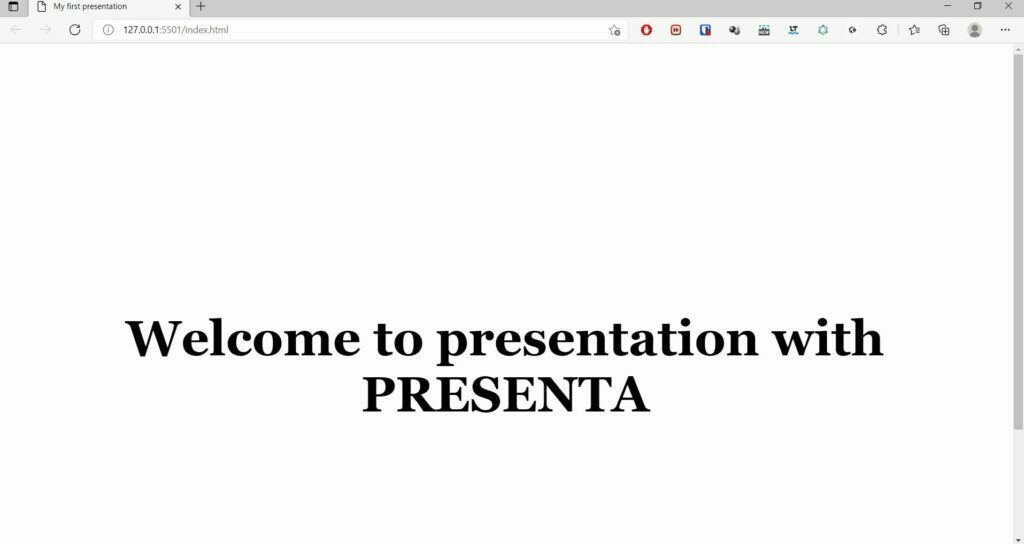
Let’s prepare the first slide in the presentation.
<html>
<html>
<head>
<script src="libs/presenta.min.js"></script>
<title>My first presentation</title>
<link rel="stylesheet" type="text/css" href="styles.css">
</head>
<body>
<div id="app">
</div>
<script>
new Presenta('#app', {
scenes: [{
blocks:[{
type: 'text',
textVar:'title',
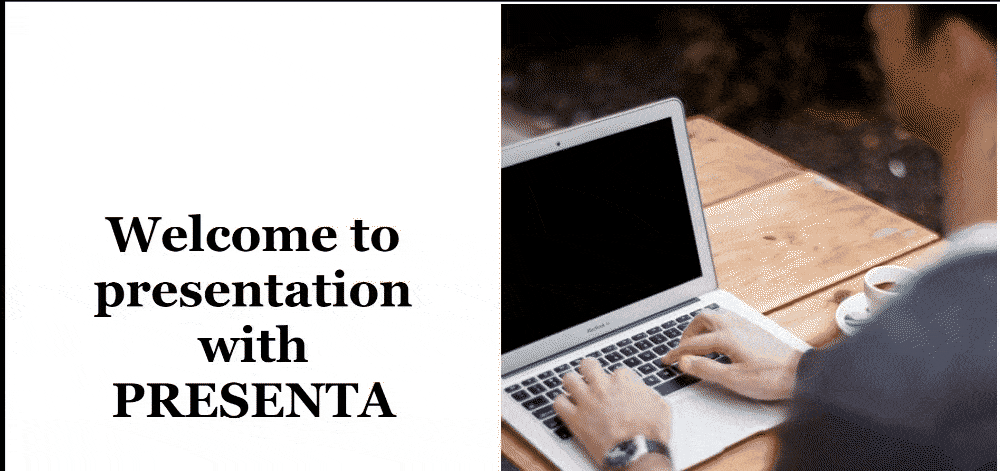
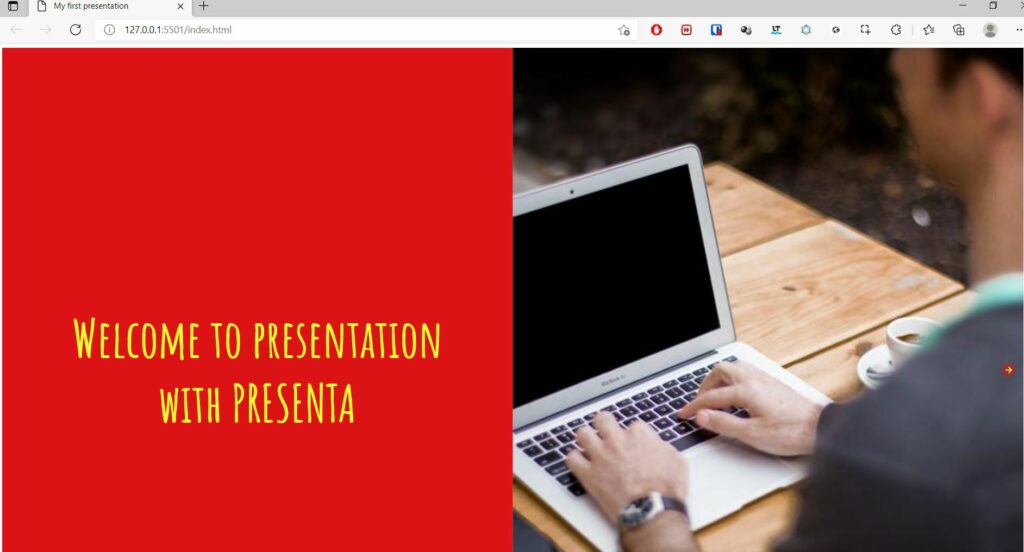
text:`<h3>Welcome to presentation with PRESENTA</h3>`
}]
}]
})
</script>
</body>
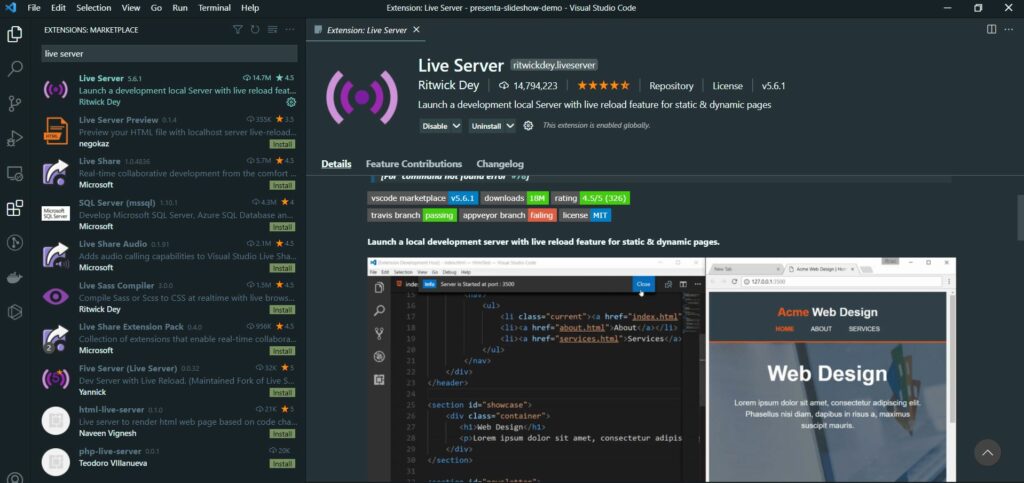
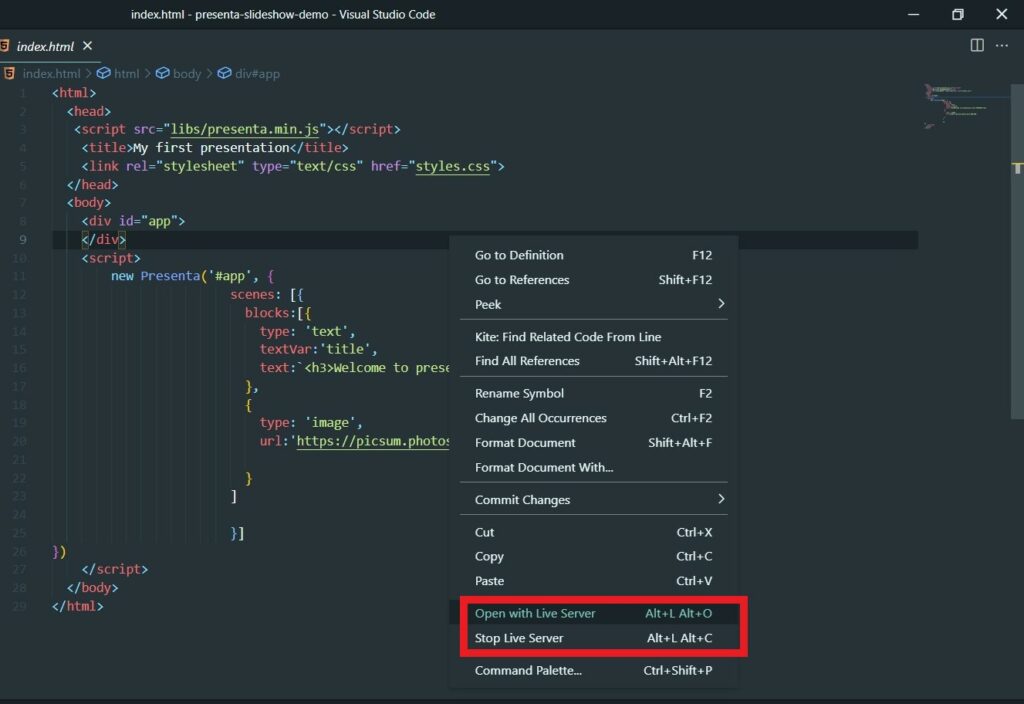
</html>Code language: JavaScript (javascript)Since we are developing the presentation with plain vanilla JS , we need a web server to start the project. I am using Live Server extension in VS Code IDE.
You can start and stop the server by right-clicking on the page you want to view
Below you can see the presentation in action
If you include more than one object in block content, it will split the screen
<html>
  <head>
   <script src="libs/presenta.min.js"></script>
    <title>My first presentation</title>
    <link rel="stylesheet" type="text/css" href="styles.css">
  </head>
  <body>
    <div id="app">
    </div>
    <script>
        new Presenta('#app', {
                        scenes: [{
                          blocks:[{
                            type: 'text',
                            textVar:'title',
                            text:`<h3>Welcome to presentation with PRESENTA</h3>`
                          },
                          {
                            type: 'image',
                            url:'https://picsum.photos/id/1/800/600',

                          }
                        ]

                        }]
})
    </script>
  </body>
</html>Code language: Java (java)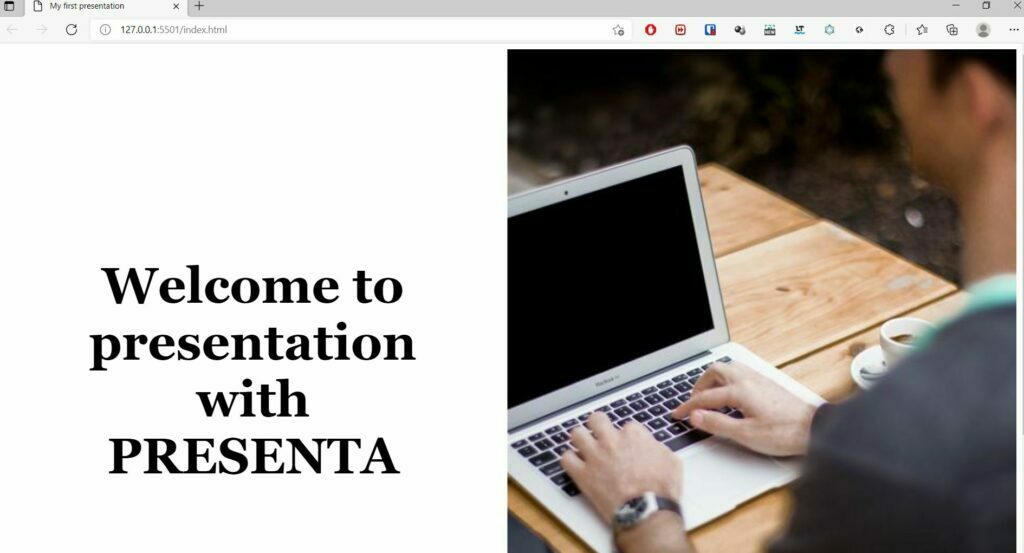
You can add the second slide in the presentation by adding another block to the scene
<html>
  <head>
   <script src="libs/presenta.min.js"></script>
    <title>My first presentation</title>
    <link rel="stylesheet" type="text/css" href="styles.css">
  </head>
  <body>
    <div id="app">
    </div>
    <script>
        new Presenta('#app', {
                        scenes: [{
                          blocks:[{
                            type: 'text',
                            textVar:'title',
                            text:`<h3>Welcome to presentation with PRESENTA</h3>`
                          },
                          {
                            type: 'image',
                            url:'https://picsum.photos/id/1/800/600',

                          }
                        ]

                        },
                        {
                          blocks:[{
                            type: 'text',
                            textVar:'title',
                            text:`<h3>This is second slide of presentation</h3>`
                          }
                        ]

                        }]
})
    </script>
  </body>
</html>Code language: JavaScript (javascript)
Since PRESENTA comes with sensible defaults , it will automatically add navigation to the presentation. You can navigate the slide through the left/right arrow keys, or by clicking on the next/previous arrow keys.
You can find additional block types here as external plugins.
You can get more information about each block specific settings, from this section of the documentation.
Modules
Modules are scene extension
Steps module handles the in-block fragments progressive show/hide behaviour. This module is active by default and it needs to be configured within the scene context.
By default, the steps module is active and the default selector is the class .step. This means that any HTML elements with that class name will be handled as fragment
<html>
  <head>
   <script src="libs/presenta.min.js"></script>
   <script src="libs/presenta-controller-styles.min.js"></script>
   <script src="libs/presenta-controller-swiper.min.js"></script>
    <title>My first presentation</title>
    <link rel="stylesheet" type="text/css" href="styles.css">
  </head>
  <body>
    <div id="app">
    </div>
    <script>
        new Presenta('#app', {
                        controllers: {
                                      keyboard: true,
                                      arrows: true,
                                      swiper: true

                                      },
                        scenes: [{

                          blocks:[{
                            type: 'text',
                            textVar:'title',
                            text:`<h3>Welcome to presentation with PRESENTA</h3>
                                      <h2 class="step">Let's get started</h2>
                                    `
                          },
                          {
                            type: 'image',
                            url:'https://picsum.photos/id/1/800/600',

                          }
                        ]

                        },
                      ]
})
    </script>
  </body>
</html>Code language: JavaScript (javascript)
In above example, let's get started text shows only after clicking on down/left arrow key

Step module can be defined as global as well as block level, and we can use different selectors instead of step function.
If you define block level selectors, it will override the global selectors.
In the below example, I have defined step selectors at global level and block level. In the second slide global step selectors are not applicable as we have defined block level selectors and order of display can be controlled with ” data-order ” attribute.
<html>
<head>
<script src="libs/presenta.min.js"></script>
<script src="libs/presenta-controller-styles.min.js"></script>
<script src="libs/presenta-controller-swiper.min.js"></script>
<title>My first presentation</title>
<link rel="stylesheet" type="text/css" href="styles.css">
</head>
<body>
<div id="app">
</div>
<script></script>
</body>
</html>Code language: JavaScript (javascript)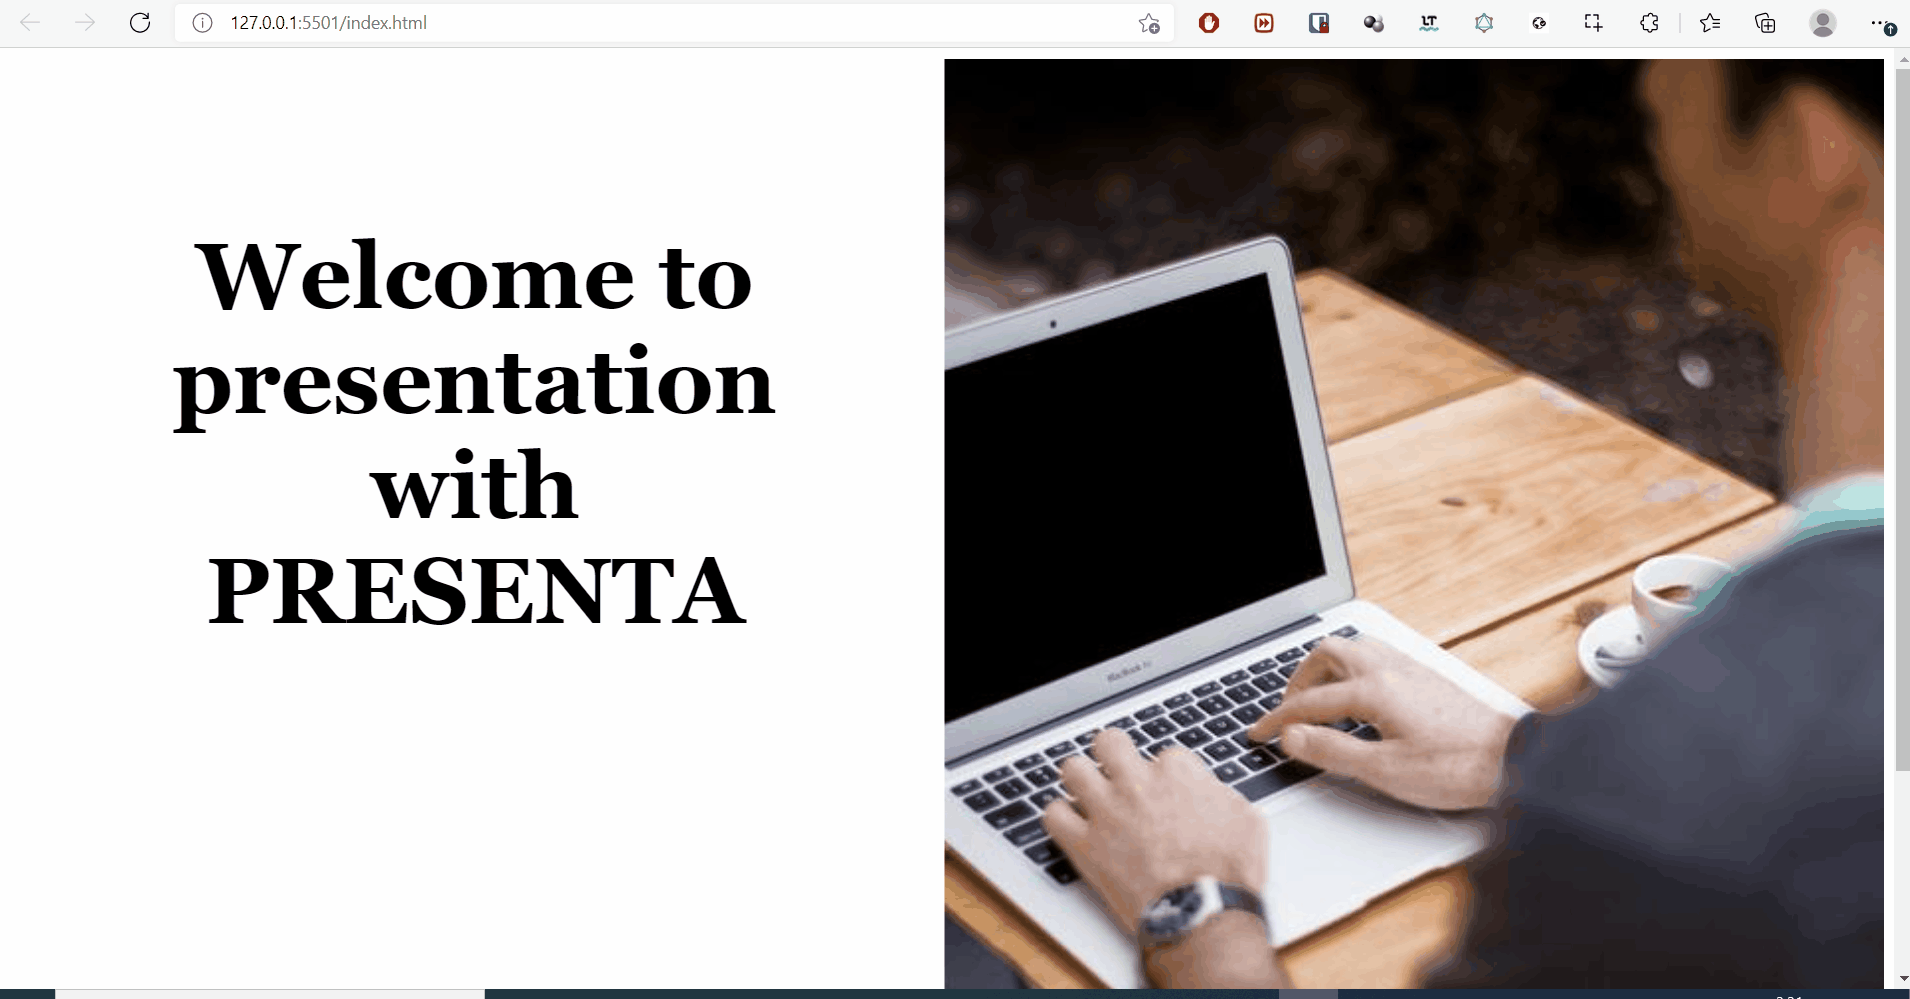
Property inheritance
Any property (be aware, not option) can be set at presentation level, scene level and block level as well. The more specific place, the higher priority, just like CSS.
Controls and behaviors
PRESENTA Lib comes with an internal router that can be configured and extended by means of controllers
<script>
new Presenta('#app', {
controllers: {
keyboard: true,
arrows: true,
},
scenes: [
....
]
})
</script>
Code language: Java (java)keyboard: trueCode language: JavaScript (javascript)Allows to navigate back and forth using the keyboard arrows keys. Use ArrowRight and ArrowDown to go next, ArrowLeft and ArrowUp to go previous.
arrows: true,Code language: JavaScript (javascript)Allows to show two UI arrow elements to allows the back and forth navigation by clicking on them.
You can get away without configuring these settings as they are true by default
You can also autoplay the presentation by using below setting in controller.Default delay is 4000ms. Set a Number instead a Boolean to override that delay.
autoplay: true // or 4000, default falseCode language: Java (java)Styles and Transitions
A PRESENTA Lib document can be styled by leveraging the combination of some properties
To apply styles,fonts and transitions you need to include presenta-controller-styles js file
<script src="libs/presenta-controller-styles.min.js"></script>Code language: JavaScript (javascript) <script>
new Presenta('#app', {
colors: 'adele',
fonts: 'duck',
colorVar: 'alt',
transition: 'vSlide',
controllers: {
....
},
scenes: [
......
]
})
</script>Code language: JavaScript (javascript)You can see colour and font change in the presentation.When you navigate the presentation, slides will show vertical transition.
Making presentation from Markdown file
In above examples, we have defined the content with in the HTML file, but we can externalize the content to Markdown files to make the presentations.
First we need to include corresponding script file
<script src="libs/presenta-controller-markdown.min.js"></script>Code language: Java (java)Next we need to read the Markdown file and parse it.
 <div id="app"></div>

    <script>

        const fullpath = location.href+'?name=example/presentation.md';
        const path = fullpath.split('?name=');
        const doc = path[1]
        const pathParts = doc.split('/')
        let base = pathParts.join(',').replace(/\,/mig, '/')
        base = base.length > 0 ? base + '/' : ''

        fetch(doc + '?t=' + Math.random())
            .then(res => res.text())
            .then(raw => {
                const config = md2pjson.parse(raw)

                if(!config.controllers) config.controllers = {}
                config.controllers.rsync = true
                config.controllers.progressbar = true
                config.controllers.preload = true
                config.controllers.focus = true
                config.controllers.fullscreen = true
                config.controllers.baseurl = base
                config.controllers.consoleNotes = {
                    clear: false
                }
                if(!config.modules) config.modules = {}
                if(!config.modules.highlightjs){
                    config.modules.highlightjs = {
                        highlightjs: 'gradient-dark' // theme of highlight.js
                    }
                }
                new Presenta('#app', config)
            })
            .then(pres => (console.log(pres)))
            .catch(err => {
                document.body.innerHTML = 'There is an error. Maybe you are not running a local webserver. In this case, open the README.md to learn more. ' + err
            })

    </script>Code language: Java (java)
You can download the source code for this blog post from GitHub.
You can start creating presentations without any code using PRESENTA Playground.
You can start with a config based example by forking this Codepen, Glitch,Repl or CodeSandox project.