Free Custom Email Addresses For Your Domain with Cloudflare
In this blog post I will give you step by step process to setup free custom email for your domain using Cloudflare email routing service.
Normally we create email address using service providers like Google (Gmail) or Yahoo ( Yahoo mail).These are generic email addresses. If you own a domain, you can setup email address which represents your business.For example if you own domain called abc.com then you can create email address like yournchoosenname@abc.com and you can send and receive mail with that address.
If you want to create email address based your business domain, you need to first setup the smtp server to send/receive email. Setting smtp email server requires always on computer and storage which cost you money.
Using Cloudflare ‘s email routing service, we can easily setup the custom email for your domain without setting up smtp server which you can use to receive and send email.
Cloudflare is providing email routing service with their free tier plan.
Prerequisites
- Your own Domain
- Domain Added to Cloudflare
If you do not own a domain already you can get free domain from freenom.com for one year .
You can follow the step by step guide to get free domain from my one of previous blog post.
To add your domain to Cloudflare you can follow the guide from here
Create and Route Custom email
Step 1) Log into your Cloudflare account. You can see all your added domain addresses in the home page.
Click on the domain for which you want to setup your custom email.

Step 2) Click on the Email option on the top menu
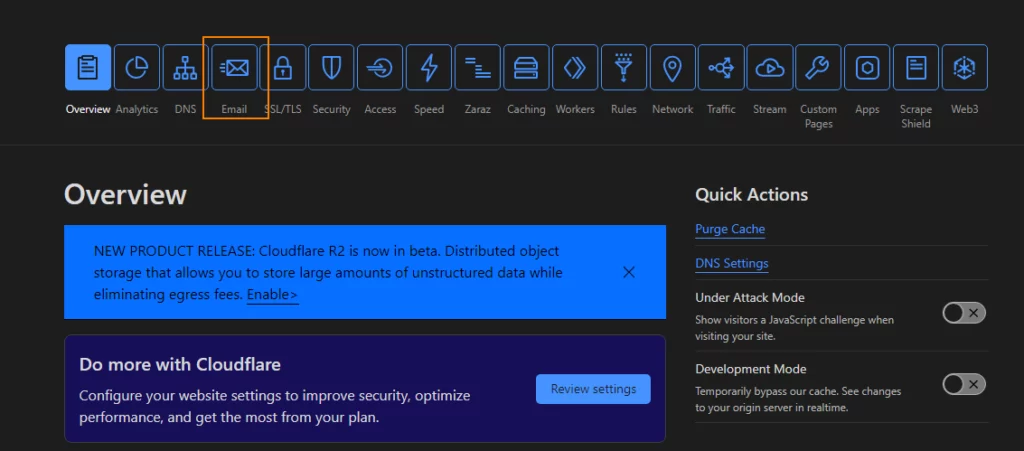
Step 3) Click on the Enable Email Routing link
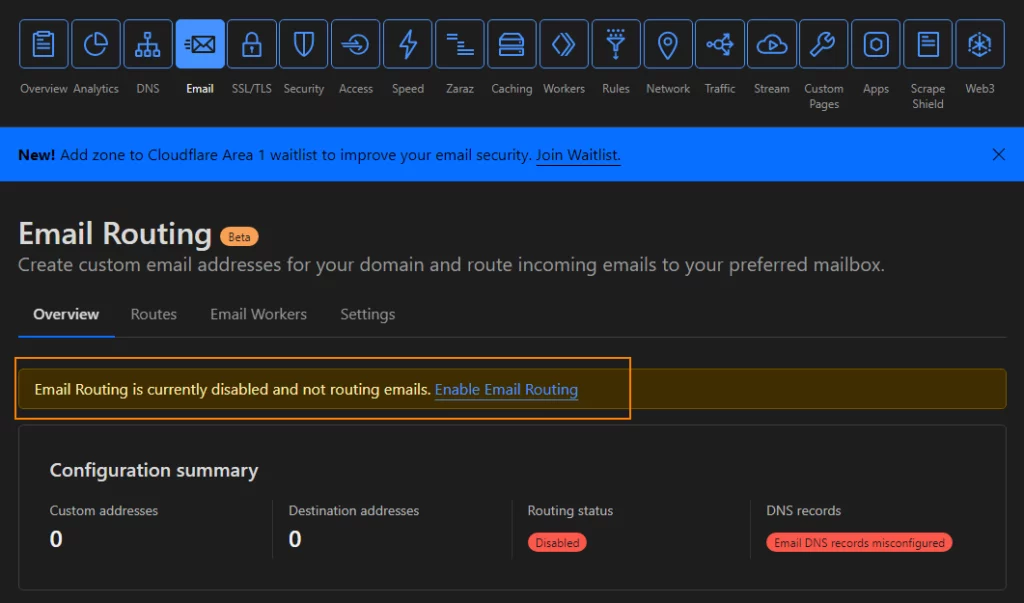
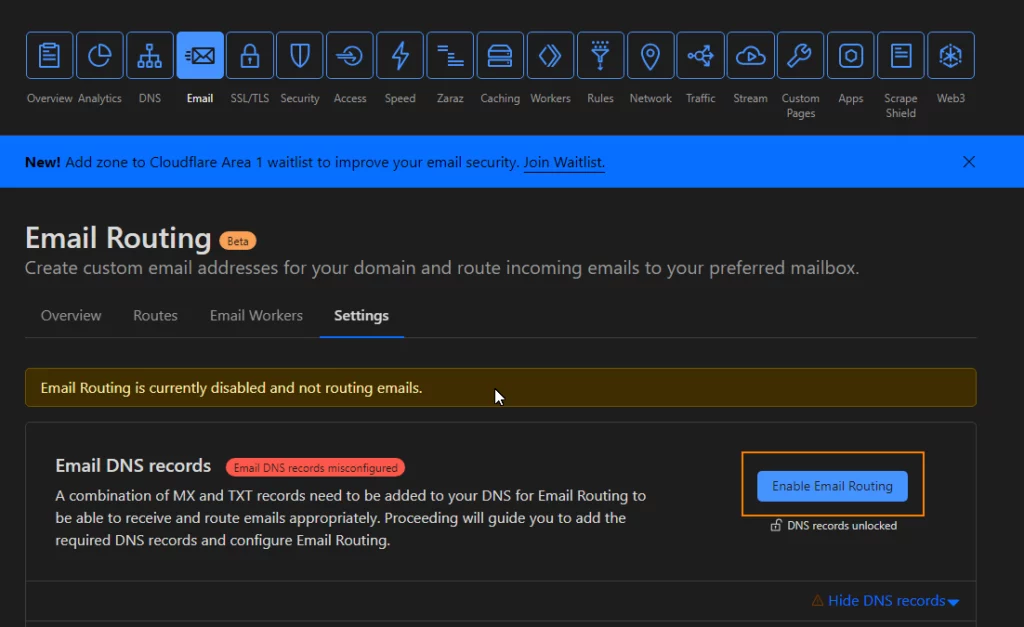
Step 4) You will navigate to Settings tab of Email Routing.
Click on the Enable Email Routing button.
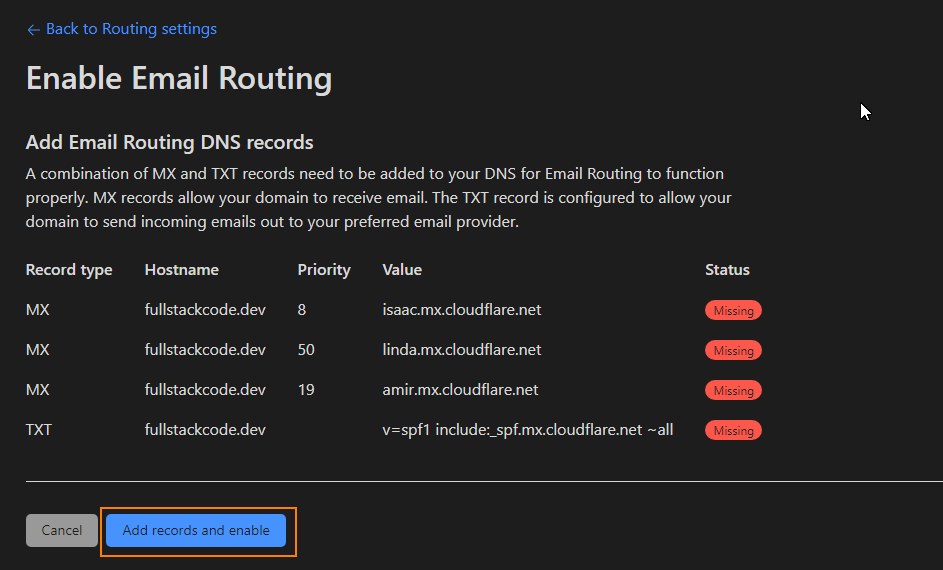
Step 5) The next screen shows the DNS records to be added to enable email routing.
Click on Add records and enable button
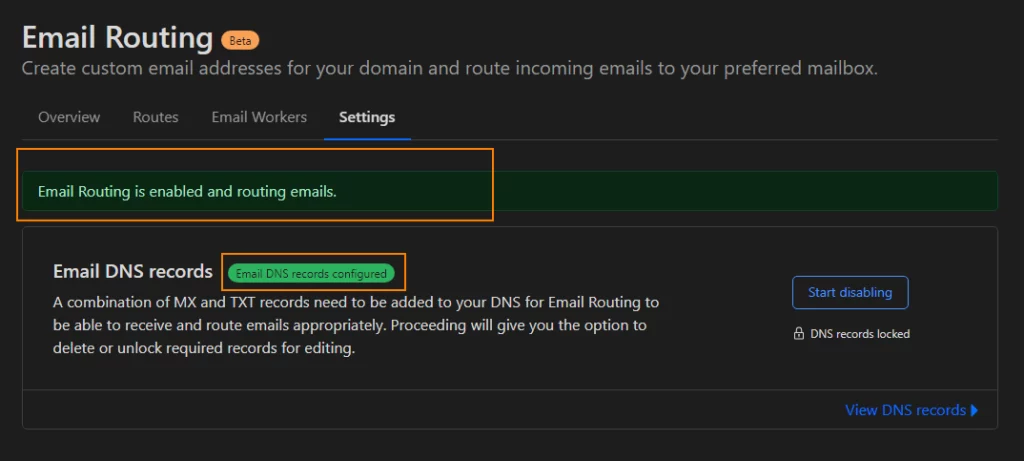
Step 6)The next screen shows Email routing is enabled successfully for your domain.
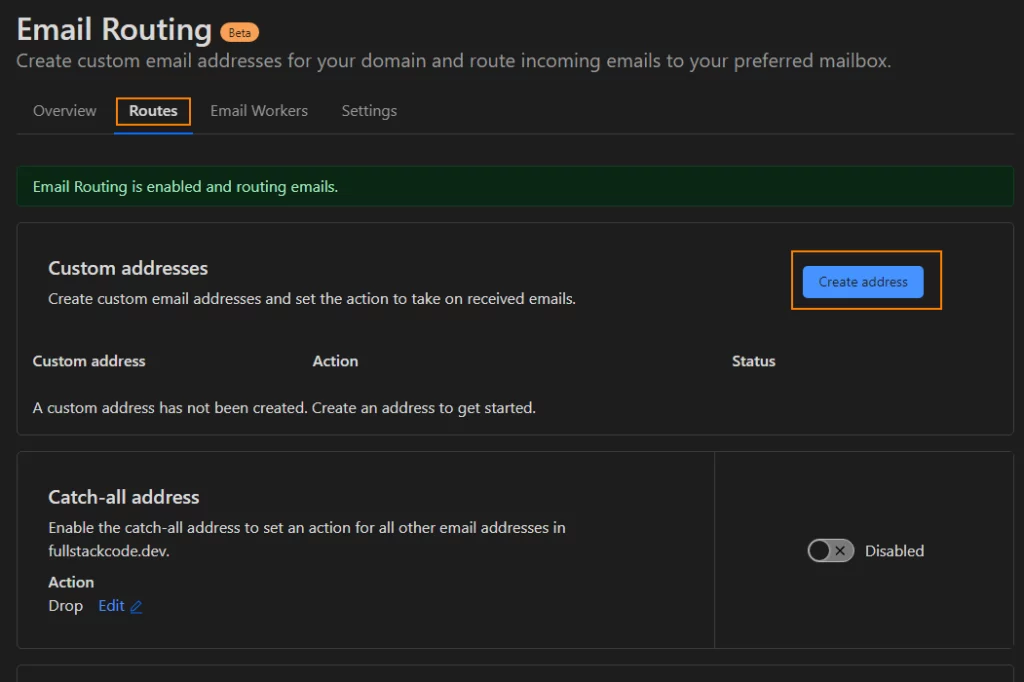
Step 7) Click on the Routes tab
Click on Create Address button
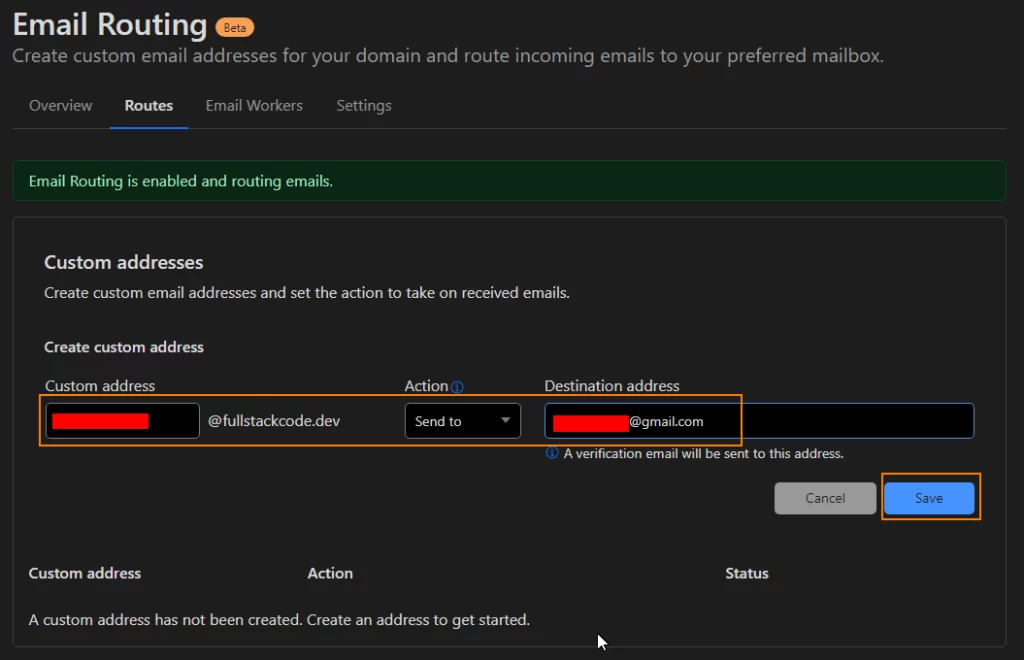
Step 8) Enter custom/business email address you want to create and enter destination email address where you want email forwarded to and click on Save button.
Step 9) Next screen shows the all the custom email addresses setup for that domain along with currently setup custom email.
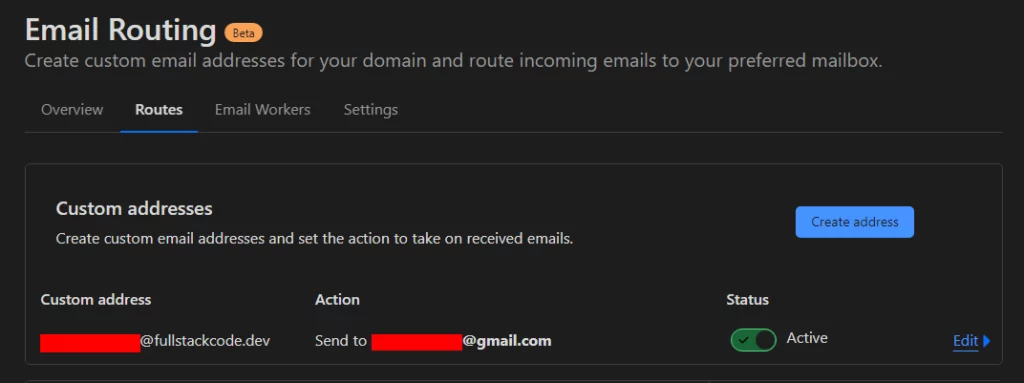
Step 10) Once you add email routing for custom email address, Cloudflare will send confirmation email to your destination email address. You need to verify the email only once and can use that address as destination email address for any custom email .
Open your mail and click on the link to verify your email address.

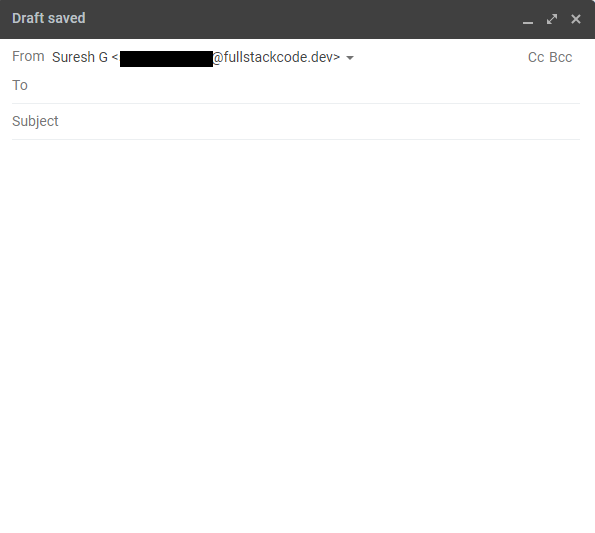
Step 11) Now send a test email to your custom email address. You should receive the email in your destination email inbox.

We have seen how to receive email for custom email address.
Next we will see how to send email using custom email address.
We are going to perform following steps
- Adding custom email address to Gmail account
- Using the Gmail smtp server to send mail using custom email address.
Enabling 2FA for Gmail
First we need setup 2 Factor authentication for Gmail account which is used as destination address.
This step is mandatory to authenticate with the google smtp server.
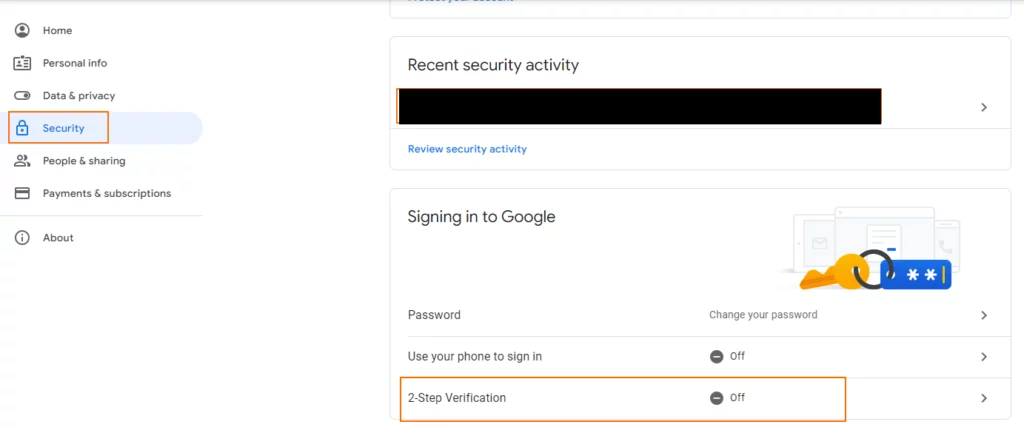
Step 12) Got to myaccount.google.com and login to your account.
on the left side menu, click on the security option and click on the 2-step verification option to enable it.
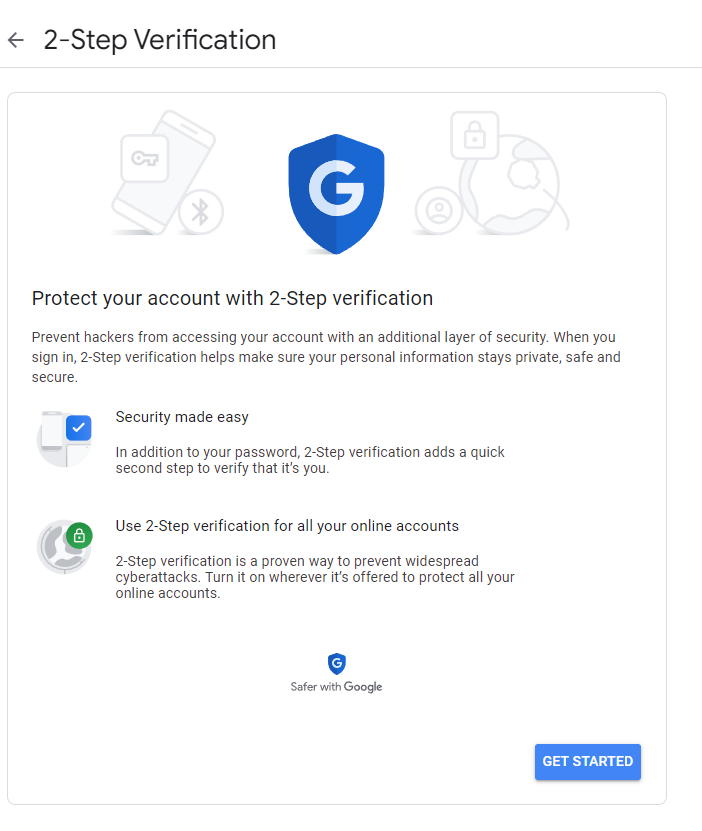
Step 13) Next click on the Get Started button
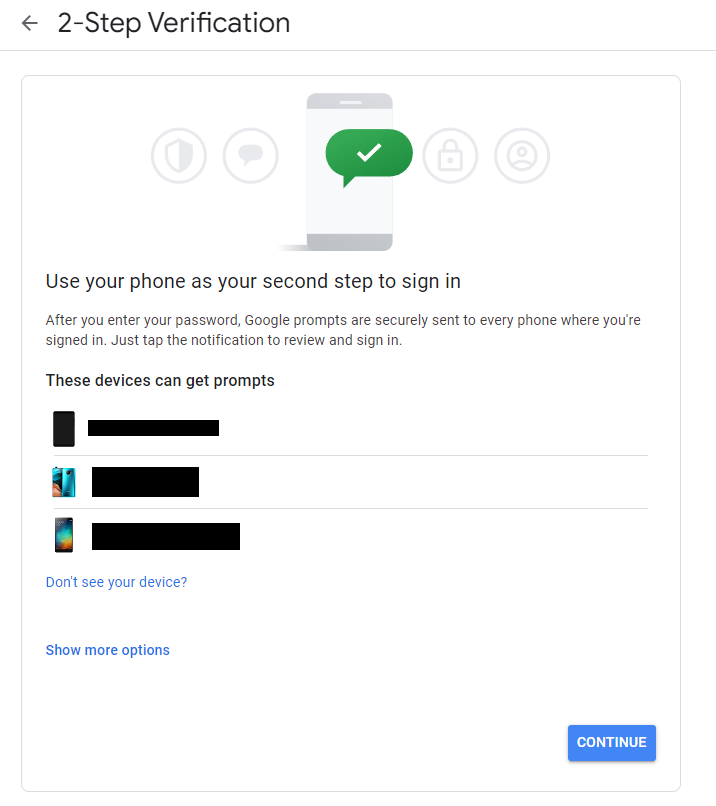
Step 14) The next screen shows all the mobile devices associated with your email.
Click on continue button.
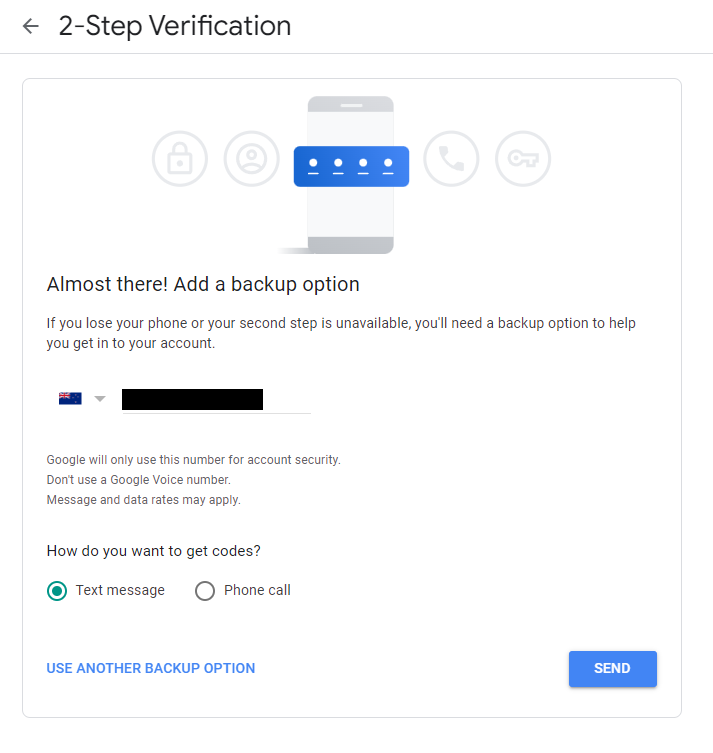
Step 15) Next add your phone number as backup option for 2FA.
Choose Text or Phone call option to verify the number and click on Send button.
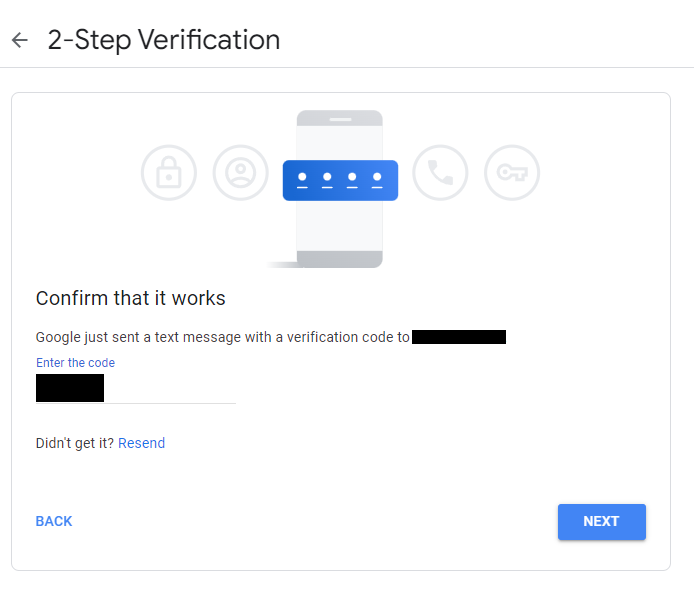
Step 16) If you choose Phone as verification option, you will receive a call.
If you choose Text as verification option you will receive text message.
Enter your received code and click on the Next button.
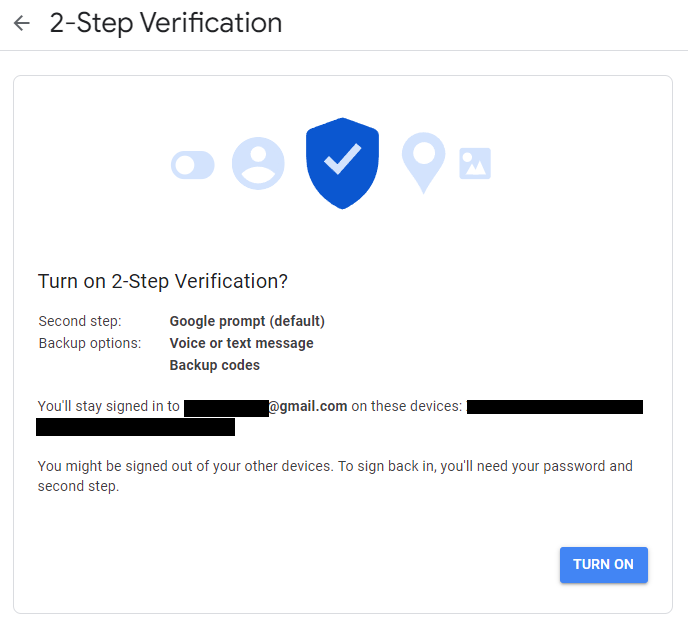
Step 17) Verify the 2-Step verification options and click on Turn On button to complete 2FA process
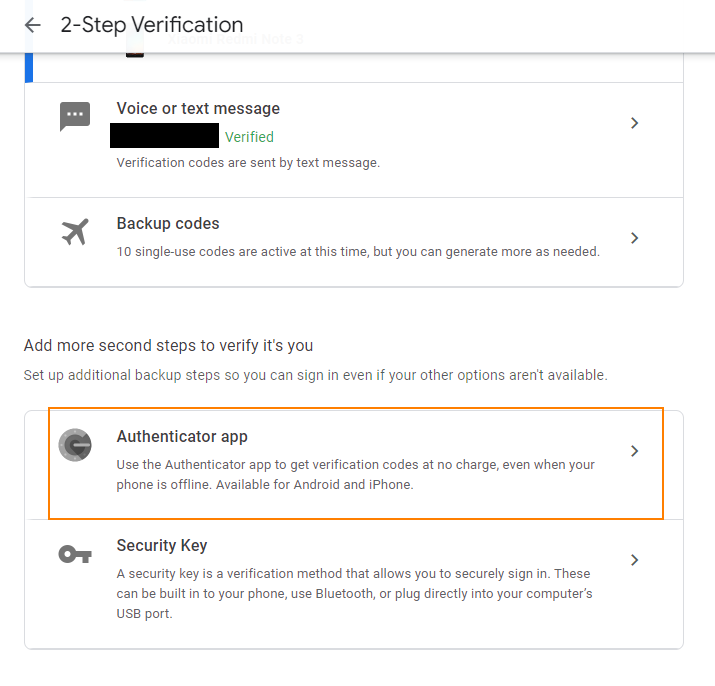
You can also setup 2FA with Google authenticator app as additional backup step
Creating Application password
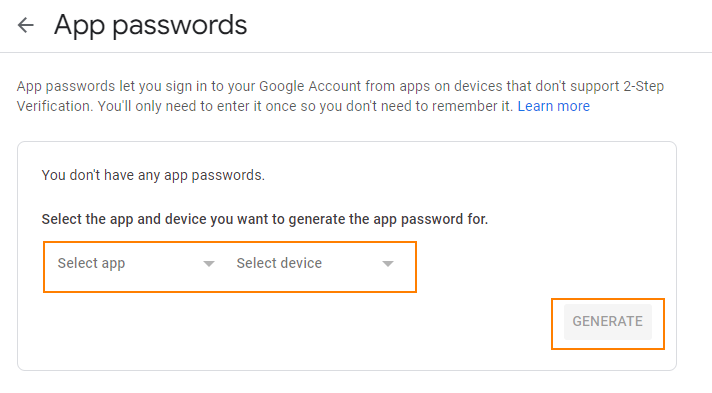
Step 18) Next we need to create application password to authenticate with google smtp server
Go to myaccount.google.com page
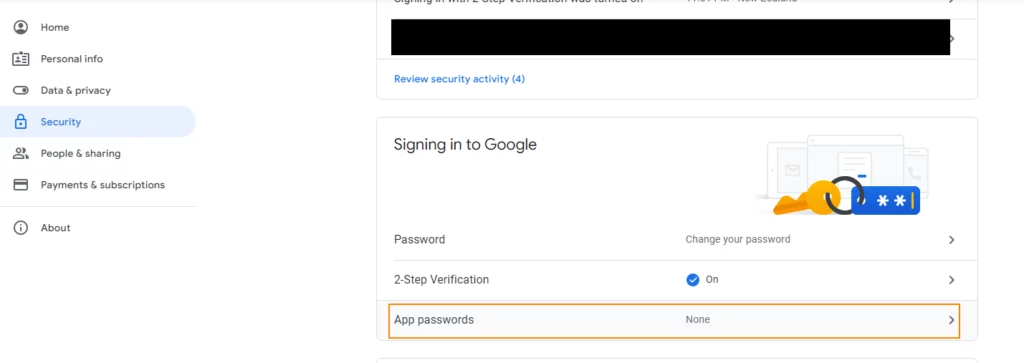
on the left side menu, click on the security option and click on App passwords option.
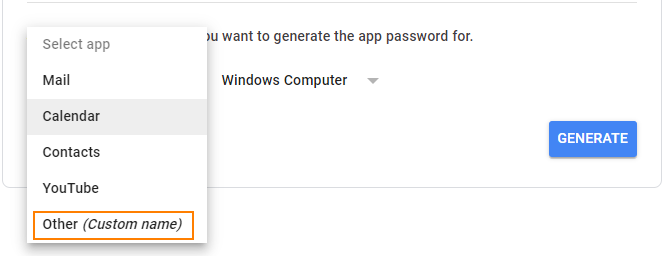
Step 19) Click on Select App dropdown and select Other option from dropdown
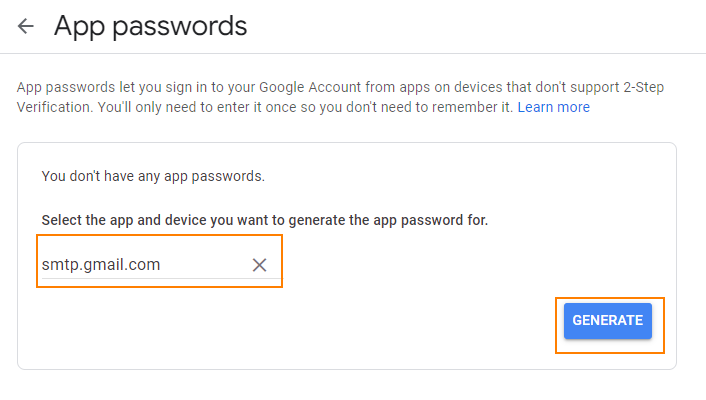
Step 20) Enter relevant name in the given textbox and click on Generate button
Step 21) Next screen shows the password , which you can use it for authenticating for google smtp.
keep this screen aside, we will use this password in next steps.
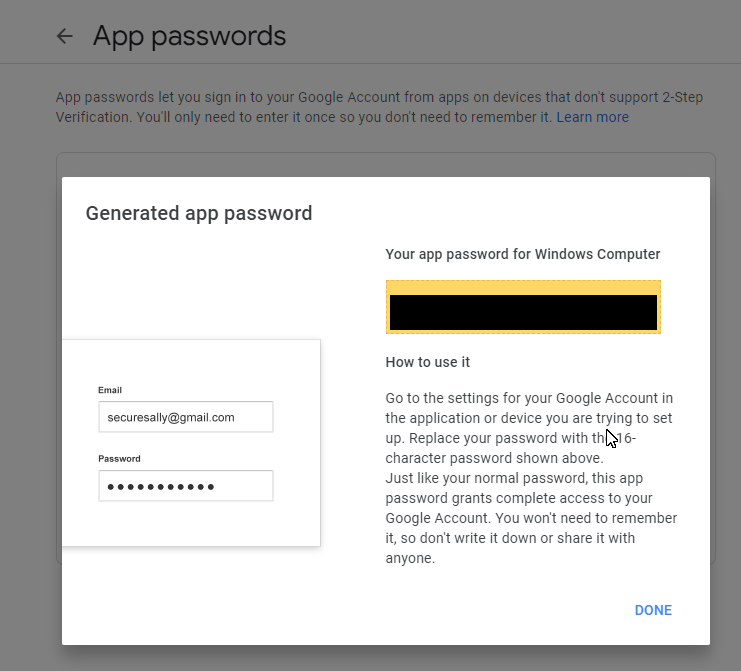
Note
Please do not store this password any where or share it with anybody.
Adding Custom Email to Gmail Account
Gmail allows us to add custom email address and send email with that address.
Step 22) Go to Gmail home page. Click on the settings icon on the top right corner.
Next click on the See all settings link

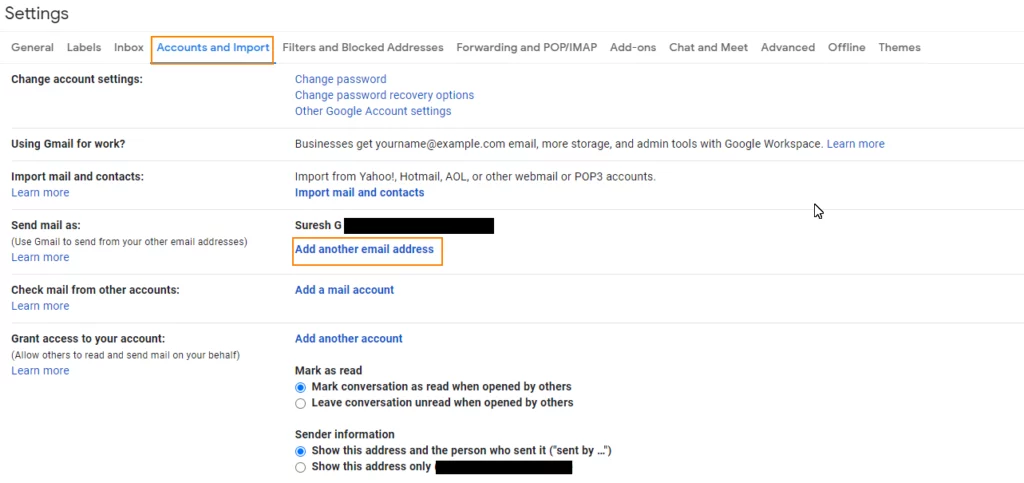
Step 23) In settings page click on the Accounts and Imports tab.
Next click on the add another email address link. It will open popup window.
Step 24) Enter the your name and custom email address and select Treat as an alias option and click on Next Step

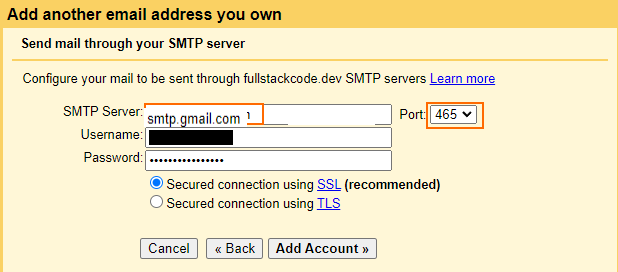
Step 25) In next screen enter following details
SMTP Server : smtp.gmail.com
Port : 465
User Name : your gmail user name
Password : password generated in Step 21
Click on the Add Account button
Step 26) Next you will receive confirmation code in your mail. Enter verification code and click on Verify button.

Step 27) You should see the custom email added in Gmail settings

Step 28) Now you should be able to send mail using your custom email address.