Run MySQL Database with Docker
This tutorial will show you how to setup and run MySQL database with Docker.
MySQL is the world’s most popular open source database.
MySQL database is available in community and Enterprise edition.
We can install MySQL community edition on our systems by downloading corresponding installation files from official website.
Instead of installing as native application you can also run MySQL Database with Docker. By running MySQL as container you can easily experiment with different versions of database.
Required Software
Optional Software
- DBeaver ( Optional )
Now Let’s look at the process to run MySQL database as docker container
Step 1) create a new directory for the project and navigate into it
mkdir mysql && cd mysqlCode language: DOS .bat (dos)Step 2) Create a docker compose file (docker-compose.yml) with following configuration
version: '3.1'

services:

  db:
    image: mysql:8.0
    container_name: mysqlserver
    command: --default-authentication-plugin=mysql_native_password
    restart: always
    ports:
      - 3306:3306
    environment:
      MYSQL_ROOT_PASSWORD: root
Note
Above docker compose file runs MySQL version 8.0.
If you want to run different version of MySQL database , please change version like below.
image: mysql:5.7
Step 3) Open command prompt and navigate to mysql folder run following command
docker-compose upCode language: Shell Session (shell)If you want to run in background, you can run the following command
docker-compose up -dCode language: Shell Session (shell)Above command will download the image ( for the first time) and start the database in container.
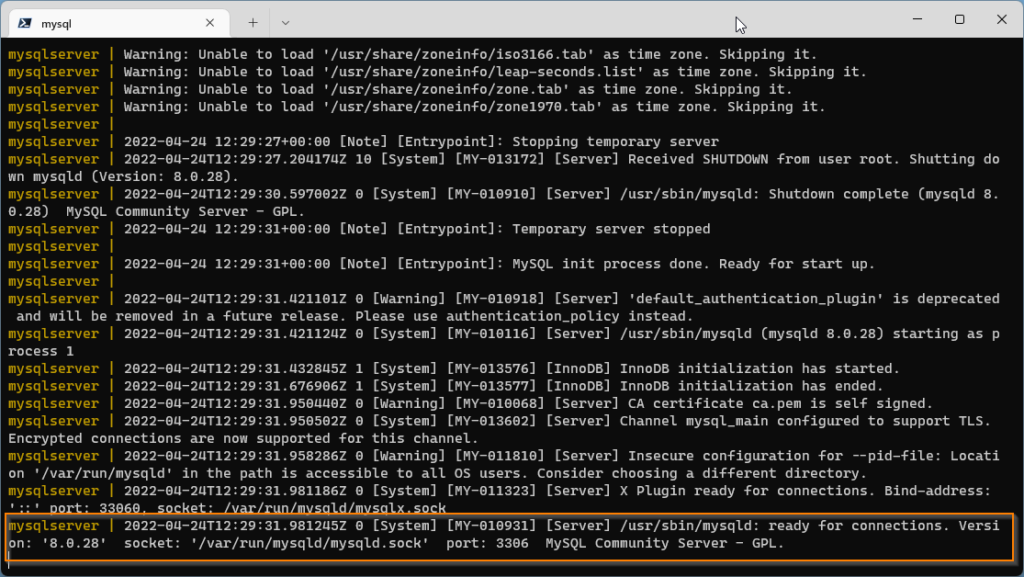
The database is started at port 3306.
Connecting to Database with DBeaver SQL client
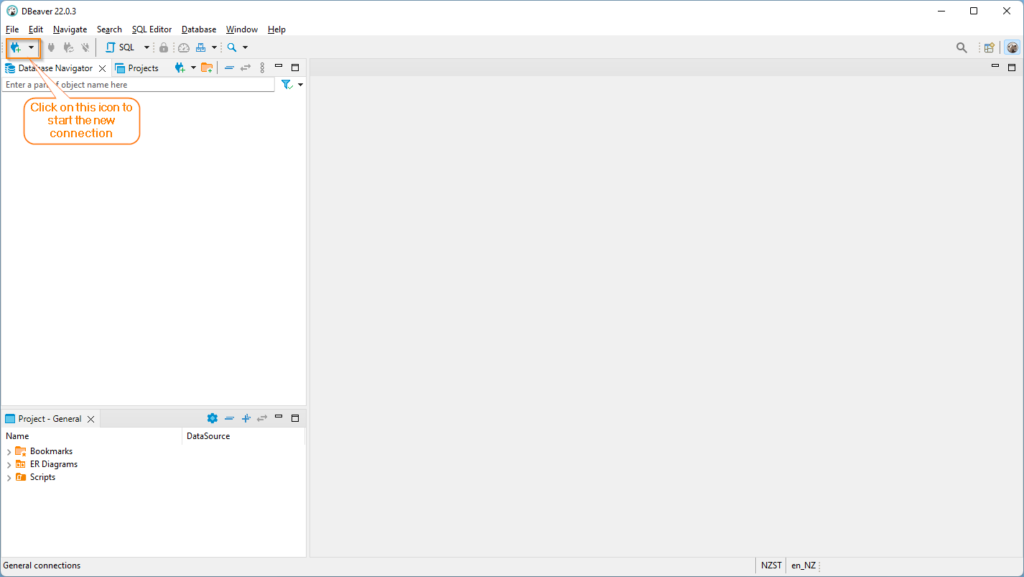
Step 4) Now lets open the DBeaver application and connect to the newly started mysql database.
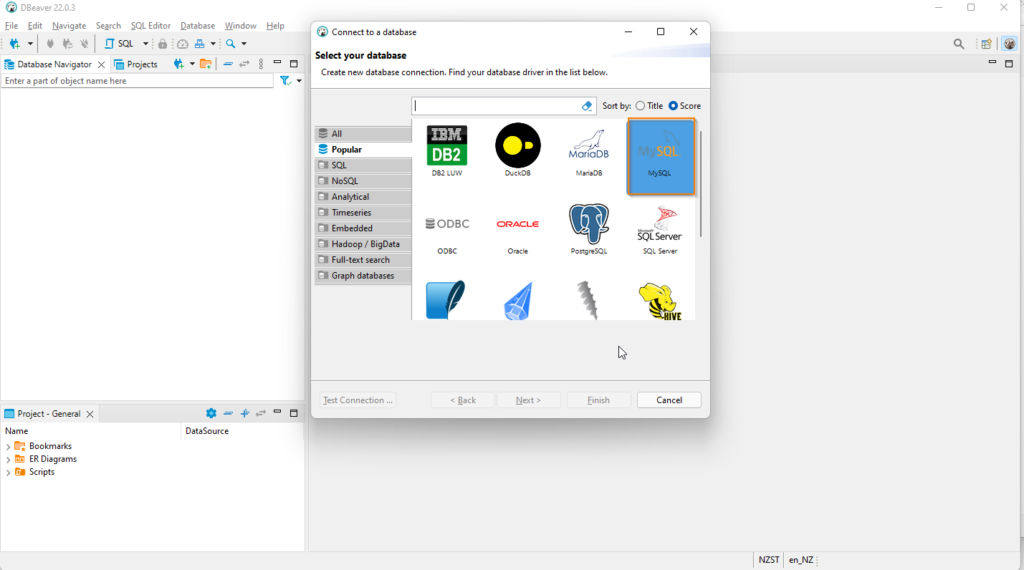
Click on the new connection icon and from popup dialog select the MySQL database option and click on Next button
Enter hostname , port, username and password on click on finish button. You can also test the connection by clicking on the Test connection button
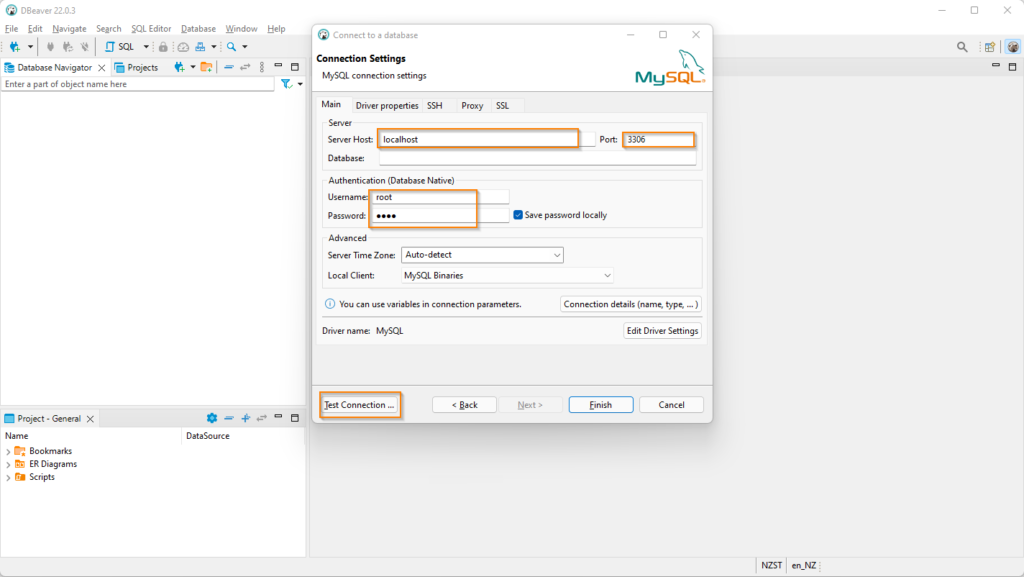
Note
port, password details are available in docker-compose.yml file. Default user is root for mysql.
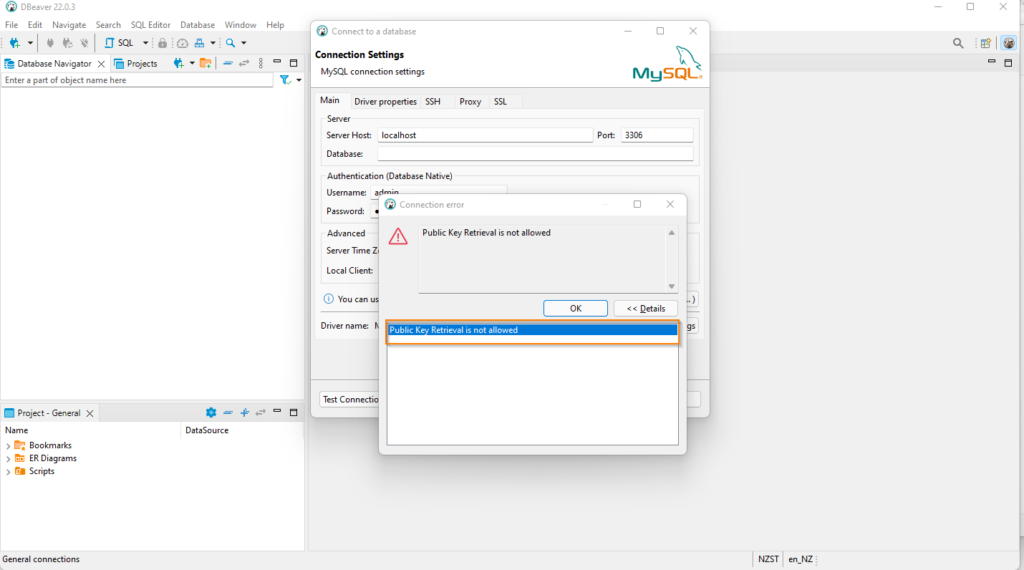
When you try to connect for the first time you might see error message like below. Please check the troubleshoot section for the solution
Public Key Retrieval is not allowed
Now you can access MySQL database server started with docker container.

Now you can create schemas and tables in the database but once you stop the container all the data will be lost.
You can stop the container with following command
docker-compose downCode language: Shell Session (shell)Trouble shooting
When connecting MySQl database for the first time , you might see error message like below.
Public Key Retrieval is not allowed
You can resolve this issue in 2 ways.
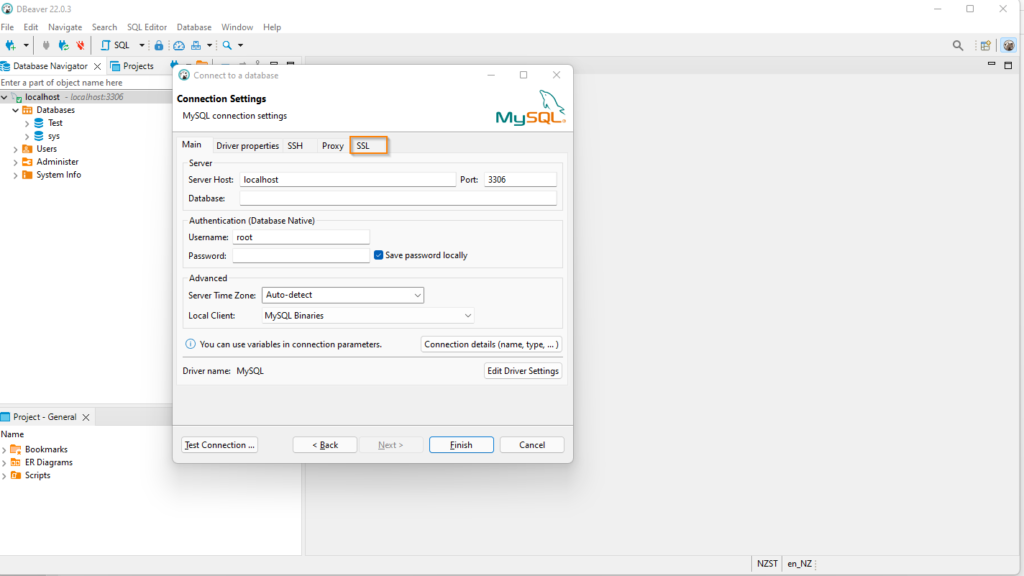
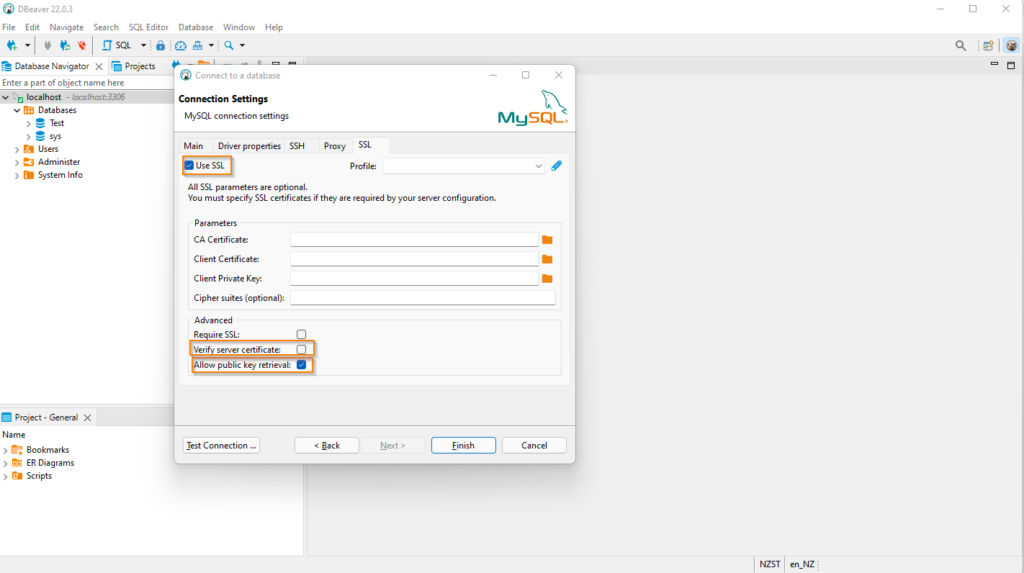
Select options on SSL tab
On connection settings window, go to the SSL tab
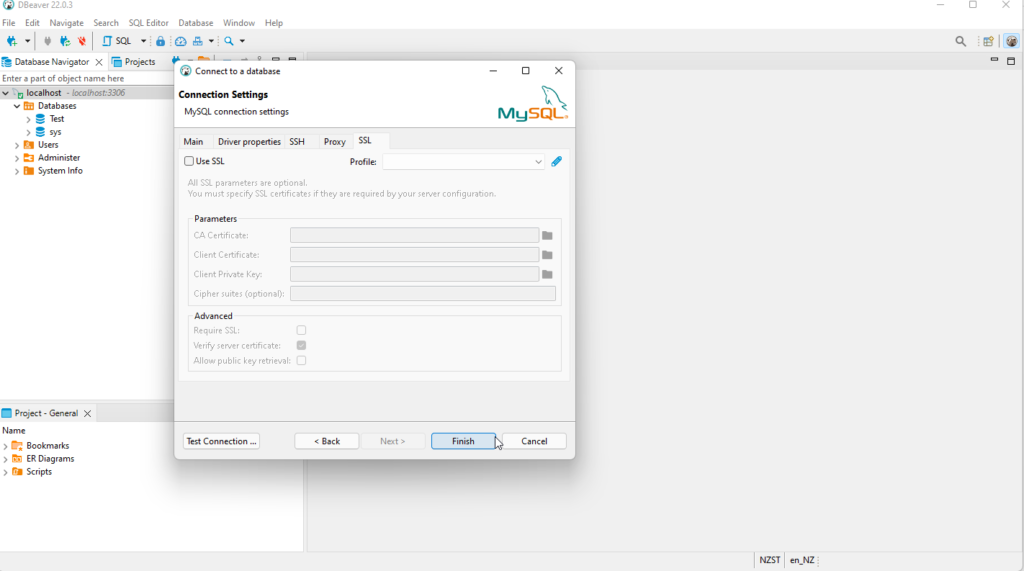
Check Use SSL option , Un Check the Verify Server Certificste, check Allow Public Key Retrieval option.
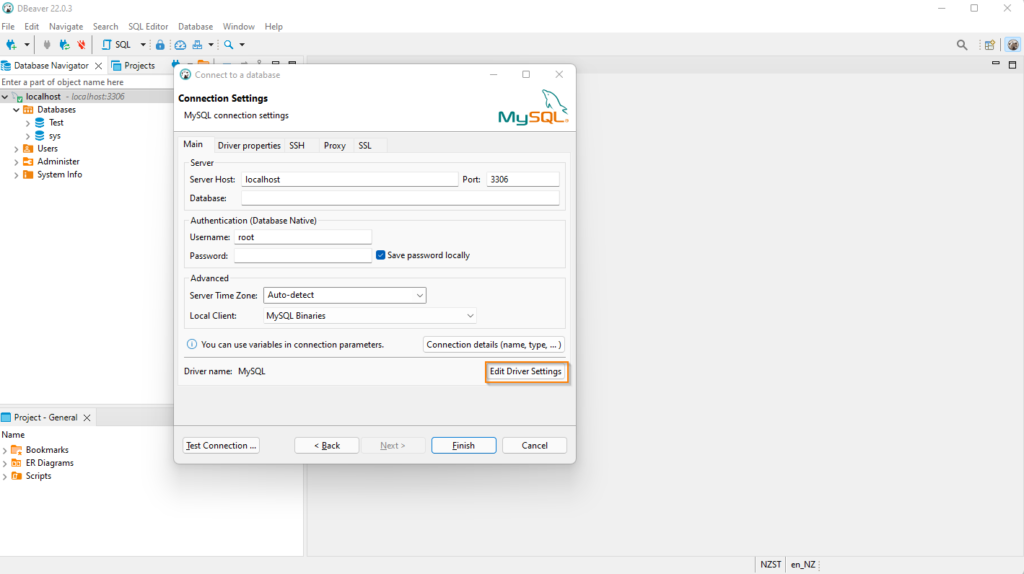
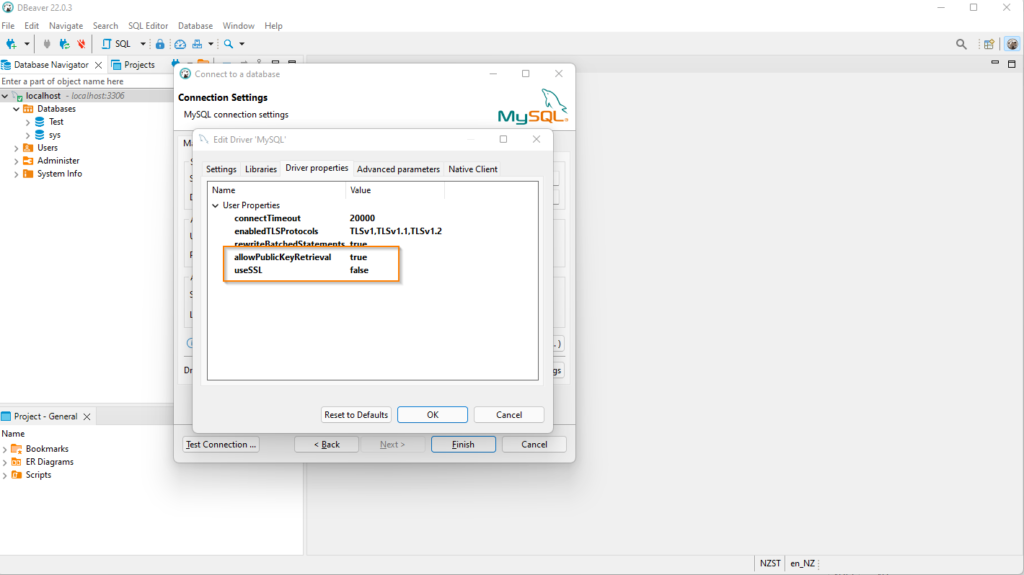
2. Using Driver settings.
On connection settings window, Click on the Edit Driver Settings window
Click on “Driver properties” tab
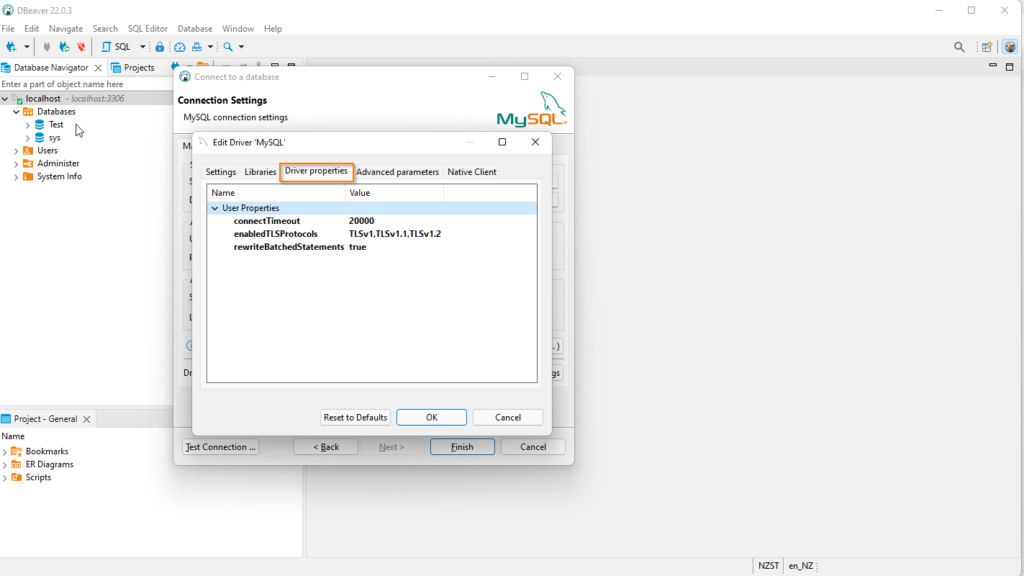
Right click the “Driver properties” area and choose “Add new property”
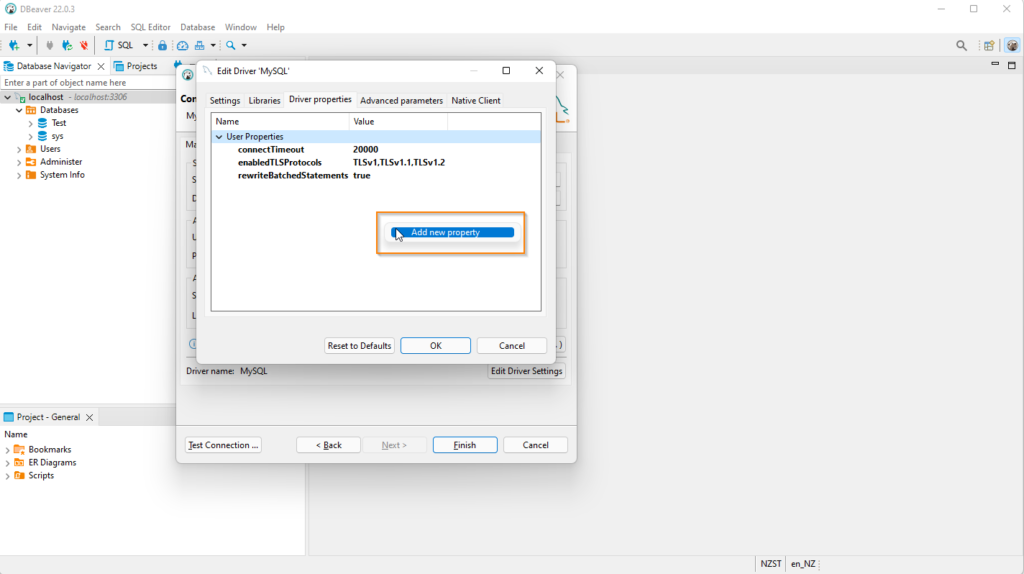
Add below two properties
useSSL -> false
allowPublicKeyRetrieval -> true
JDBC Connection
If you are trying to connect from java program use jdbc connection URL like below to resolve the issue
spring.datasource.url=jdbc:mysql://localhost:3306/db-name?useUnicode=true&characterEncoding=UTF-8&allowPublicKeyRetrieval=true&useSSL=false
Persisting the Data
If you are looking for temp database above configuration is fine but if you want data to persist so that it is available when ever we start the container then we need to create a volume and store the data in it.
docker-compoe file with volume configuration.
version: '3.1'

services:

  db:
    image: mysql:8.0
    volumes:
      - ./mysql-data:/var/lib/mysql
    container_name: mysqlserver
    command: --default-authentication-plugin=mysql_native_password
    restart: always
    ports:
      - 3306:3306
    environment:
      MYSQL_ROOT_PASSWORD: root
Now all the changes will be persisted across container restarts.
Adminer
Adminer is a full-featured light weight database management tool written in PHP.
Instead of using the DBeaver SQL client, we can bundle Adminer in the docker-compose file.
version: '3.1'

services:

  db:
    image: mysql:8.0
    volumes:
      - ./mysql-data:/var/lib/mysql
    container_name: mysqlserver
    command: --default-authentication-plugin=mysql_native_password
    restart: always
    ports:
      - 3306:3306
    environment:
      MYSQL_ROOT_PASSWORD: root

  adminer:
    image: adminer
    restart: always
    ports:
      - 8080:8080
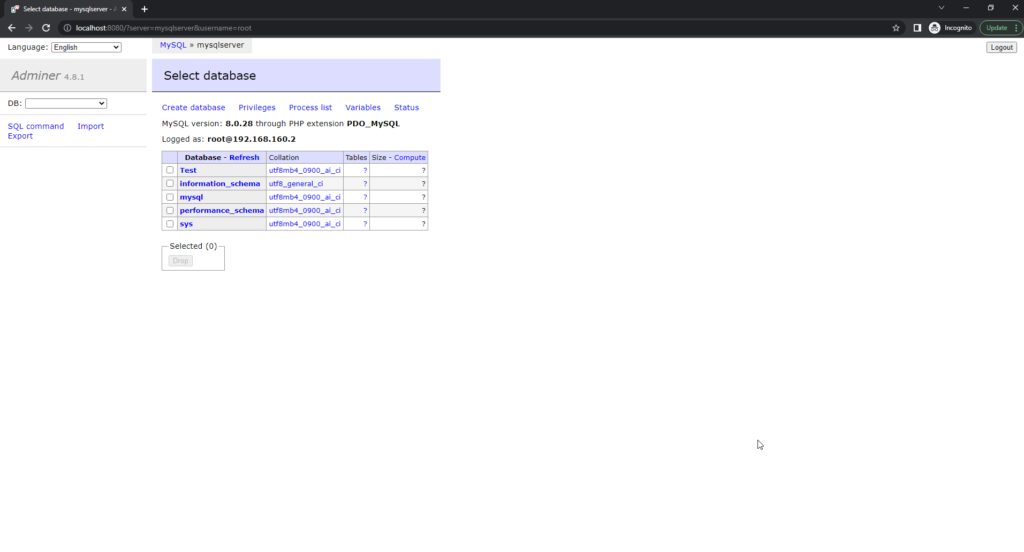
After starting the containers, we can access Adminer from from browser.
Open the browser and navigate to localhost:8900.
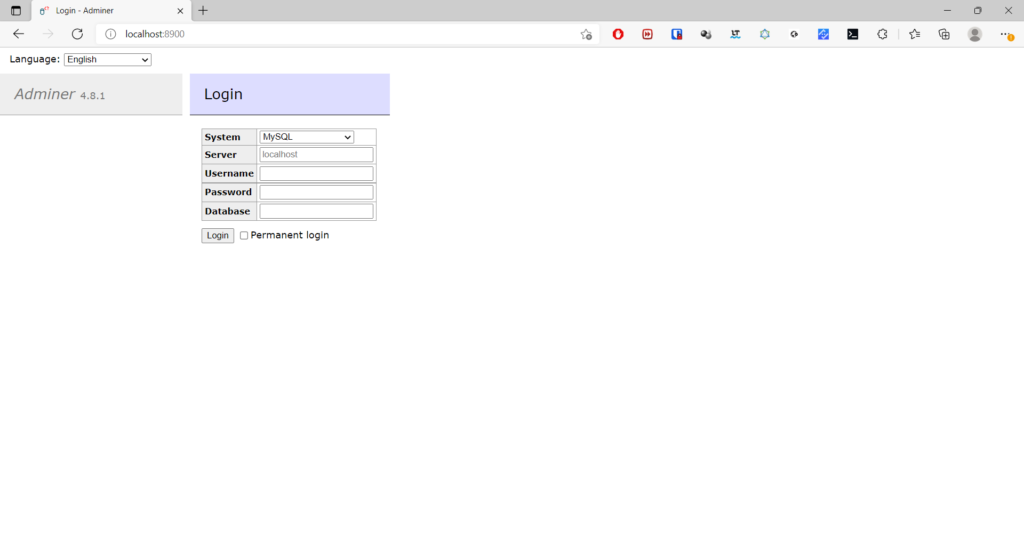
To access the database, enter the details like below. In server field you need to enter the container name defined in the docker compose file( not localhost)

You can download docker-compose file from GitHub