Build and Release Spring Boot 3 Native Image Binary with GitHub Actions
In this post, how to build and release native image of Spring Boot 3 application with GraalVM using CI/CD pipeline of GitHub Actions.
In one of my previous blog posts, I have shown you how to build native image of spring boot 3 framework application in local system.
In this blog post, we will take one step further and build the native image with CI/CD pipeline using GitHub Actions and also release the binary.
Interesting aspect of building native image is, native image are specific to operating system, so we need to build the application once per each OS (Windows,Linux,MacOS) and architecture ( Arm,X64).
Notice
I am going to use the below repo from GitHub for demonstration.
https://github.com/sureshgadupu/sb3-native-image
Creating GitHub Action Files
Build Action
Create .github/workflows directory in root of your projects.
Inside workflows folder create “native-application.yaml” file
Below action files does the following
- 1.Checks out the code
- 2.setup the GraalVM
- Build the Native Image
Please also observe that, we are using the Windows ,Ubuntu and Mac OS to build the image.
name: SpringBoot GraalVM Native Image builds
on: [push, pull_request]
jobs:
build:
name: SpringBoot Native Application on ${{ matrix.os }}
runs-on: ${{ matrix.os }}
strategy:
matrix:
os: [macos-latest, windows-latest, ubuntu-latest]
steps:
- uses: actions/checkout@v3
- uses: graalvm/setup-graalvm@v1
with:
version: '22.3.1'
java-version: '17'
components: 'native-image'
github-token: ${{ secrets.GITHUB_TOKEN }}
native-image-job-reports: 'true'
- name: Build with Maven
run: mvn --batch-mode -Pnative native:compileCode language: YAML (yaml)Releasing Binary
Setup Secret Key with GPG
To create a release first we need to sign the commit. So we need to setup the secret key with GPG to sign the commit.
You can follow the below link to install and setup the secret key and add GPG key to
Configure Git to sign all commits by default
You can configure the git to sign all commits by defaults by running the following commands.
- C:\> git config –global user.signingkey [short-key]
- C:\> git config –global commit.gpgsign true
- C:\> git config –global gpg.program “C:/Program Files (x86)/gnupg/bin/gpg”
The resulting .gitconfig should look like below
[user]
    name = Your Name
    email = your@email.com
    signingkey = [short-key]
[commit]
    gpgsign = true
[gpg]
    program = C:/Program Files (x86)/gnupg/bin/gpg
Code language: Java (java)
Once you setup the GPG secret key, when ever you commit the changes, you will be prompted for enter GP secret key password.
Creating Release Action File
Now let’s see, how to release the built binary with GitHub Action.
Inside .github/workflows, folder create release.yaml file.
The following action file builds the native image and uploads the binary to release when tag is pushed .
# https://docs.github.com/en/actions

name: "Release"

on: # yamllint disable-line rule:true
  push:
    tags:
      - "**"

jobs:
  build-native-image:
    name: SpringBoot Native Application on ${{ matrix.os }}
    runs-on: ${{ matrix.os }}
    strategy:
      matrix:
        include:
          - os: ubuntu-latest
            artifact_name: sb3-native-image
            asset_name: sb3-native-image-linux-amd64
          - os: windows-latest
            artifact_name: sb3-native-image.exe
            asset_name: sb3-native-image-windows-amd64.exe
          - os: macos-latest
            artifact_name: sb3-native-image
            asset_name: sb3-native-image-macos-amd64
    steps:
      - uses: actions/checkout@v3

      - uses: graalvm/setup-graalvm@v1
        with:
          version: '22.3.1'
          java-version: '17'
          components: 'native-image'
          github-token: ${{ secrets.GITHUB_TOKEN }}
          native-image-job-reports: 'true'

      - name: Build with Maven
        run: mvn --batch-mode -Pnative native:compile

      - name: Upload binaries to release
        uses: svenstaro/upload-release-action@v2
        with:
          repo_token: ${{ secrets.GITHUB_TOKEN }}
          file: target/${{ matrix.artifact_name }}
          asset_name: ${{ matrix.asset_name }}
          tag: ${{ github.ref }}Code language: Java (java)
Once you push the changes, to create a release run following commands.
git tag -s 0.0.1Code language: Java (java)0.0.1 is the name of the of release.
The above command opens the text editor, enter the tag info in the editor and close it.
Then push the tag.
git push --tagCode language: Java (java)If you observe the Action tab under your repo in GitHub, it will invoke the release workflow.
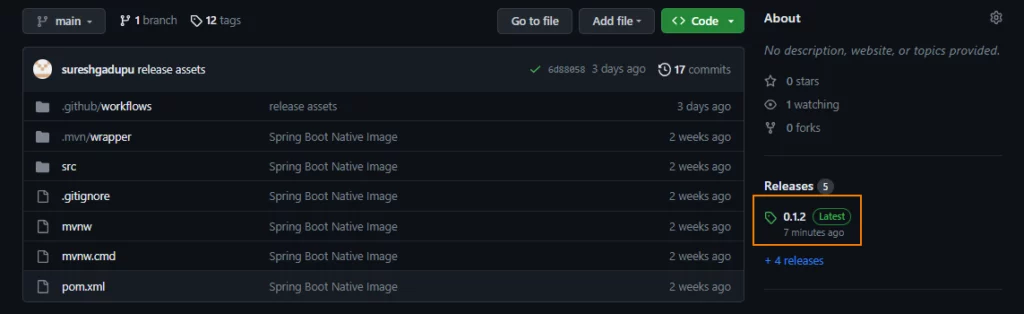
If workflow action runs successfully, you should see the release with given tag name as shown in below image
Once you click on the release, you can access the binary files and download them.
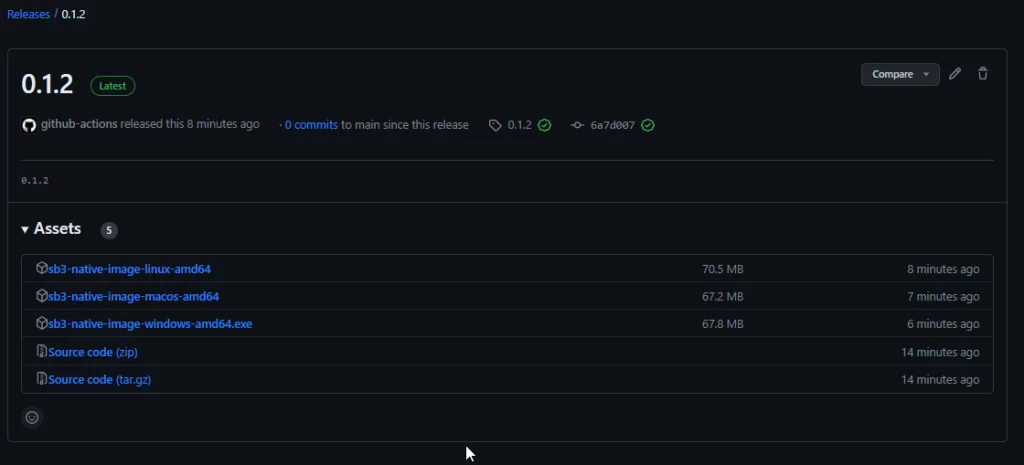
You can download the binaries corresponding to your OS and run them.
Running and Testing Native Image Application
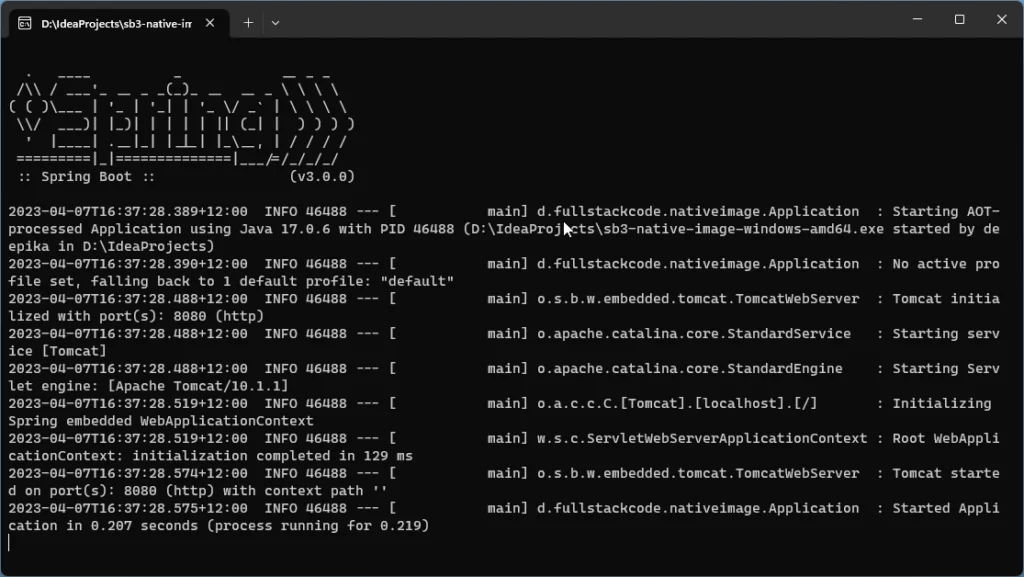
Download and running the exe file on Windows starts the spring application without the need of any JVM
Testing
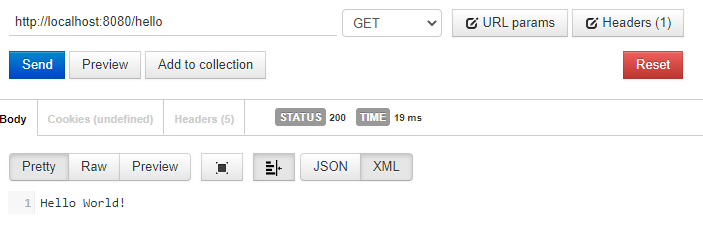
Let’s test the native image by invoking the REST API of application.
$ curl http://localhost:8080/hello
Hello World!Code language: Java (java)