Netlify – free hosting for your static websites
Netlify is platform for building and deploying/hosting websites. It provides generous free tier to experiment with platform.
In this blog post I will explain how to build and deploy/host websites on Netlify.

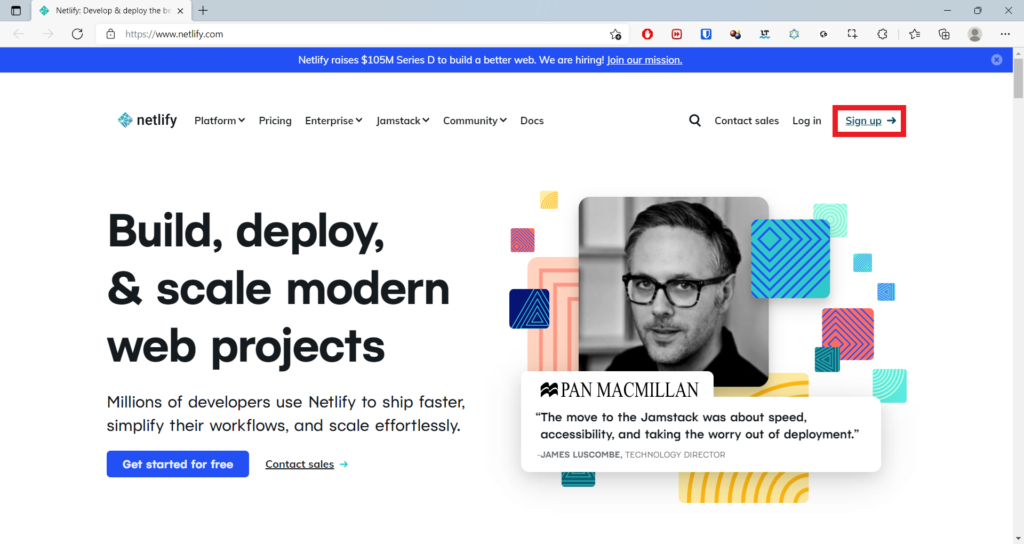
Go to netlify.com website and click on the Sign Up button
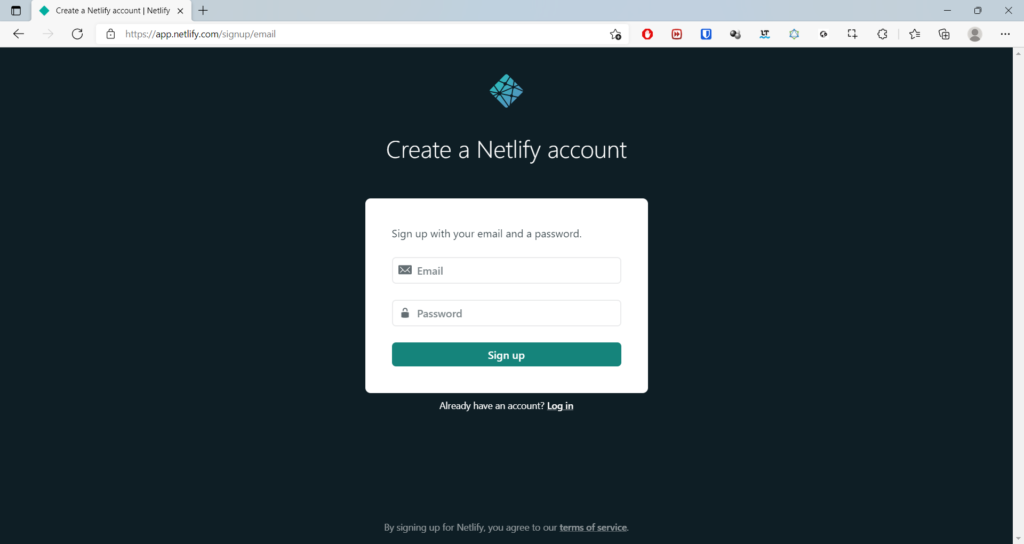
Netlify gives option to Sign Up with GitHUb, GitLab, Bitbucket or using your email. For this blog post I am going to Sign Up with my email. Click on the Email button.

Enter your email and Password to complete the Sign Up process.
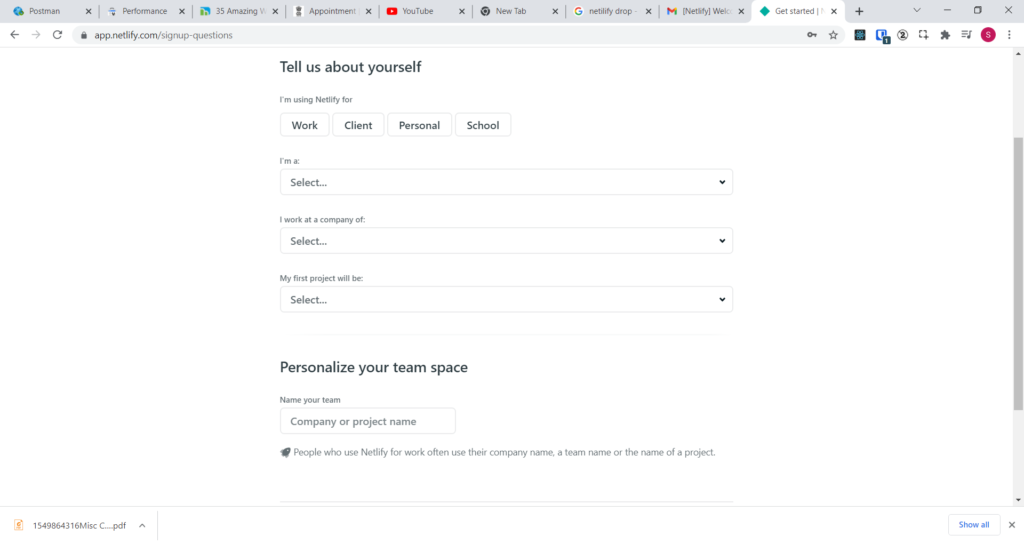
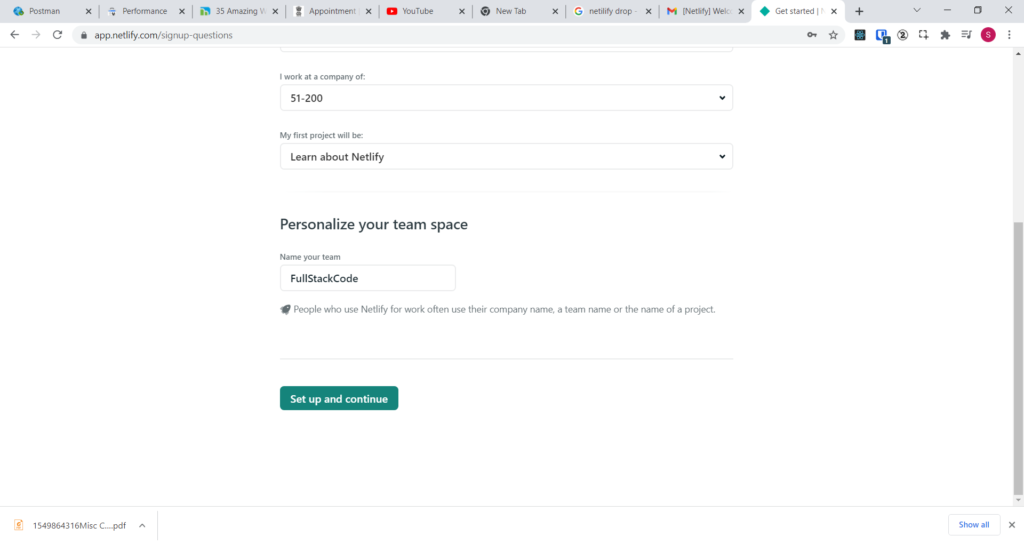
In the next screen, You will be asked few questions, please fill them and click on Setup and continue button.
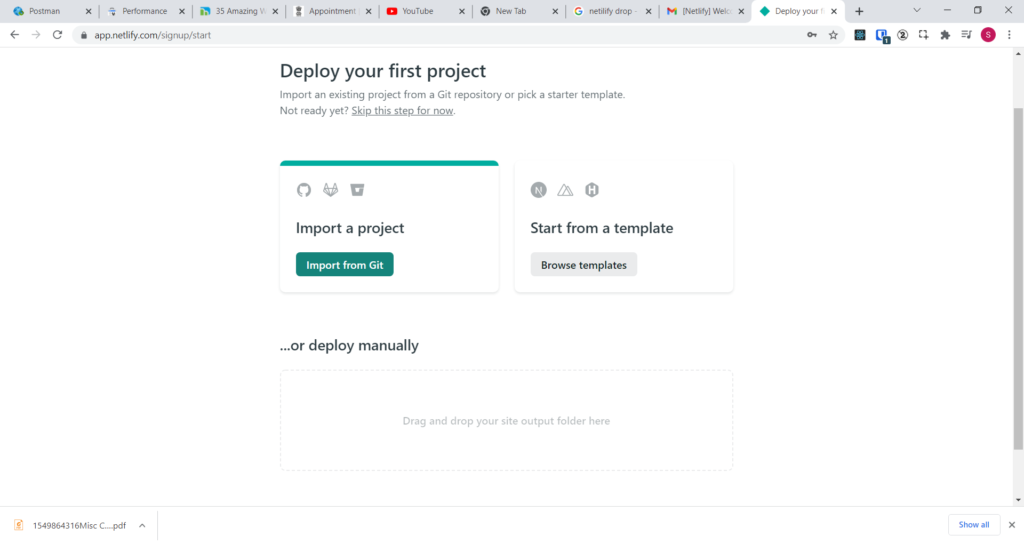
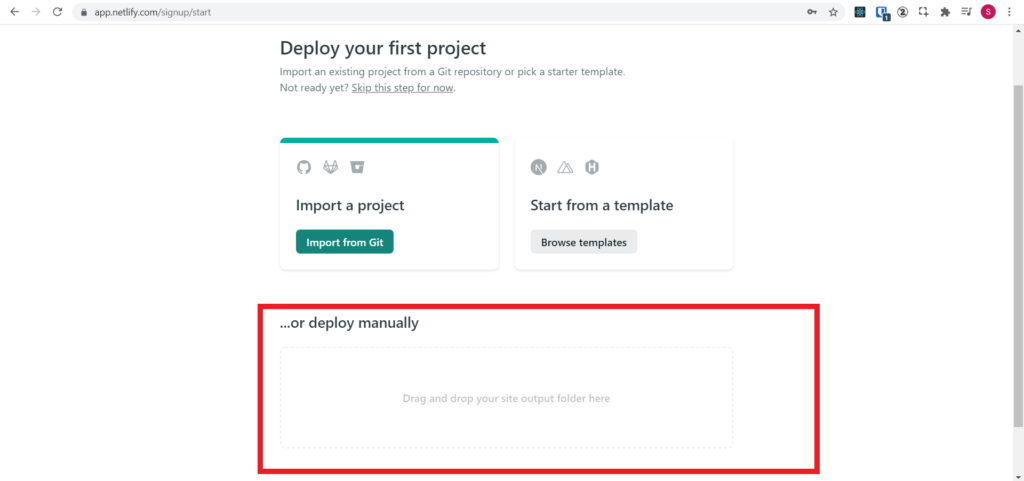
Netlify gives option to deploy the project in 3 ways.
- Importing from GitHub
- Building website from template
- Deploy manually
In this blog post, I am going to demonstrate deployment using 1 & 3 methods.
First I am going to show deploying project by importing project from GitHub
Importing from GitHub
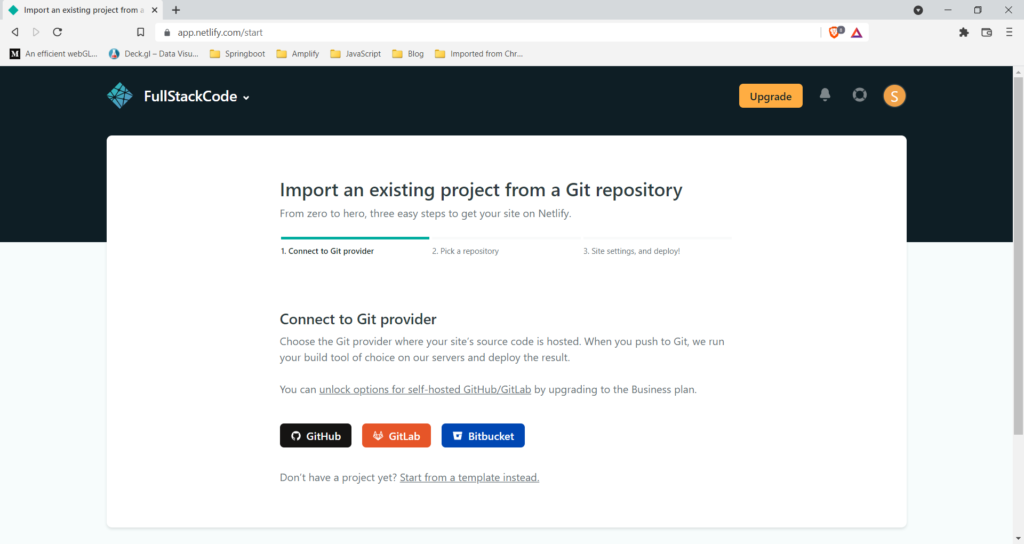
Click on the Import from Git button
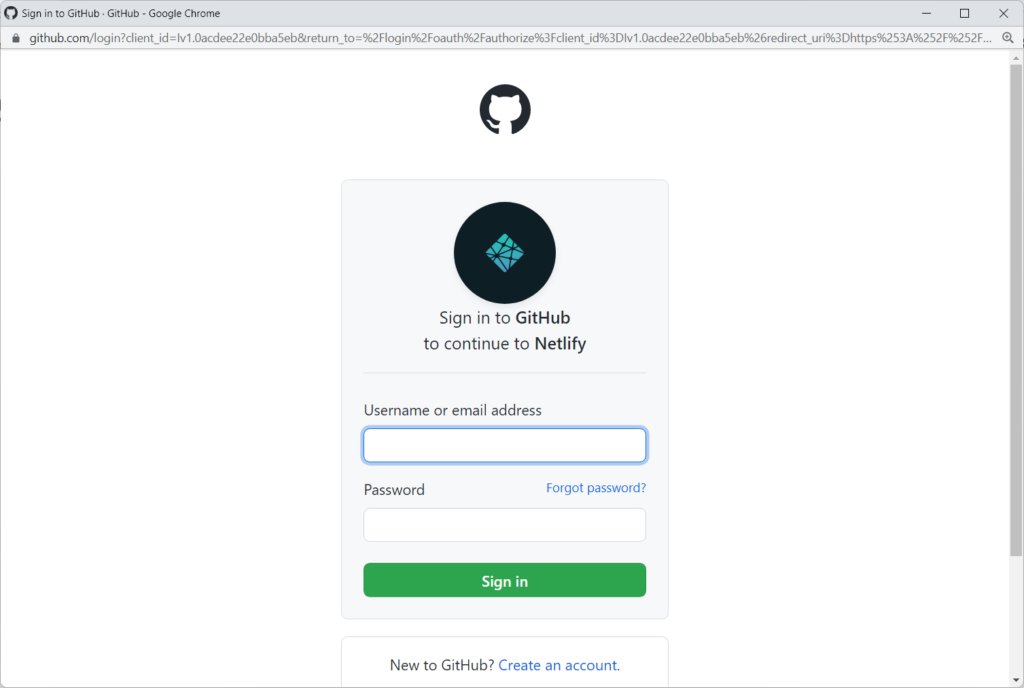
Connect to your Git provider by clicking on corresponding provider button.

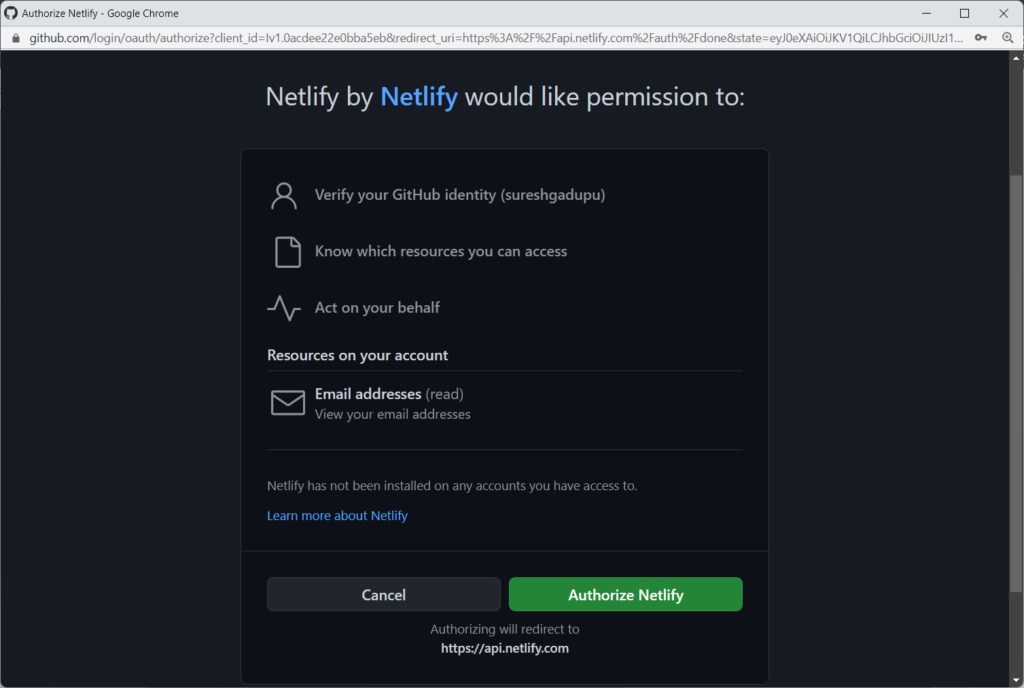
Sign into your Git provider and authorize Netlify to access the repositories by clicking on the Authorize Netlify button.
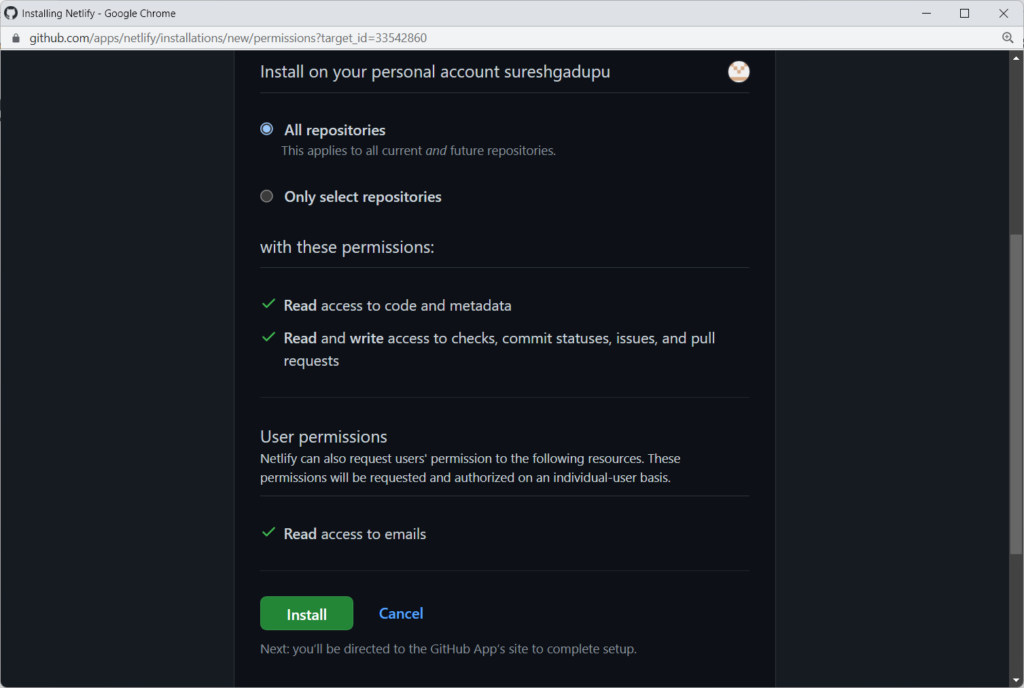
You can give access to all the repositories or you can limit access to specific repositories.
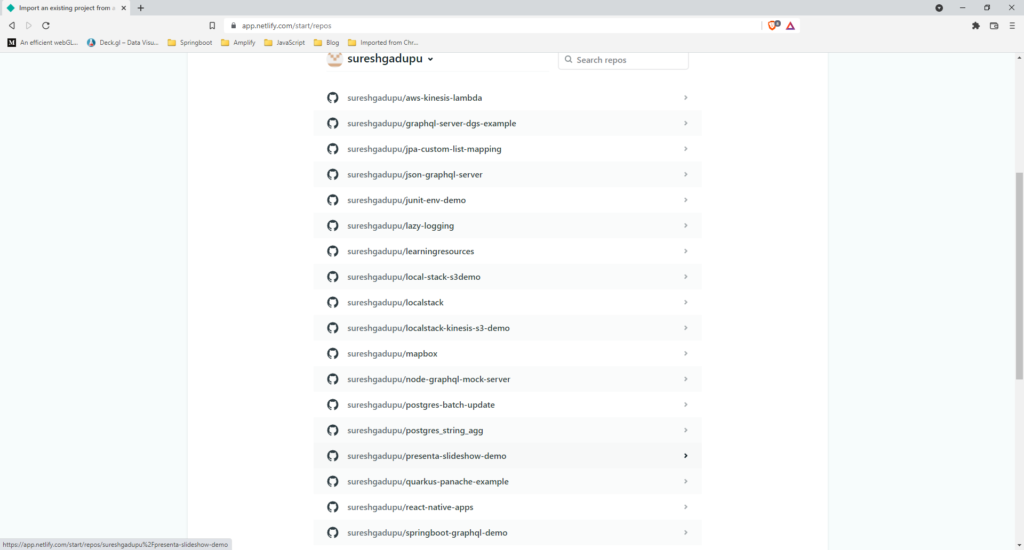
Once you give the permission, Netlify lists all the repos.
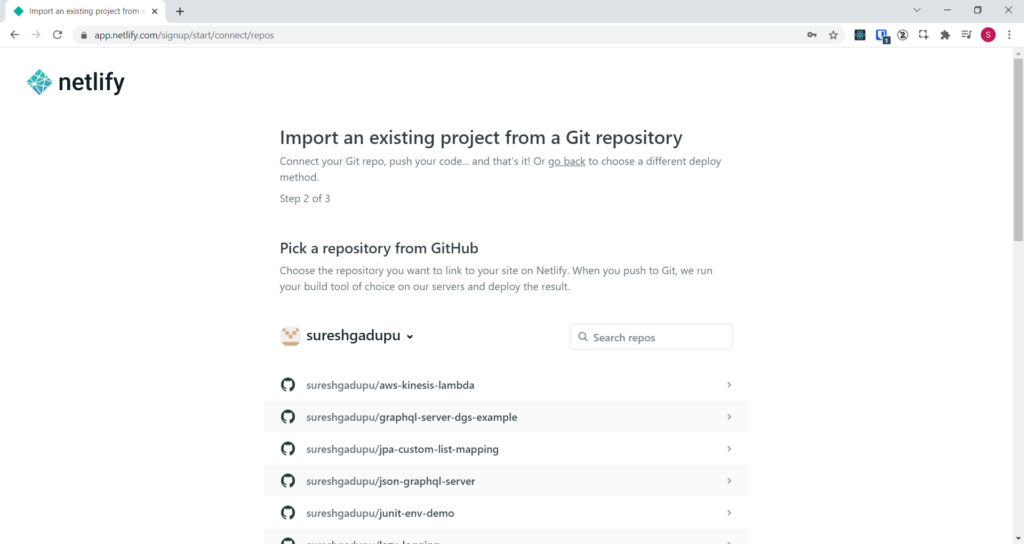
Now select the repo you want to deploy.
For demonstration purpose, I am selecting below repo which is vanilla html/js project. You can know about this project from the blog post
https://github.com/sureshgadupu/presenta-slideshow-demo
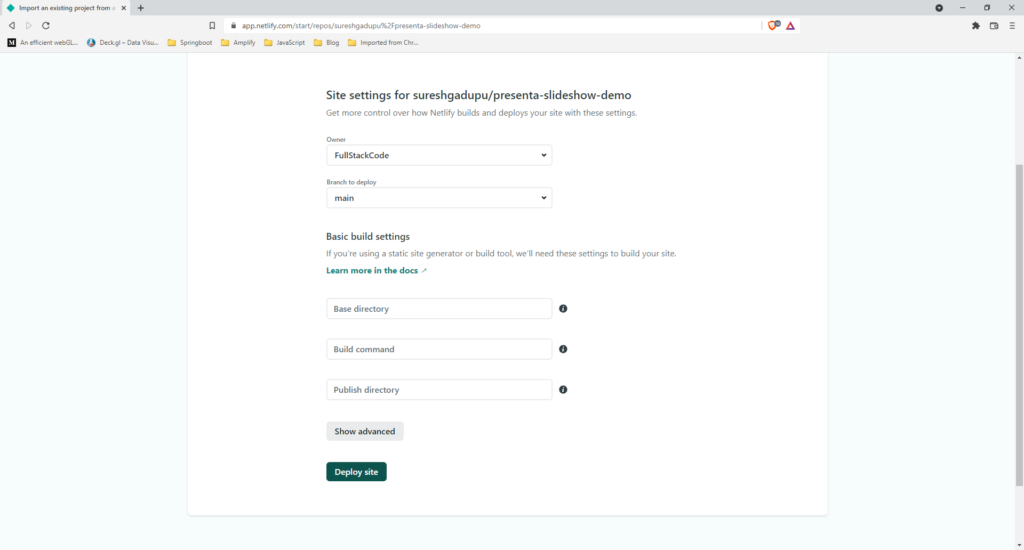
Since the project is vanilla html/JS project there is no need to enter build commands.
Just click on Deploy site button.
Netlify will try to deploy the website, if successful, it gives random url where you can access the website.

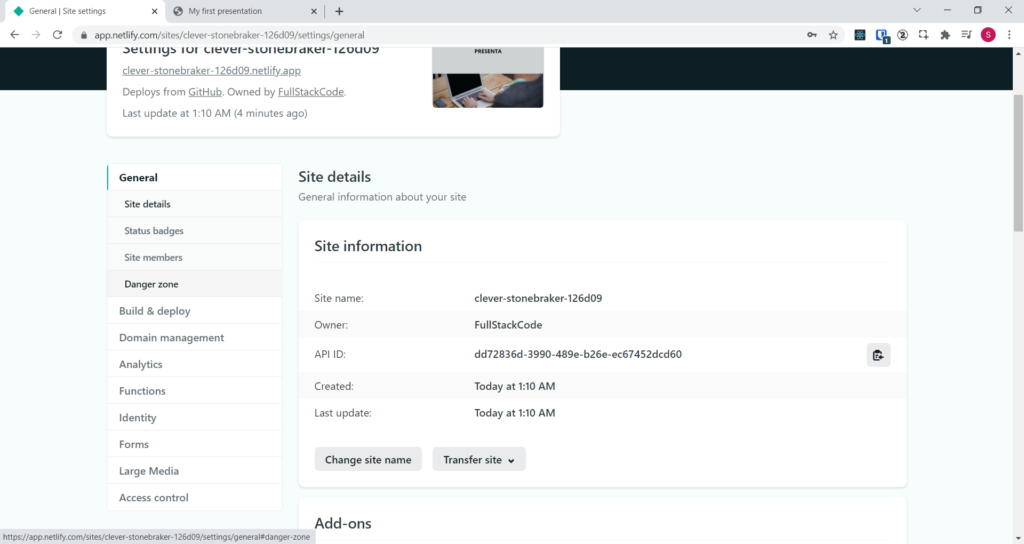
You can also edit the URL to give the meaningful address by click on the Site settings button.
On the settings screen, click on the General -> Site details option on the side menu. Then click on the Change site name button.

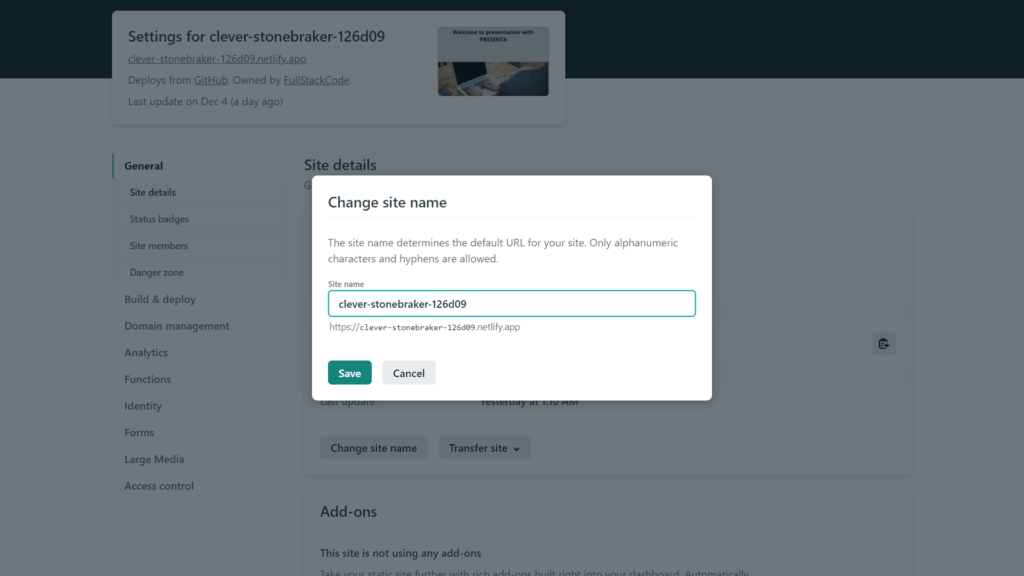
Next screen shows popup windows where you can edit the site url. But remember that , unless you use your own domain, url always be sub domain of Netlify.
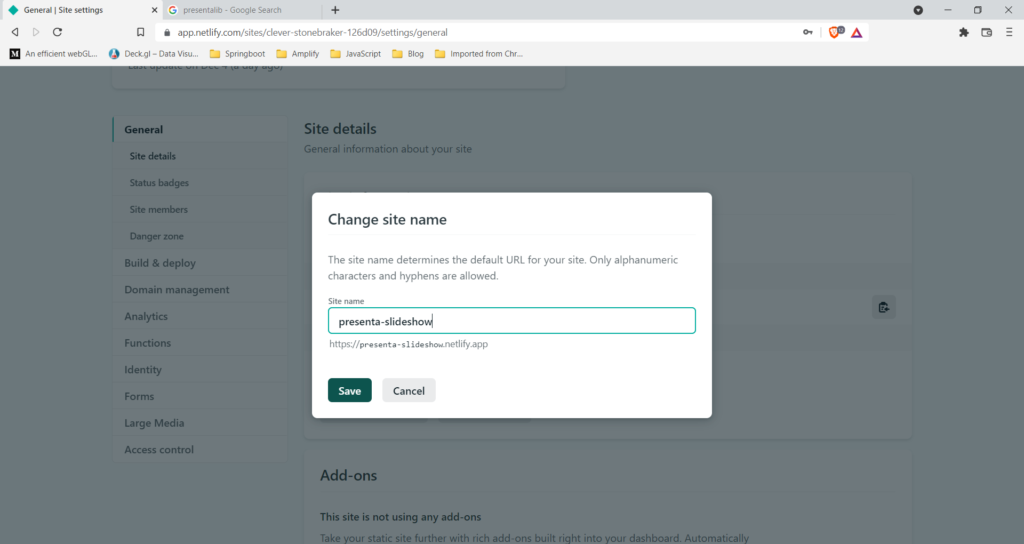
Once you edit the site name, click on Save button. In few seconds you should be able to access the website with new URL address.
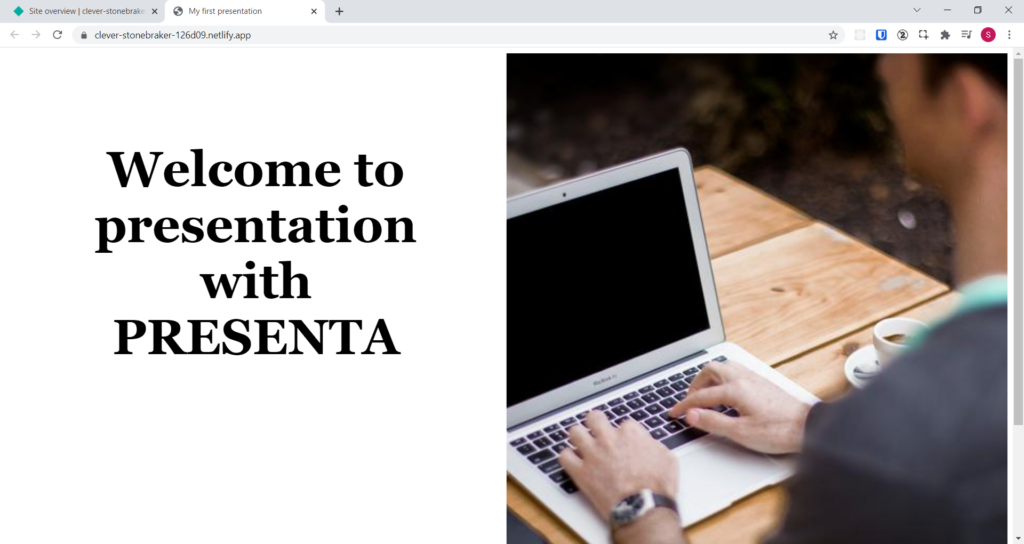
Below you can see website with new URL.
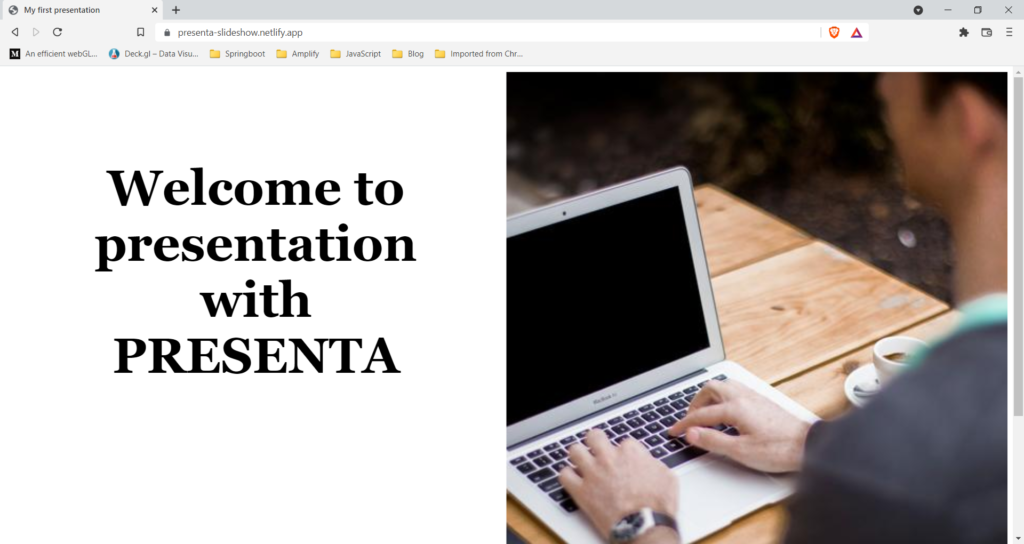
Deploying React project from Git
You can also deploy websites built with JS frameworks in Netlify.
I will demonstrate deployment of project built with the React framework .
Go to Home page and click on the New Site from Git button
Click on Git provider and authenticate your self if not done already
Select the repo from the list which has React project
| NOTE |
To build React project we use below commandnpm run buildBuild artifacts will be created in build folder |
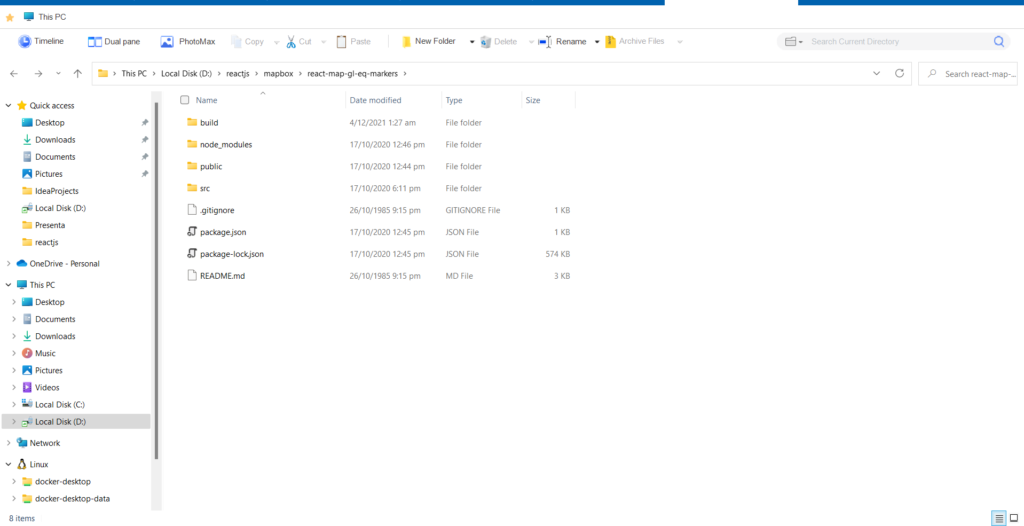
For the demonstration purpose, I am going to use react-map-gl-eq-markers project which is inside below repo.
https://github.com/sureshgadupu/mapbox
You can find complete details about this project from the blog post
I am going to set build settings like below
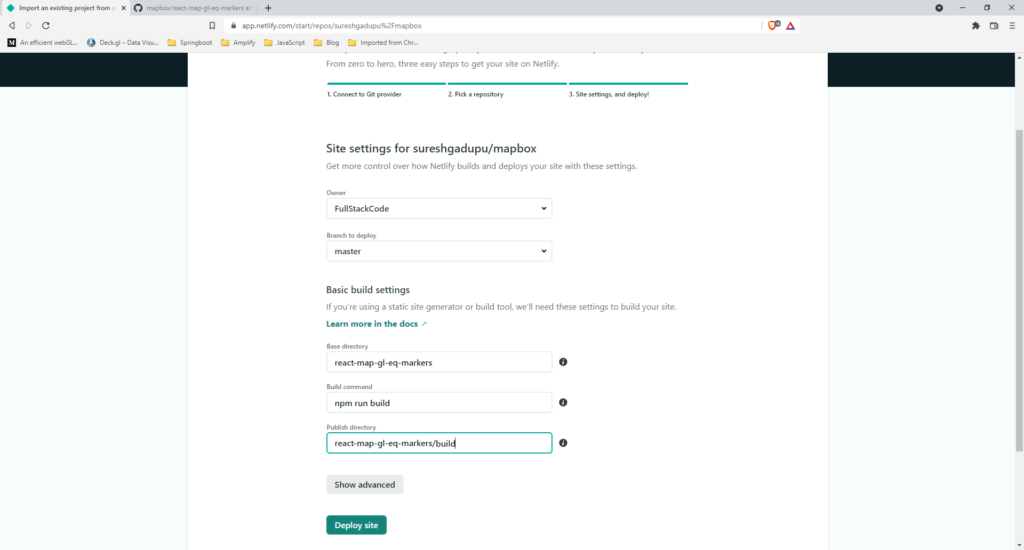
| NOTE |
| If the repo directly contains the project, You can leave base directory field as empty and and set the publish directory to build |
Now click on Deploy site button.
Netlify will run build command and deploys the website.
Manual Deployment
Netlify also supports manual deployment. We can build the project locally and drag and drop the the build folder onto designated area
To build your react project locally, open the project in VS Code editor.
From the terminal run npm run build command.
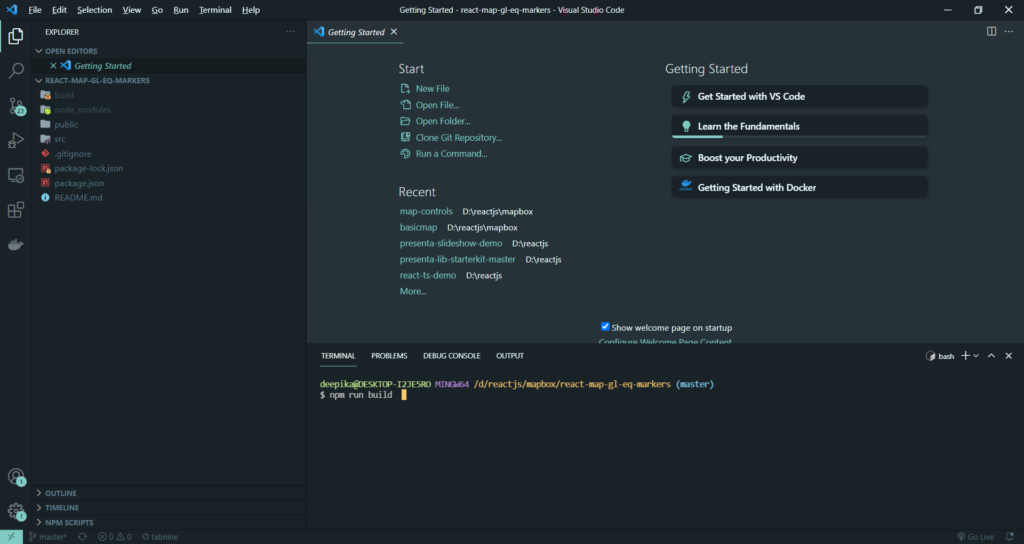
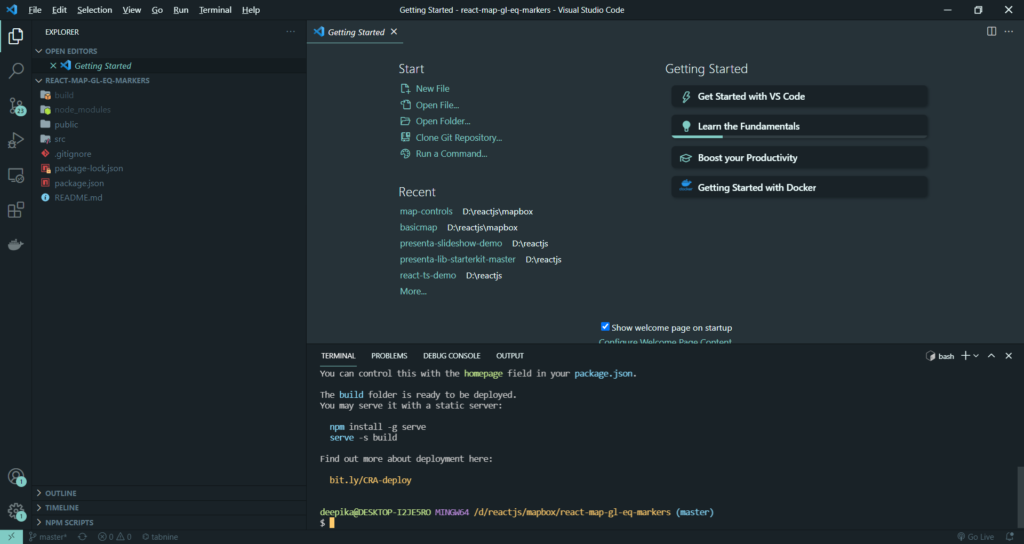
The artifacts will be created in build folder.
Now drag build folder onto designated area on the deployment screen.
Once deployed , Netlify will generate random url for the website.

Setting Custom Domain
Netlify supports setting up custom domain for your website.
If you do not have a custom domain and if you want to experiment, please go through the blog post for getting a free domain name from freenom.
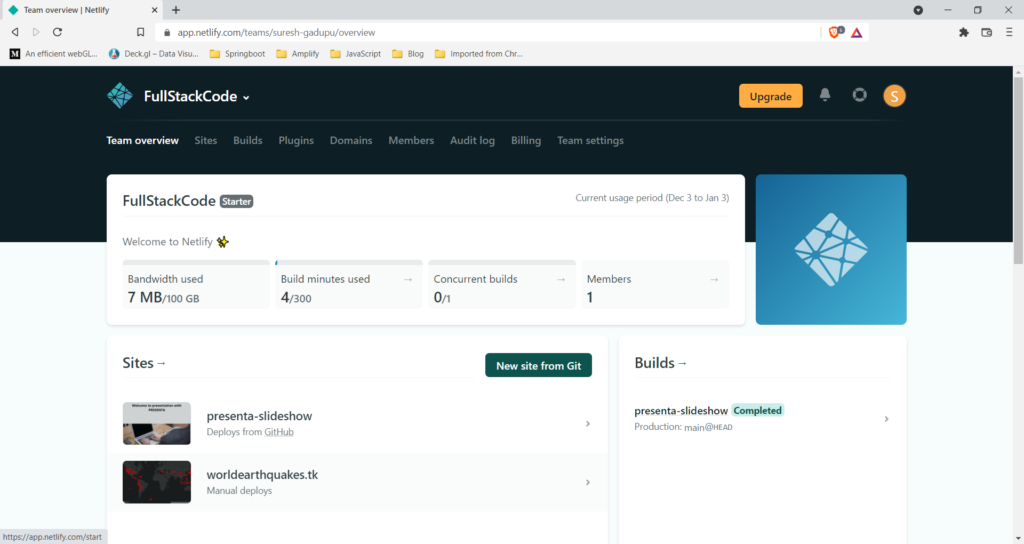
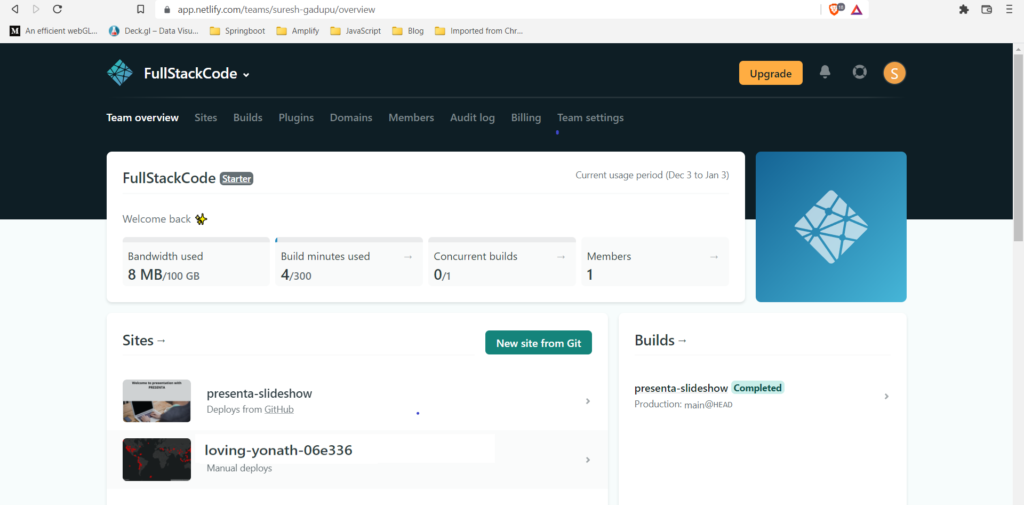
Go to your Team overview screen.
Click on the website for which you want to setup the custom domain.
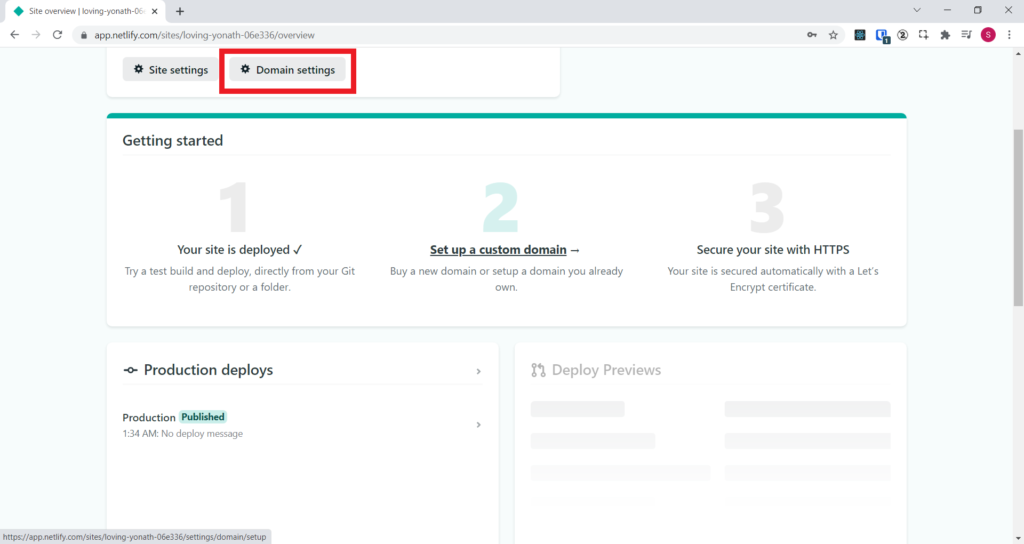
On next screen, click on Domain settings button
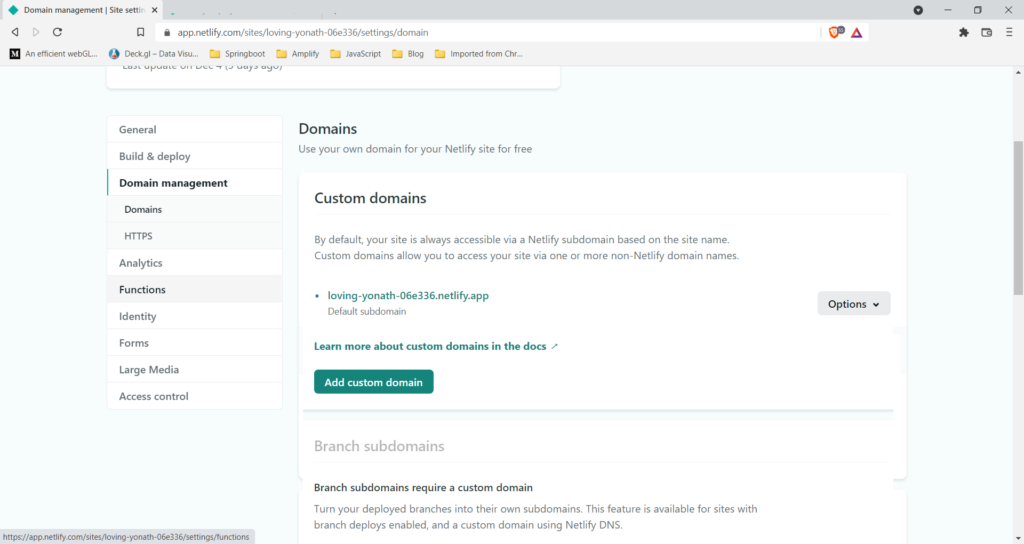
The next screen shows domain management screen. Click on Add custom domain button
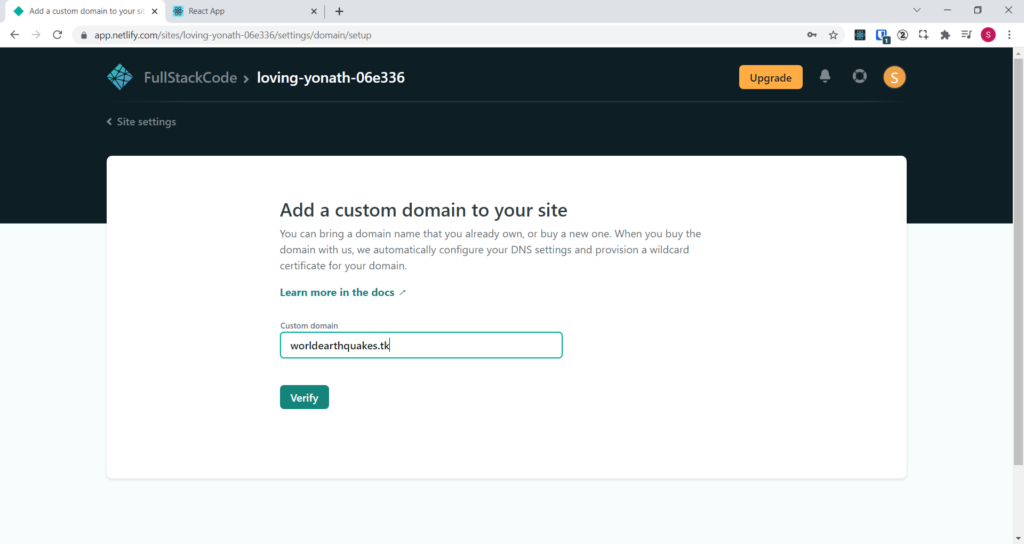
On the next screen enter your custom domain and click on Verify button.
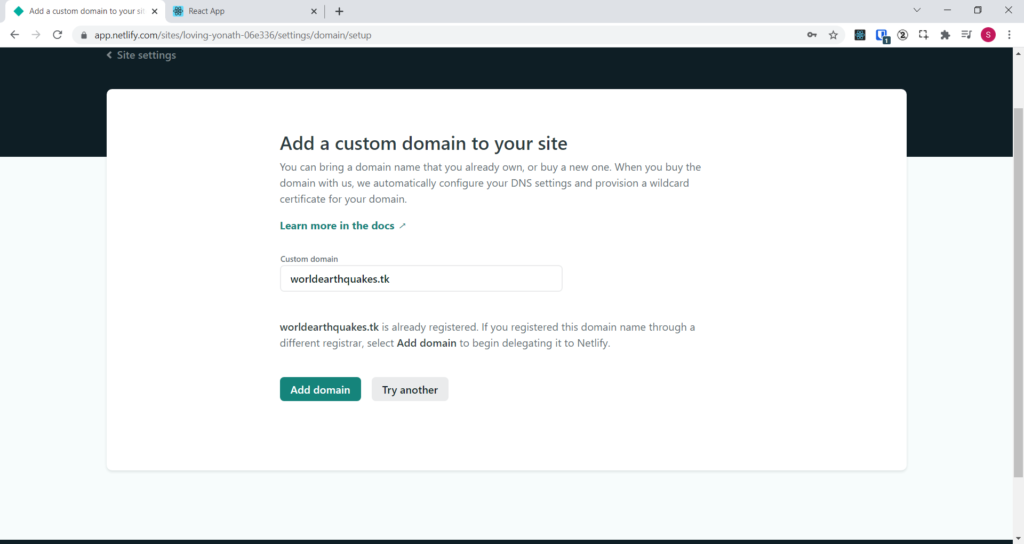
Click on Add domain button
The domain will be added in domain management screen.
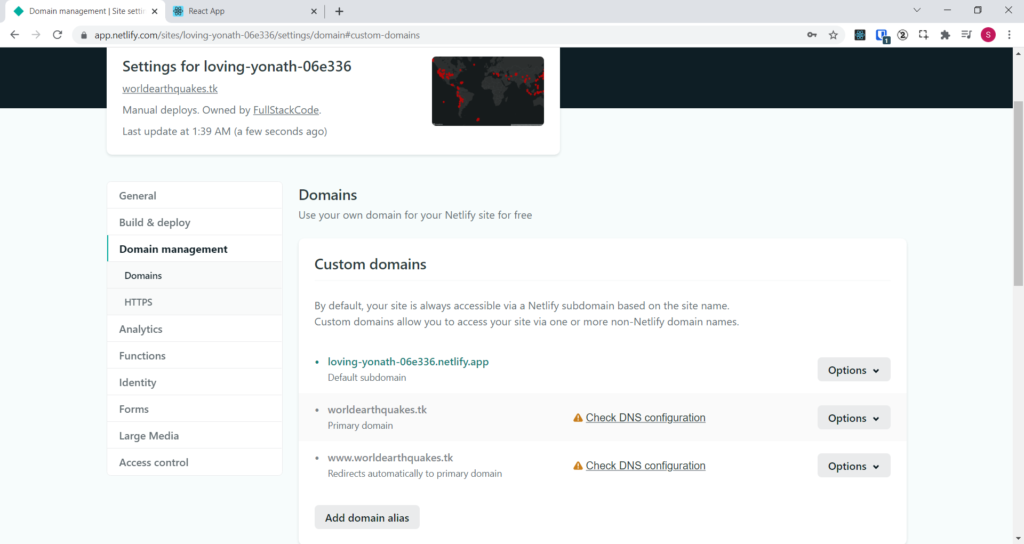
Now click on the Check DNS configuration link
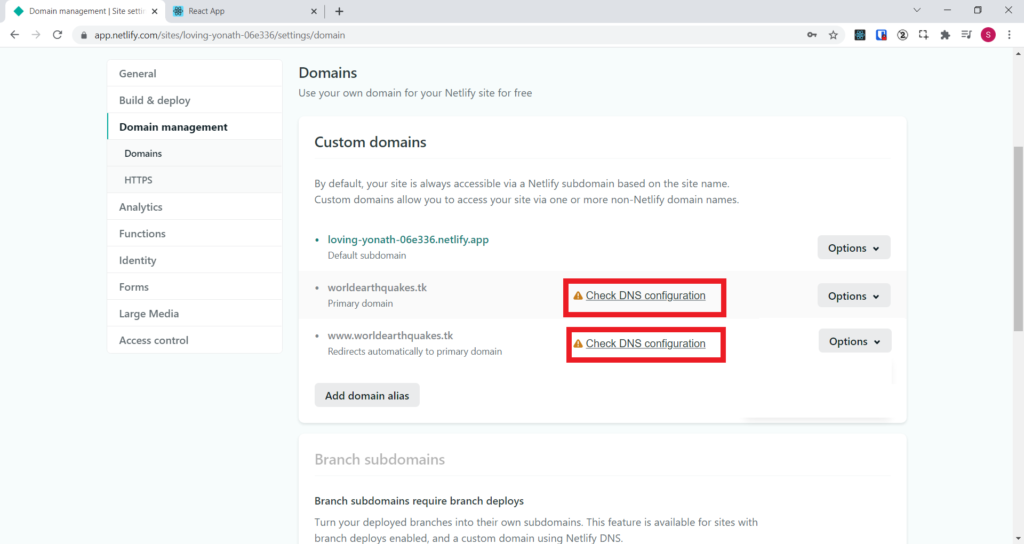
It will show the Netlify domain name server addresses.
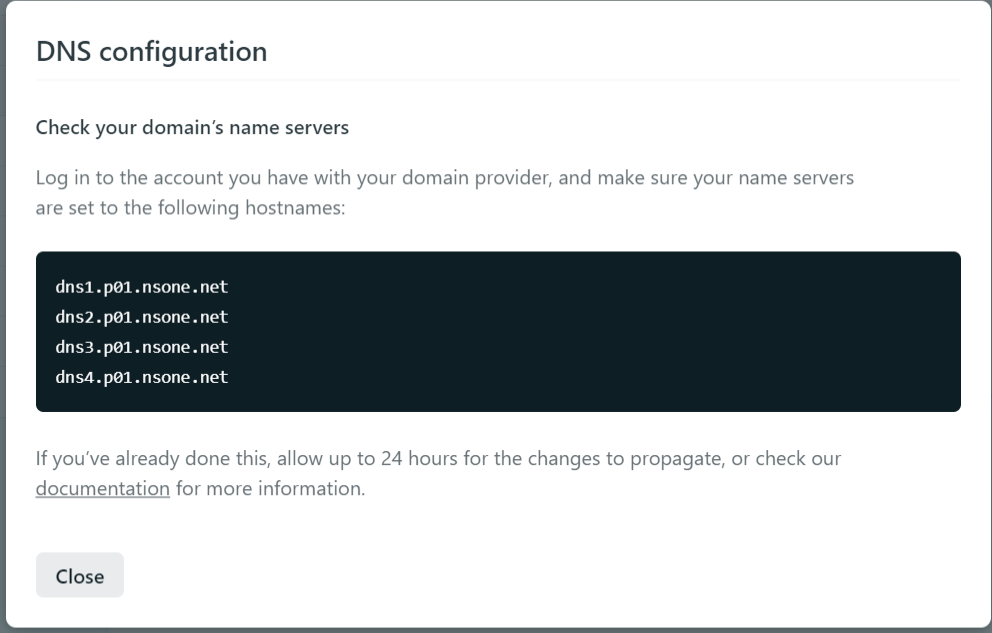
Log in to the account you have with your domain provider, and make sure your name servers are set as per above screen.
I have taken free domain from freenom domain registrar, I logged into freenom.com website.
Click on Services menu on the top and select My Domains options.
The screens shows all the domains owned by you.
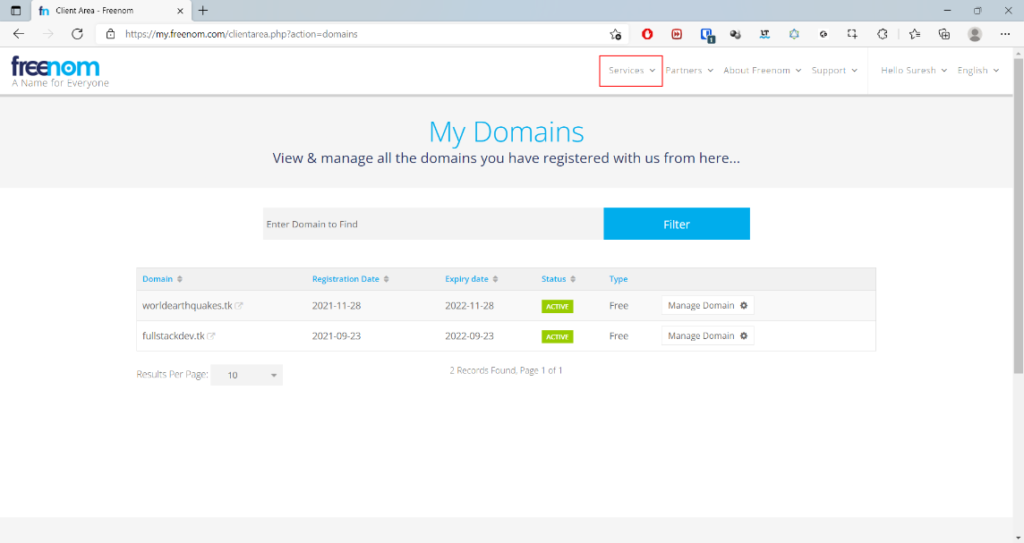
Now click on the Manage Domain button, against worldearchquakes.tk entry
Next screen shows following screen.
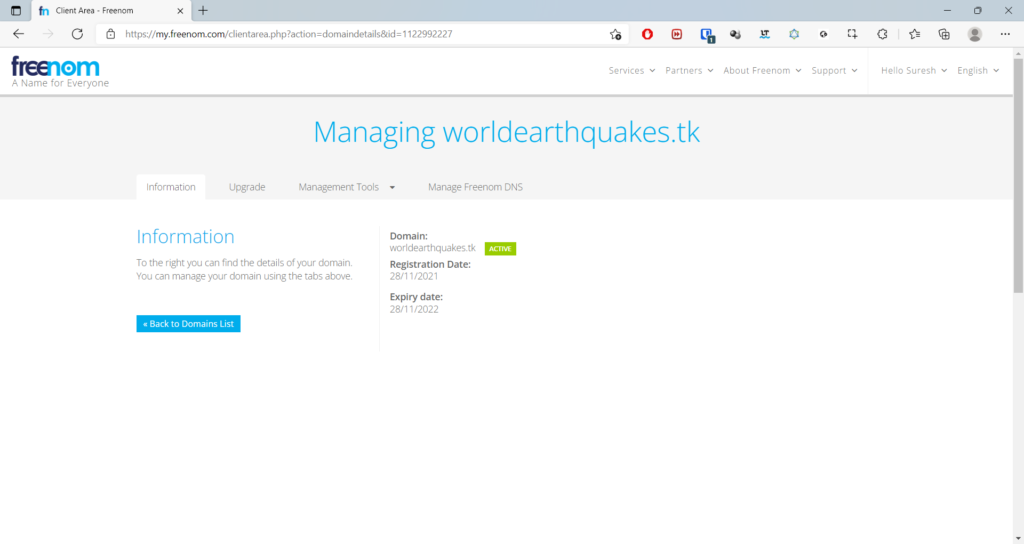
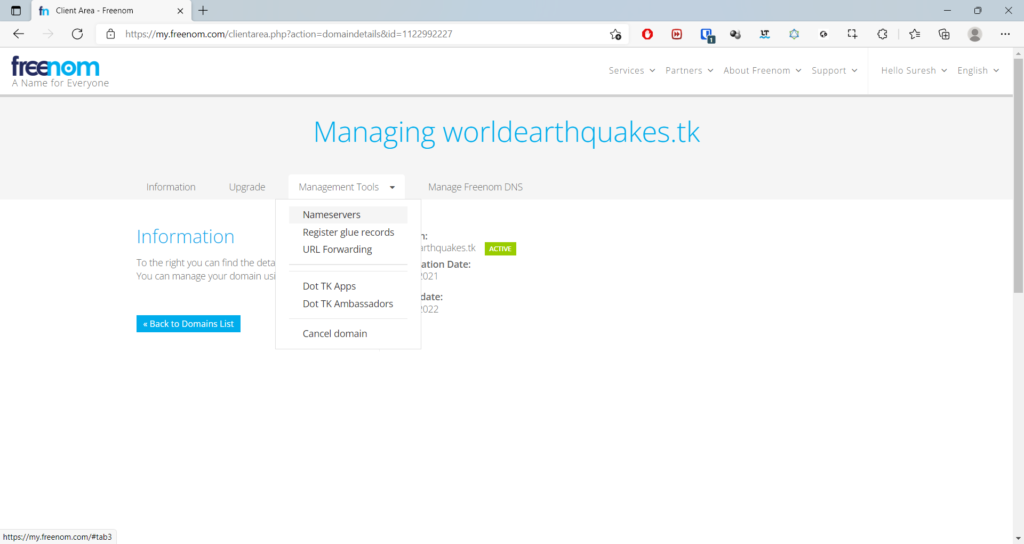
Next click on Management Tools menu and select Nameservers option
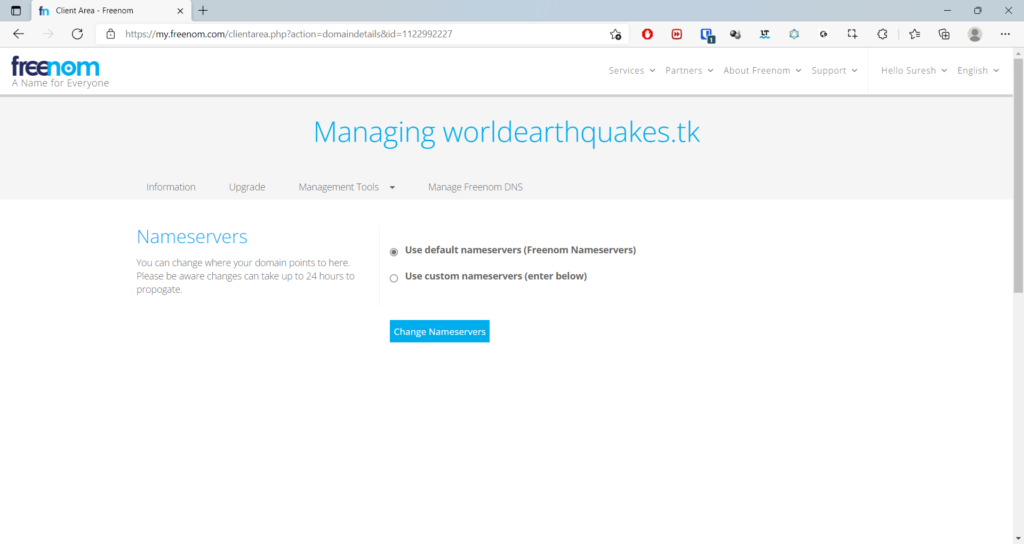
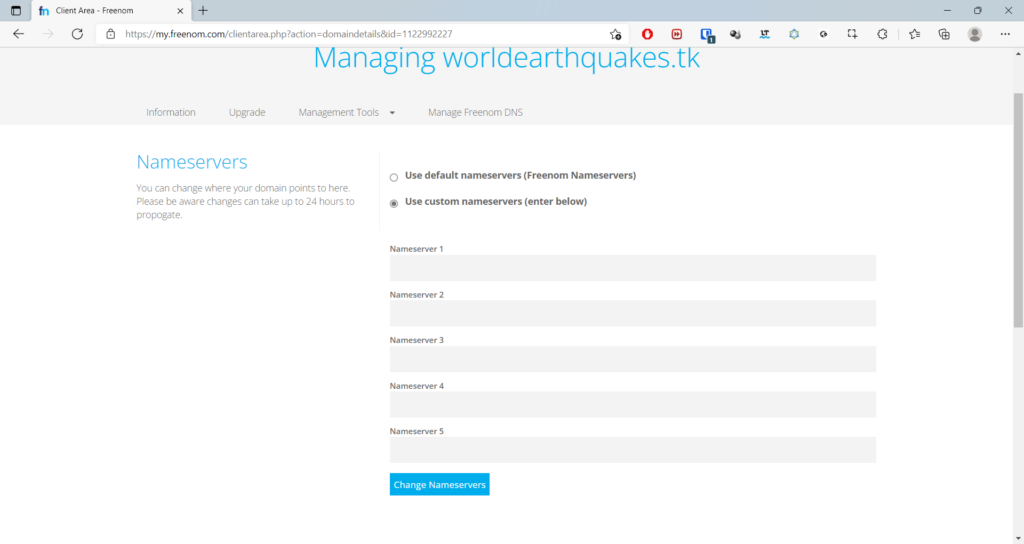
On the next screen, select Use custom nameserver radio button and enter following DNS servers in the given textboxes.
Next save them by clicking on Change Name Server button.
dns1.p01.nsone.net
dns2.p01.nsone.net
dns3.p01.nsone.net
dns4.p01.nsone.net

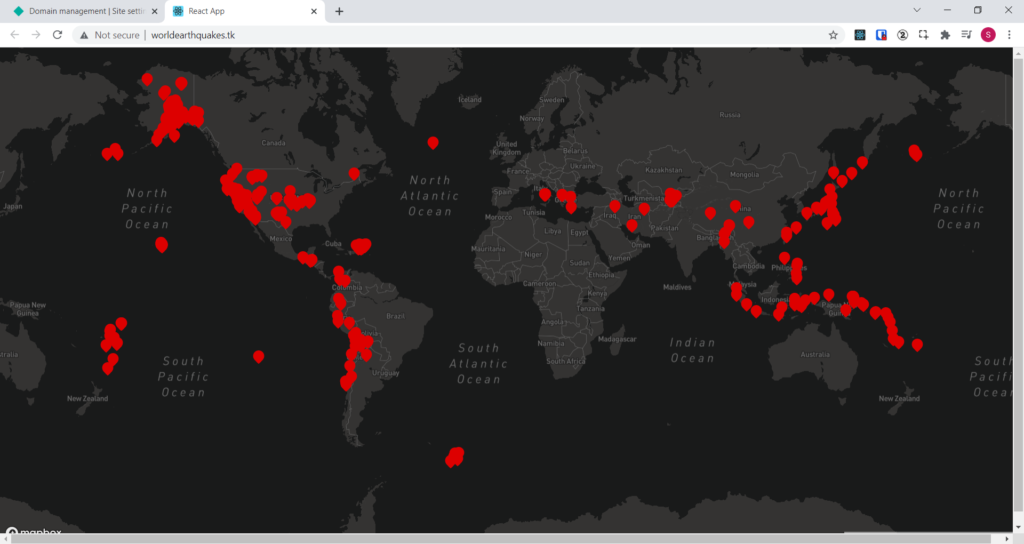
It might take up to 24 hours to propagate custom domain name.
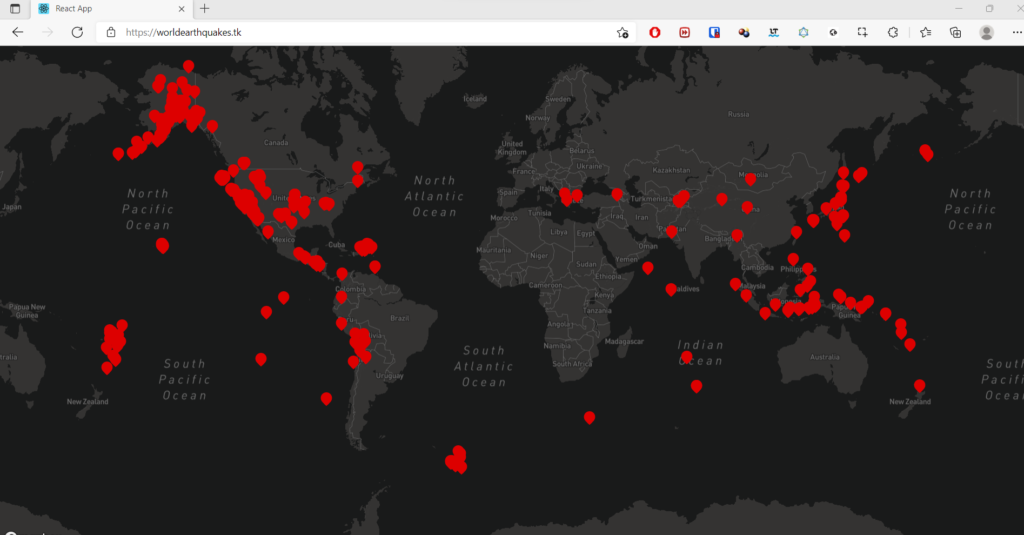
Once domain is propagated, you can access the site with custom domain.
You can also enable SSL certificate for your website from Netlify for free.
In Domain management section, click on Verify DNS configuration button
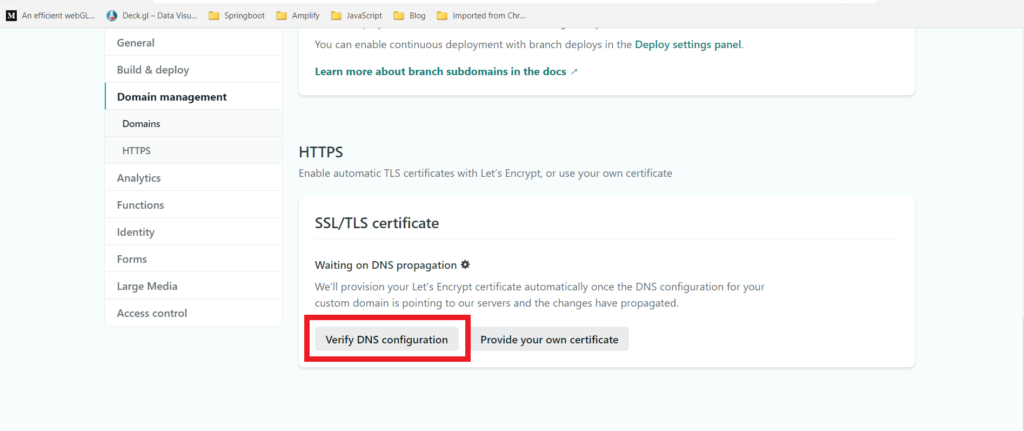
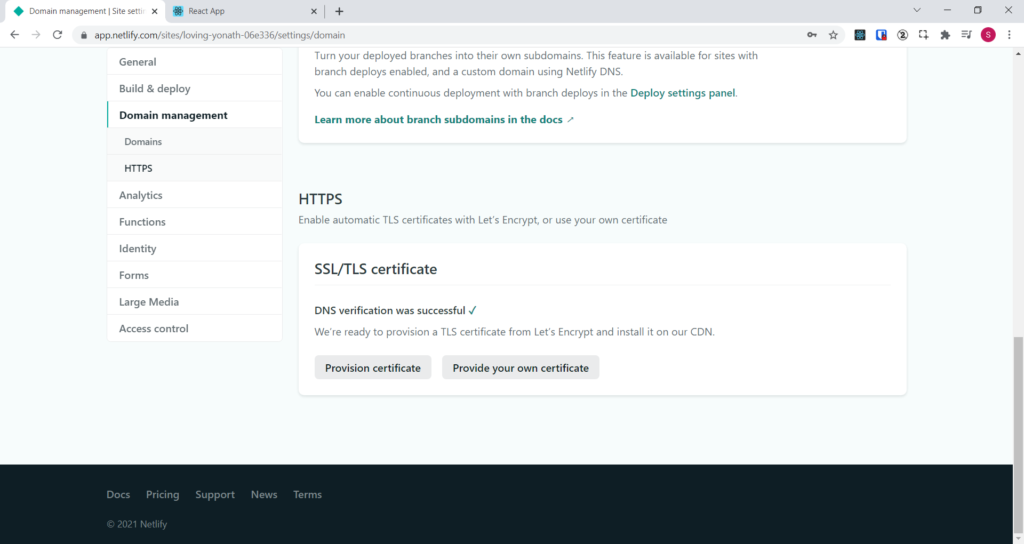
If the domain is pointing to Netlify DNS servers , you will see Provision Certificate button. Click on the button to get TSL certificate for the website.
Now you can access the site with custom domain and TSL certificate enabled
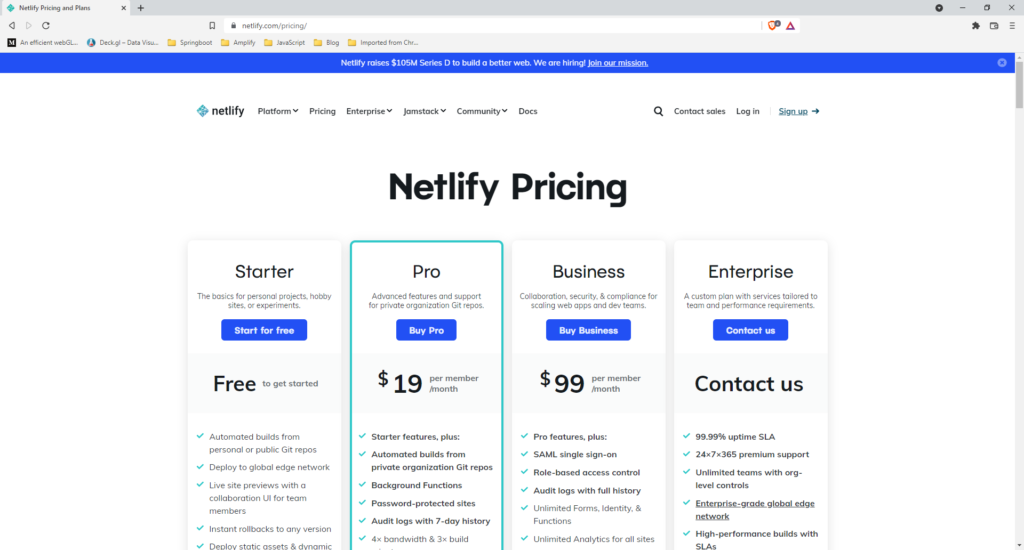
Comparing with competition
Let’s do simple comparison of Netlify free tier features with competitors.
| Feature | Netlify | GitHub | GitLab | Vercel | CloudFlare |
| Build Time | 3/min | 10/hr | None | 32/hr | 500/month |
| Build Time to Error | 15 min. | 10 min | 3 hr | 30 min | Unlisted |
| Build Time per Month | 300 Min. | NA | 400 Min. | 6000 Min. | Unlisted |
| HTTPS Available | Yes | Yes | Yes | Yes | Yes |
| Concurrent Builds | 1 | NA | 1 | 1 | Unlisted |
| Bandwidth/Month | 100 GB | 100 GB | 100 GB | 100 GB | Un Limited |
| Allowed for Business Use | Yes | No | Yes | No | Yes |
While Netlify generous bandwidth of 100GB/Month and allows business websites to host free, it limits build time to just 300 min/month. If you change your website very frequently free tier may not be suitable for you.