Creating Docker images with Spring Boot
Docker is a powerful tool for packaging and running applications in containers. In this article, we will show you how to create Docker images with Spring Boot Application and run it from the container
What is Docker?
Docker is a Linux containerization platform that can package an application with all of its dependencies into a standardized unit for software development. Containers are becoming more and more popular because they make it easy to deploy applications in different environments and systems.
Docker packages OS, runtime and application into single unit called image. The Image file can be downloaded and run in any compatible system
Required Software
- Docker
- JDK 11+
- Spring Boot project
Spring Boot Application
For demonstration purpose I am going to create docker image of spring boot crud application developed in one my previous blog post
You can also download source code from GitHub
Writing Dockerfile
Dockerfile is file which contains commands to combine the OS, runtime and application code.
Lets’ write Dockerfile to build image.
Step 1) Create jar file of the application by running below command. It will create application jar file with all the dependencies in target folder.
mvn clean package
Step 2) Write docker file in root of the project. In general named like Dockerfile
FROM adoptopenjdk/openjdk11:x86_64-alpine-jdk-11.0.14.1_1-slim
ARG JAR_FILE=target/*.jar
COPY ${JAR_FILE} app.jar
EXPOSE 8080
ENTRYPOINT ["java","-jar","/app.jar"]
Code language: Java (java)- A
Dockerfilemust begin with aFROMinstruction. TheFROMinstruction specifies the Parent Image from which you are building adoptopenjdk/openjdk11:x86_64-alpine-jdk-11.0.14.1_1-slimimage contains both Alpine Linux and JDK 11.ARGdefines a argument.ARG JAR_FILE=target/*.jar'points to jar file we built in the first step.COPY ${JAR_FILE} app.jarcopies the application jar to new jar namedapp.jar.EXPOSE 8080– exposes port 8080 from the container. As spring boot application runs on the port 8080 we are exposing it.ENTRYPOINT ["java","-jar","/app.jar"]defines command to run the application.
Note
In above docker file I am using the AdoptOpenJDK. You can use the your preferred JDK/JRE image.
You can get different JDK/JRE images from docker hub
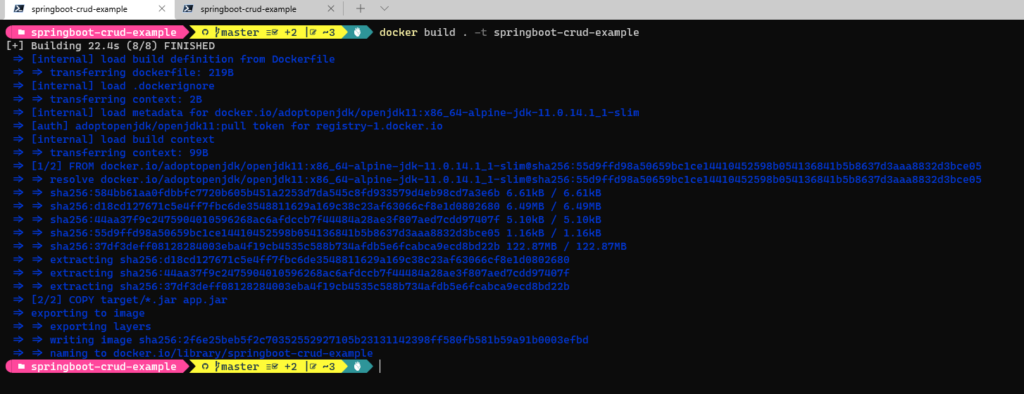
Step3) Build docker image. Run below command from root of the project to build the docker image for application.
docker build . -t springboot-crud-exampleCode language: Makefile (makefile).(dot)specifies that docker file is present in current directory-tspecifies tag\name of the image.
Fist time the command will download the Alpine JDK image and in subsequent runs it will use the downloaded image.
Note
docker build . -t springboot-crud-example command by default takes ‘Dockerfile’ value as dockerfile name argument.
You can also use other names for Dockerfile then you need to specify the file as one of the argument.
docker build . -f .\Dockerfile.jre.build -t springboot-crud-example
Step 4) Verifying image creation
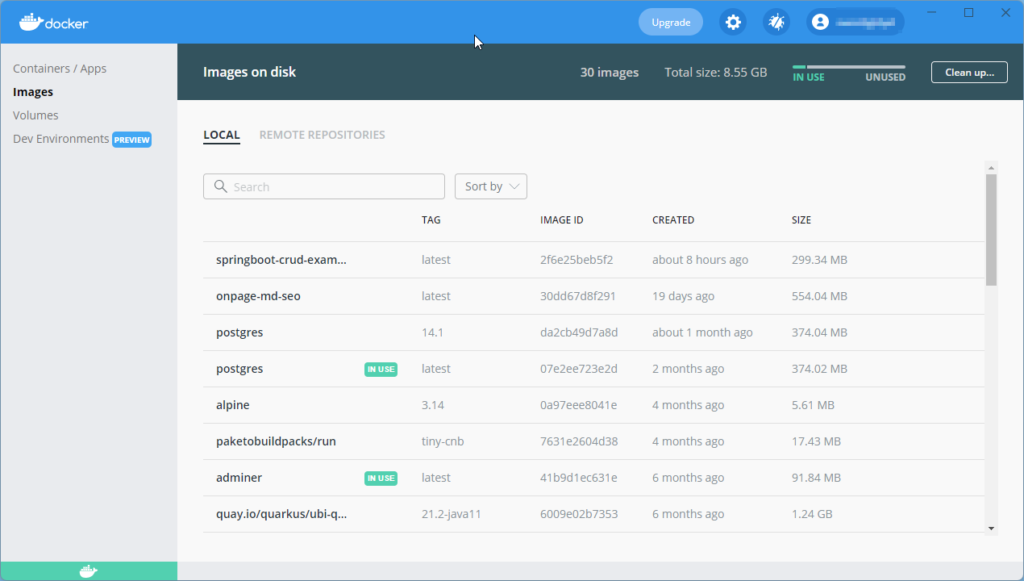
You can view the all the docker images by running the below command
docker images
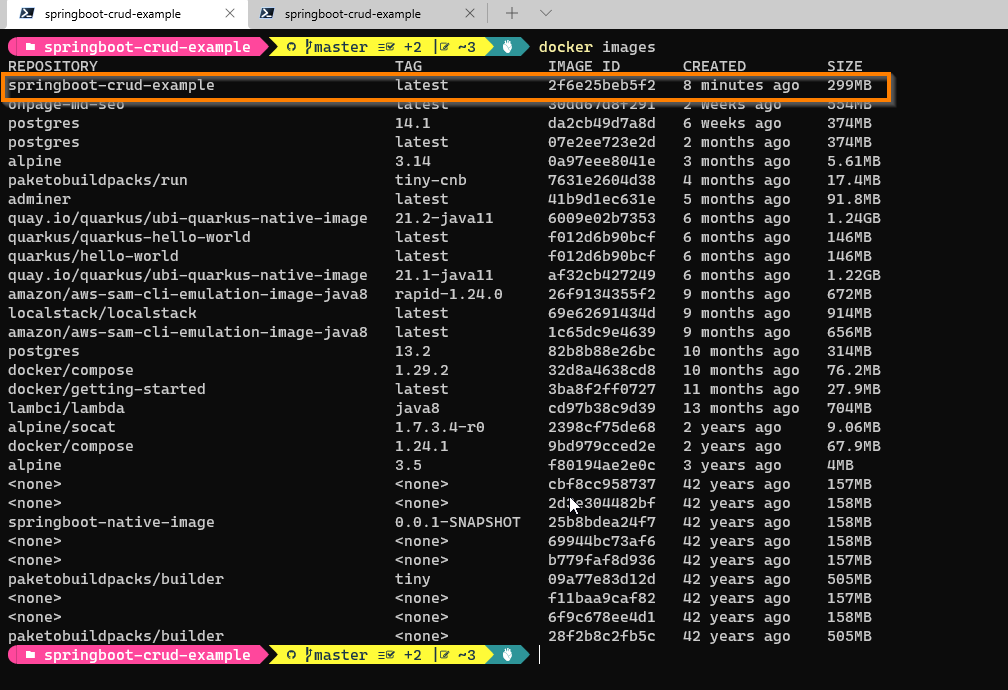
In above screenshot you can view that docker image is built successfully for our application.
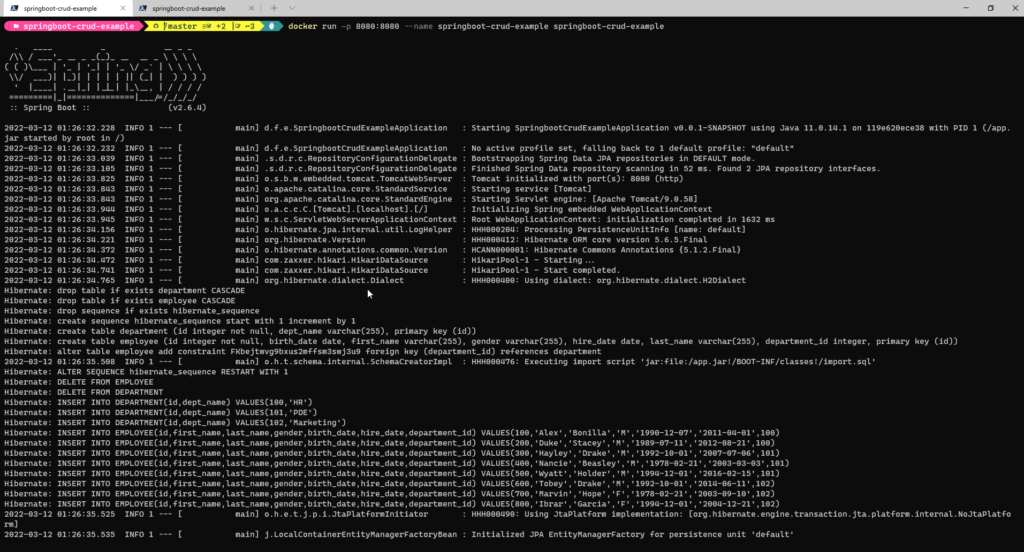
Step 5) Now let’s run the application from the image.
Running images are are called containers. From the same image we can run multiple containers.
docker run -p 8080:8080 --name springboot-crud-example springboot-crud-example
-p 8080:8080specifies the port mapping between container the host OS. Here we are mapping exposed port 8080 to 8080 port of host OS. So application endpoint will be available at port 8080.--name– gives name to container. This is optional. If you do not specify the name, docker will provide random name
Note
You can also point to different port (8090) in Host with below command
docker run -p 8090:8080 –name springboot-crud-example springboot-crud-example
Step 6) Now verify that application container is running
docker container ls

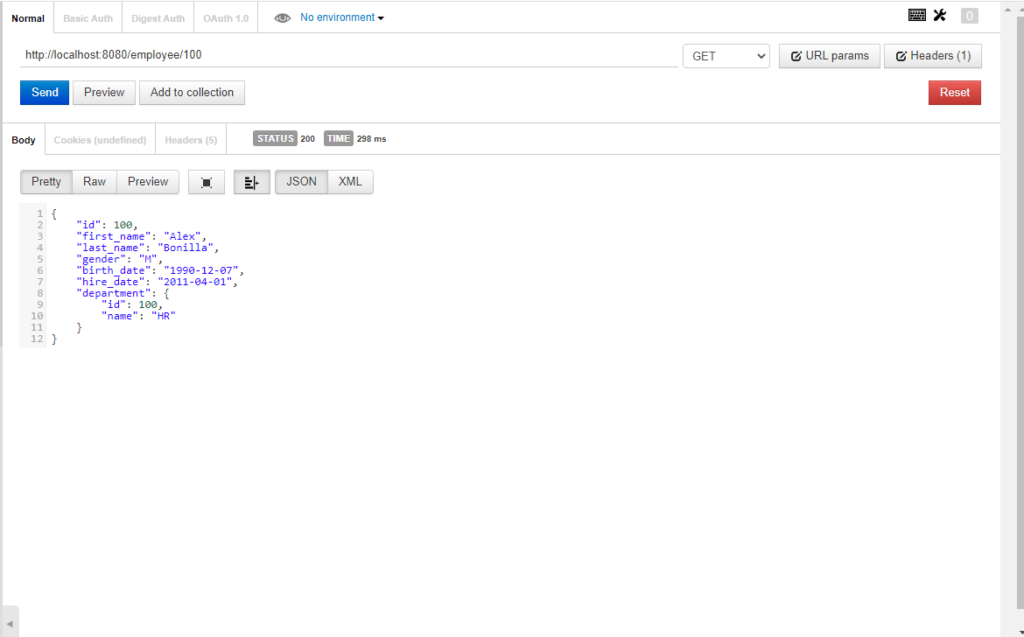
Step 7) Now let’s test the application by invoking application API.
Once application is tested and working fine we need to push the image to a central location called container registry.
From the container registry users can download images and run them in their system.
What is Container Registry
A container registry is a repository—or collection of repositories—used to store and access container images.
Using Docker Hub
Docker Hub is a service provided by Docker for finding and sharing container images with your team. It is the world’s largest repository of container images with an array of content sources including container community developers, open source projects and independent software vendors building and distributing their code in containers.
Users get access to free public repositories for storing and sharing images or can choose a subscription plan for private repositories.Under free plan users can create one private repository.
Docker Hub provides the following major features:
- Repositories: Push and pull container images.
- Teams & Organizations: Manage access to private repositories of container images.
- Docker Official Images: Pull and use high-quality container images provided by Docker.
- Docker Verified Publisher Images: Pull and use high- quality container images provided by external vendors.
- Builds: Automatically build container images from GitHub and Bitbucket and push them to Docker Hub.
- Webhooks: Trigger actions after a successful push to a repository to integrate Docker Hub with other services.
The following section contains step-by-step instructions on how to easily get started with Docker Hub.
Step 1: Sign up for a Docker account
Let’s start by creating a Docker ID.
A Docker ID gives you access to Docker Hub repositories and allows you to browse images that are available from verified publishers and the community. To share images on Docker Hub, You’ll need a Docker ID .
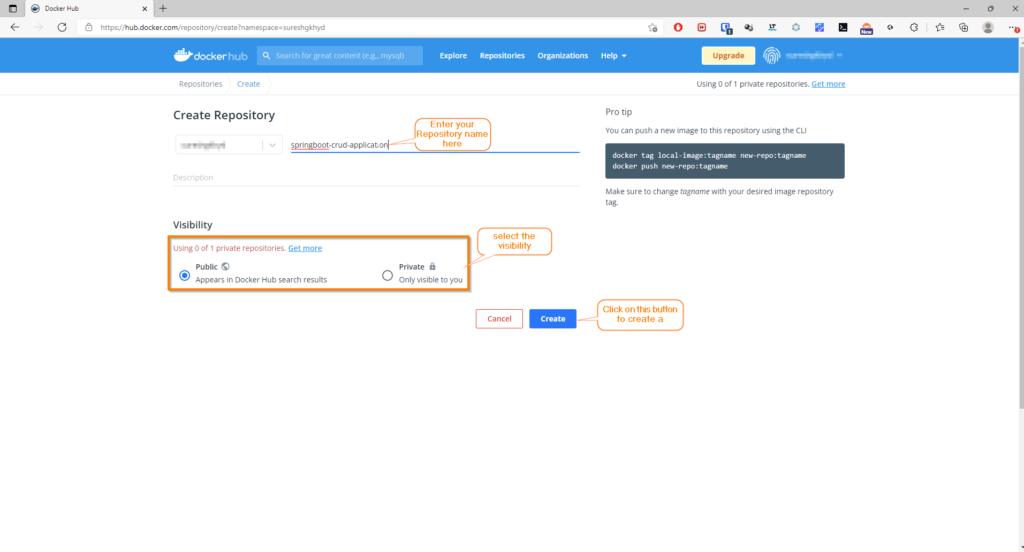
Step 2: Create first repository
To create a repository:
- Sign in to Docker Hub created in Step1
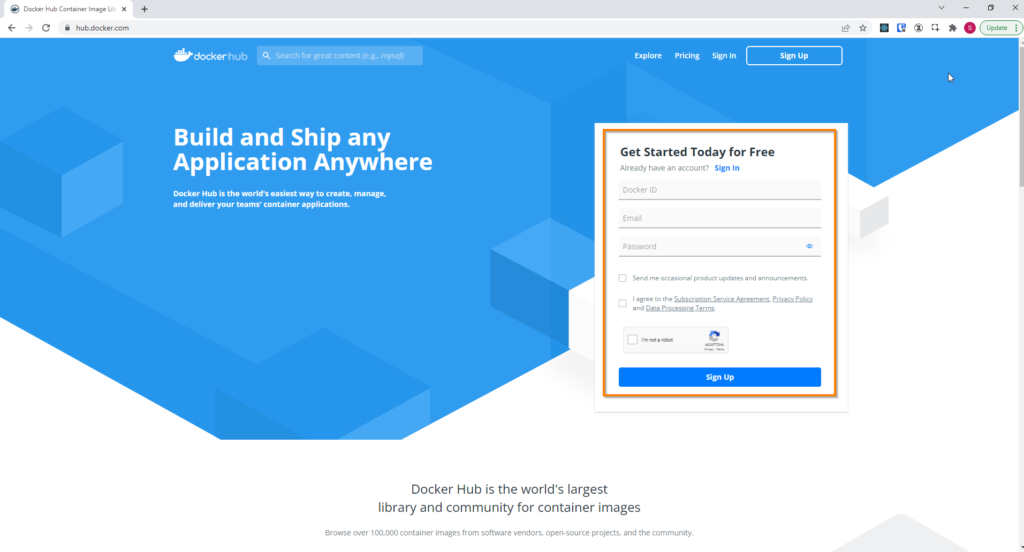
2.Click Create a Repository on the Docker Hub welcome page:

3.Enter name for Repository. select visibility of the repository ,next click on “Create” button to create Repo
Note
While selecting the visibility of repository, If you select “Public” , the repository can accessed by any body. If do not want to share image with community select visibility as “Private”
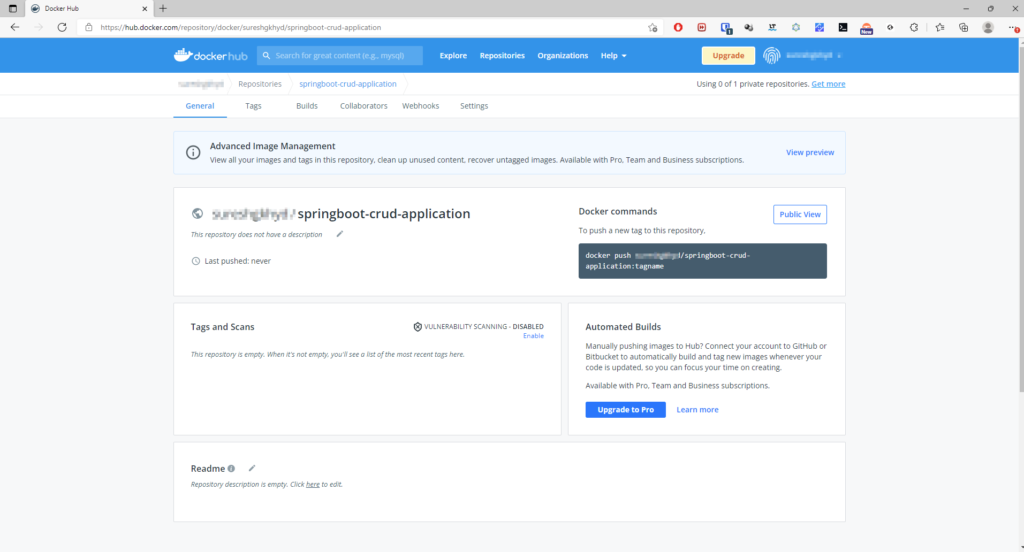
Once you created your first repository. You should be able to see below screen
Step 3: Download and install Docker Desktop
On Windows and Mac , We can use Docker Desktop to build and push a container image to Docker Hub.
- Download and install Docker Desktop
- Sign into the Docker Desktop application using the Docker ID you created in Step 1.
On Linux
You can use below command to login to docker. Below command can also be used on Windows and Mac OS.
docker login -u <username> -p <password>
Step 4: Pushing a Docker container image to Docker Hub
To push an image to Docker Hub, first name your local image using your Docker Hub UserId and the repository name that you created through Docker Hub on the web.
You can add multiple images to a repository by adding a specific :<tag> to them (for example username/springboot-crud-application:1.0). If it’s not specified, the tag defaults to latest.
Name your local images using one of these methods:
- When you build them, using
docker build -t <hub-user-id>/<repo-name>[:<tag>] - By re-tagging an existing local image
docker tag <existing-image> <hub-user-id>/<repo-name>[:<tag>] - By using
docker commit <existing-container> <hub-user-id>/<repo-name>[:<tag>]to commit changes.
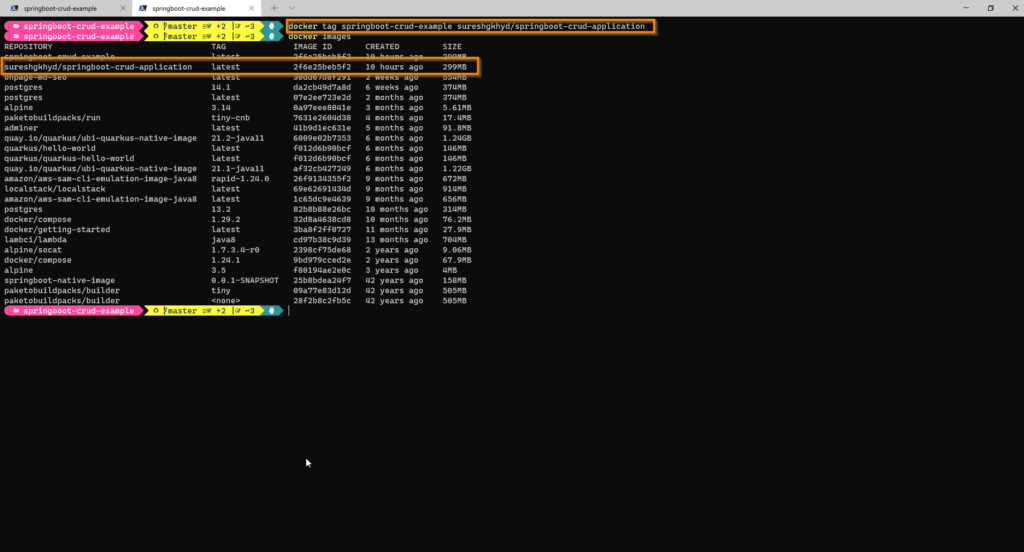
As I have already created a image file I will use docker tag command to re-tagging image
docker tag springboot-crud-example sureshgkhyd/springboot-crud-application
Now you can push this repository to the registry designated by its name or tag.
docker push <image-name>

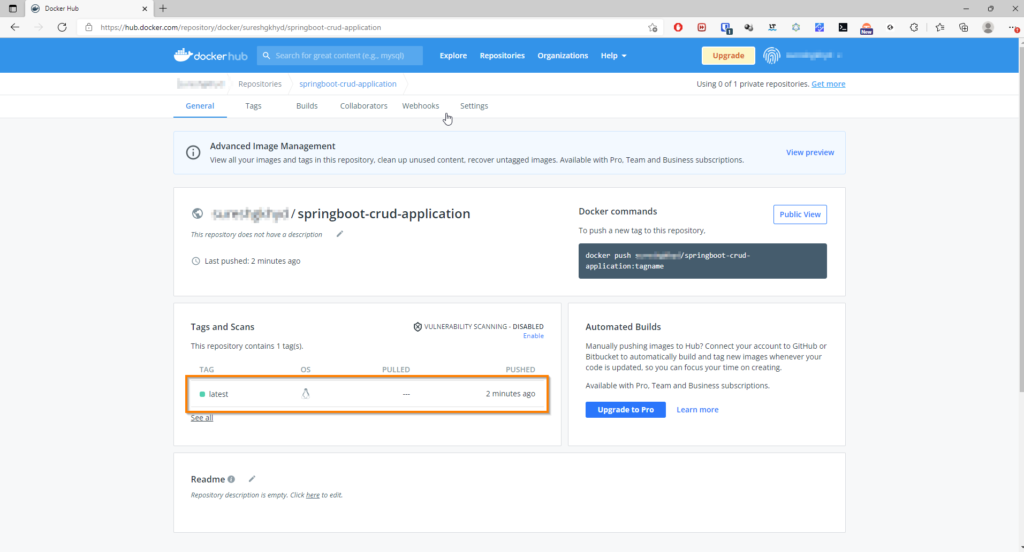
Your repository in Docker Hub should now display a new latest tag under Tags:
Now anybody wants to use this application can download image with following command
docker pull sureshgkhyd/springboot-crud-application
User can run the application with following command
docker run -p 8080:8080 sureshgkhyd/springboot-crud-application
Stopping the Application/Container
You can stop the application by stopping the docker container. You can use either container-name or container-id to stop the application.
docker container stop <container-name>Code language: Java (java)OR
docker container stop <container-id>Code language: Java (java)
Removing the docker image
We can use image name or image id to remove the image. You can refer to step 4 to view image name or id.
docker image rm <image-name>/<image-id>
OR
docker rmi <image-name>/<image-id>

After running the command to remove the image you might get below error message.
Error response from daemon: conflict: unable to remove repository reference "springboot-crud-example" (must force) - container 119e620ece38 is using its referenced image 2f6e25beb5f2
We stopped the container but the stopped container is still referencing the image. Docker prevents removing referenced images.
Now we can remove images in 2 ways.
- First remove the stopped container and then remove image
You can view stopped containers
docker container ls -a

Removing the container
docker rm <container-name>/<container-id>
OR
docker container rm <container-name>/<container-id>

Now remove the image
docker image rm <image-name>

2.Remove the image forcefully
With -f option we remove image forcefully even if it is referenced by stopped container.
docker image rm -f <image-name>/<image-id>
Running Container in Detached mode
In step5 , I have shown command which starts container and shows application logs in the same window.
This is useful to know the status of the application. Once application running successfully, you may not want to see the application every time when container starts. You can avoid printing application logs to console by running application in detached mode.
docker run -d -p 8080:8080 --name springboot-crud-example springboot-crud-example

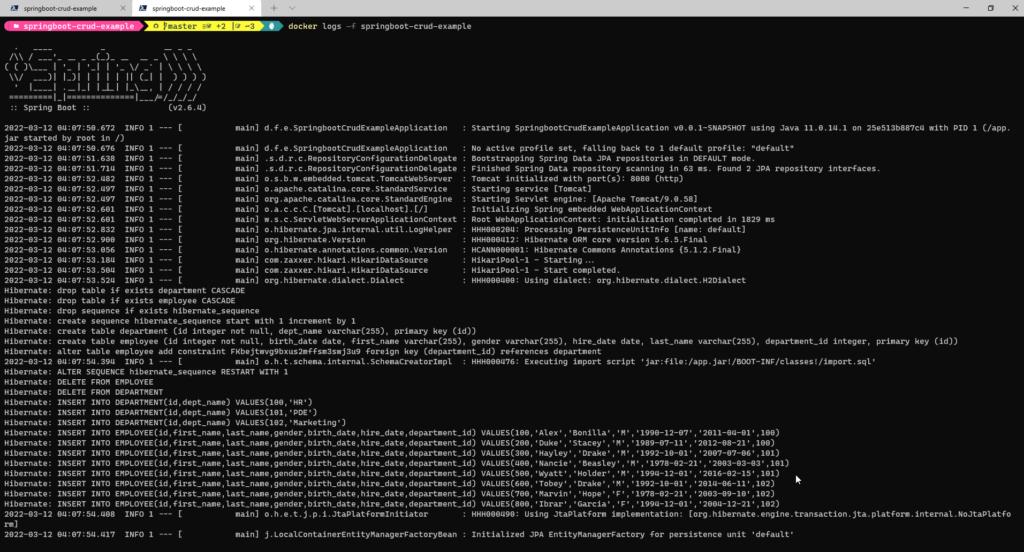
If you want to view the logs of application, you can run below command
docker logs <container-name>/<container-id>
You might also be interested in
References